Contents
Introduction
In this post you'll learn a few tricks that can help you use LUTs to color grade your videos. If you like, you can watch the video version.
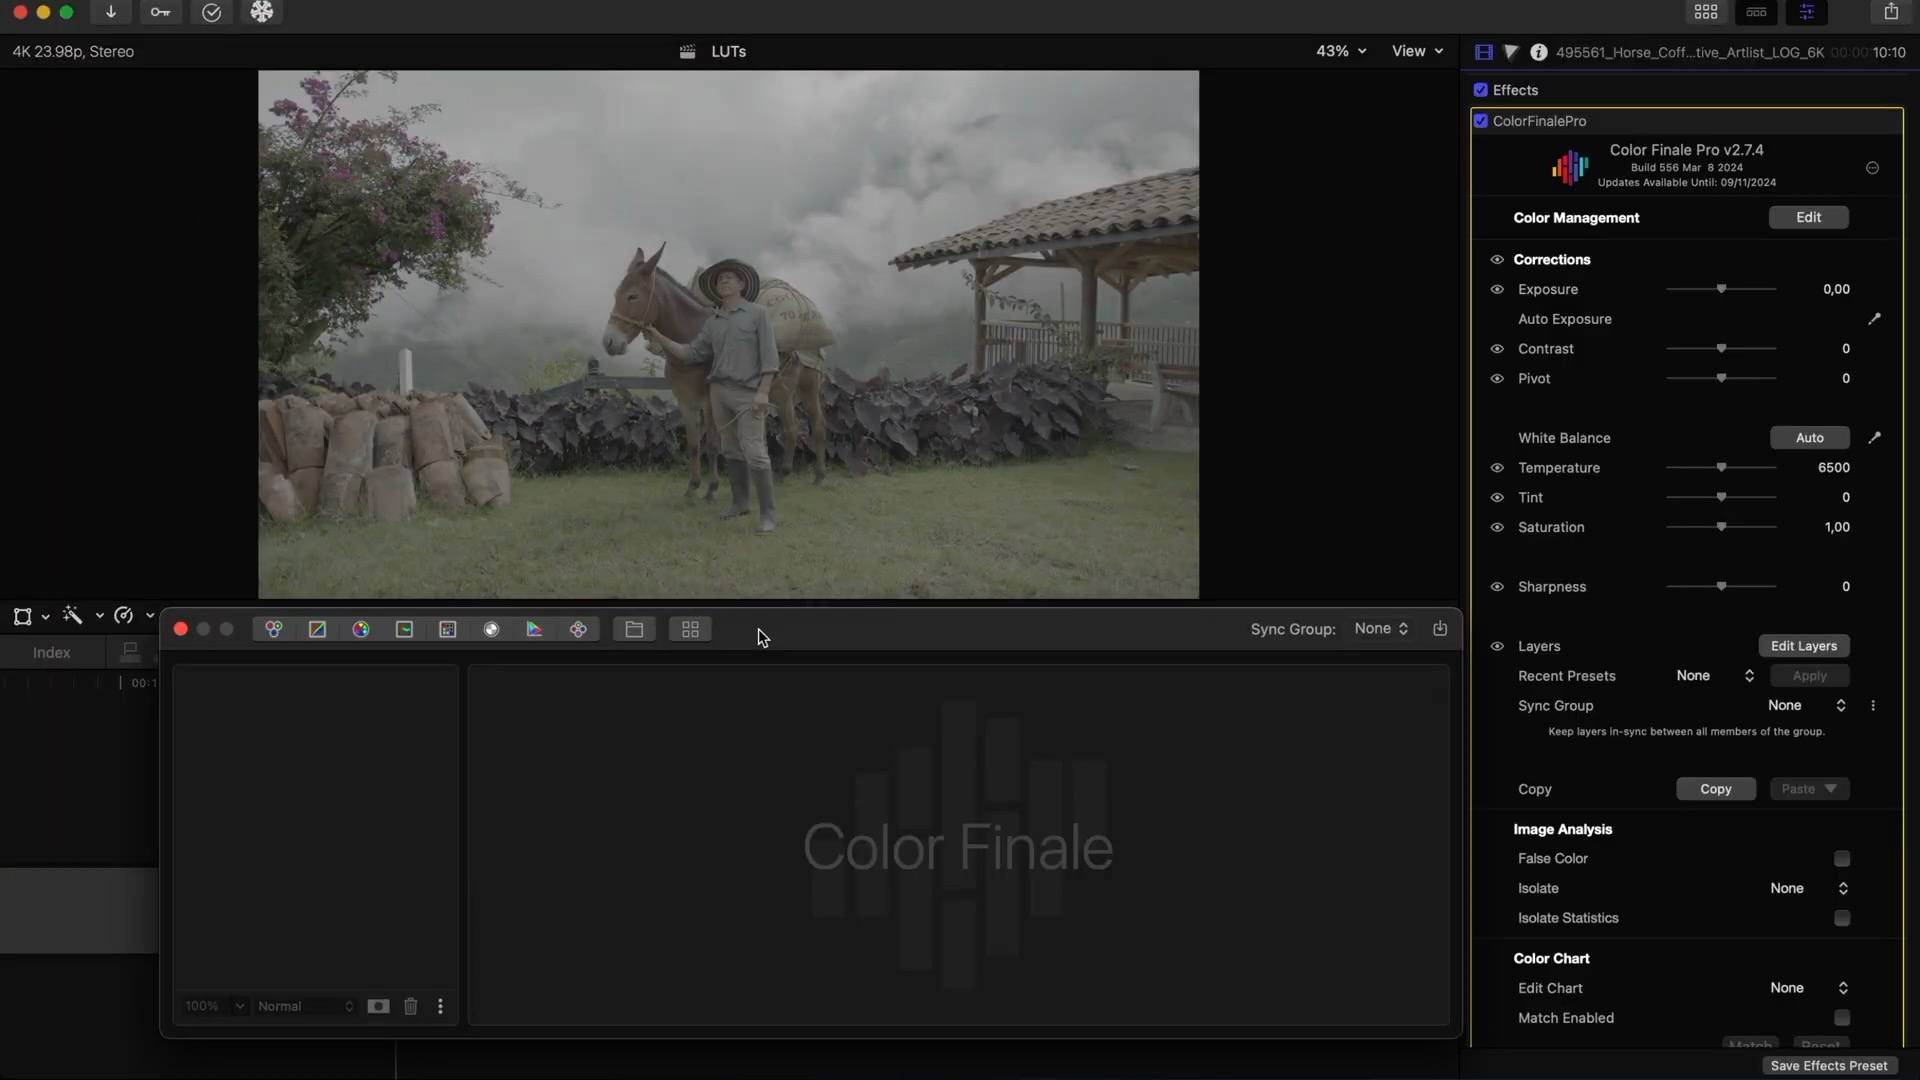
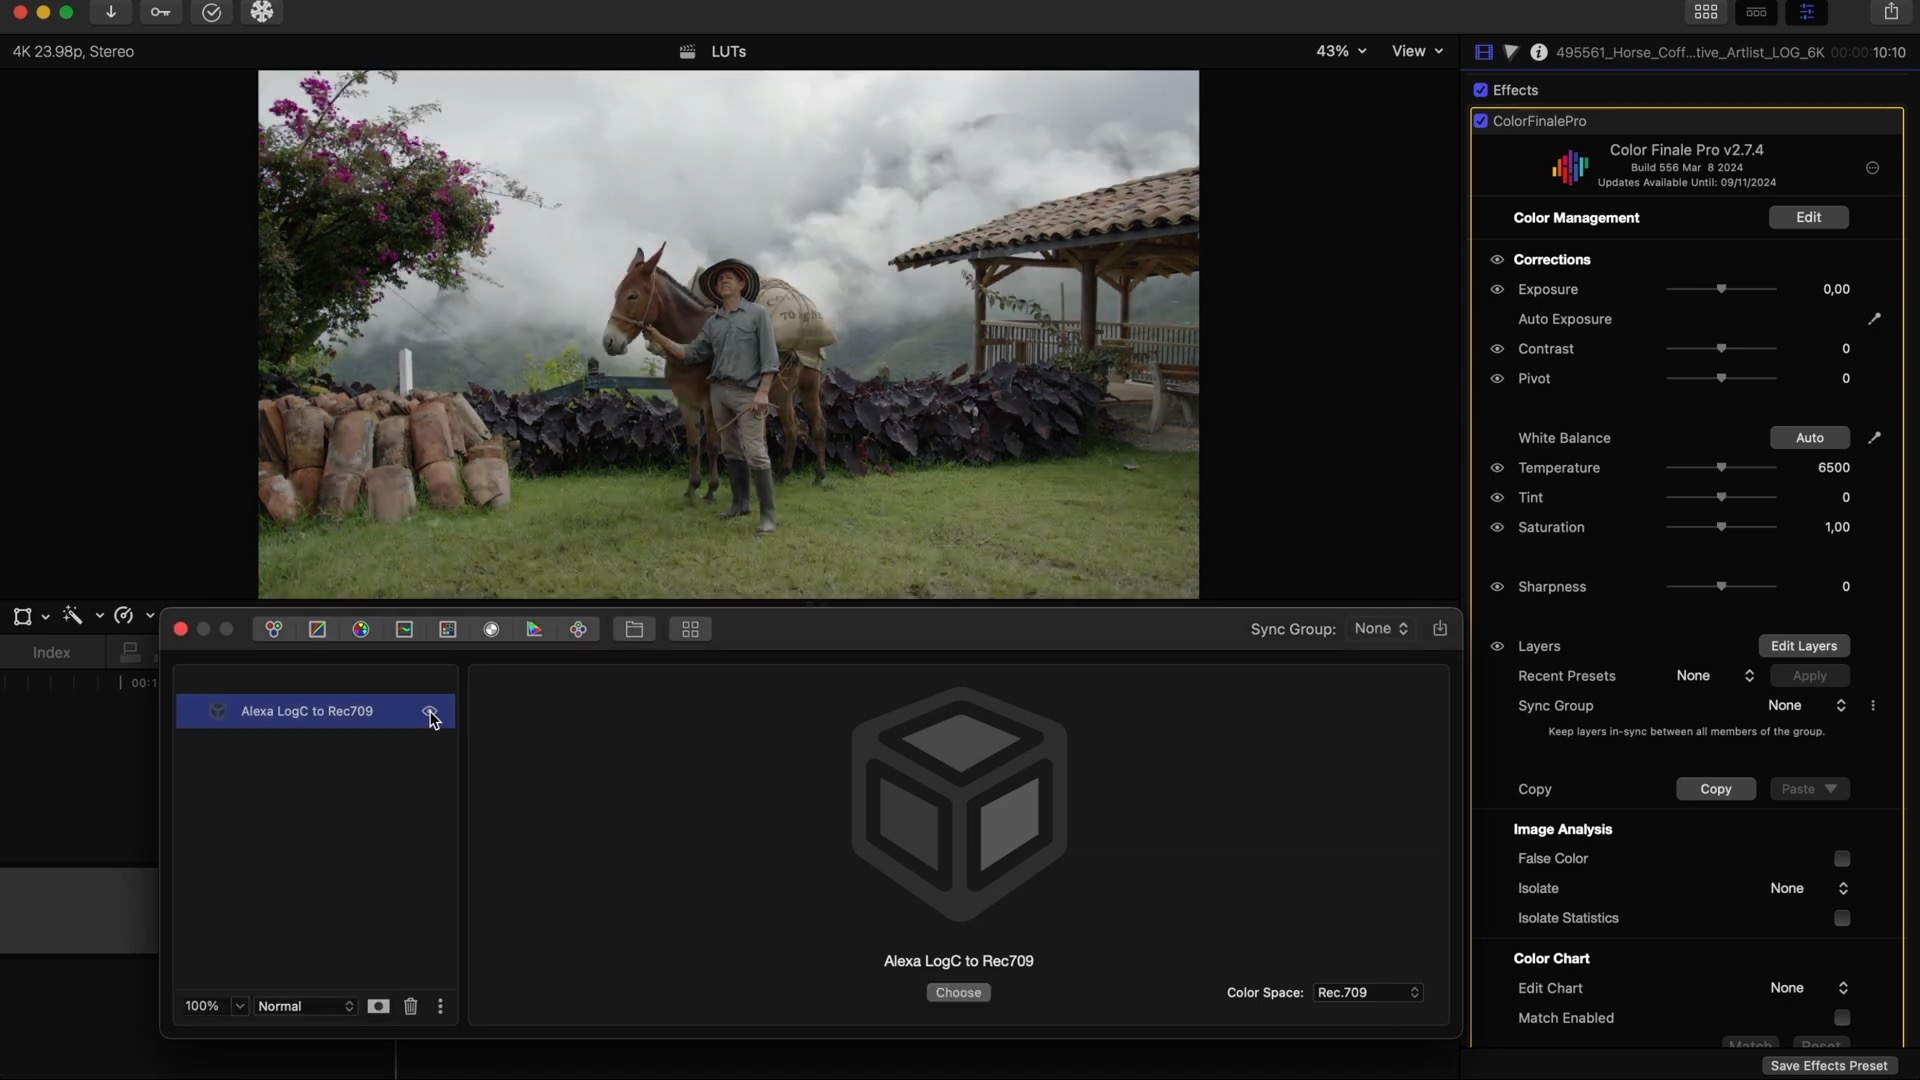
Color Finale 2 Pro lets you import and create LUTs, as well as export them in a simple way. Try for yourself with a free 7-day trial.
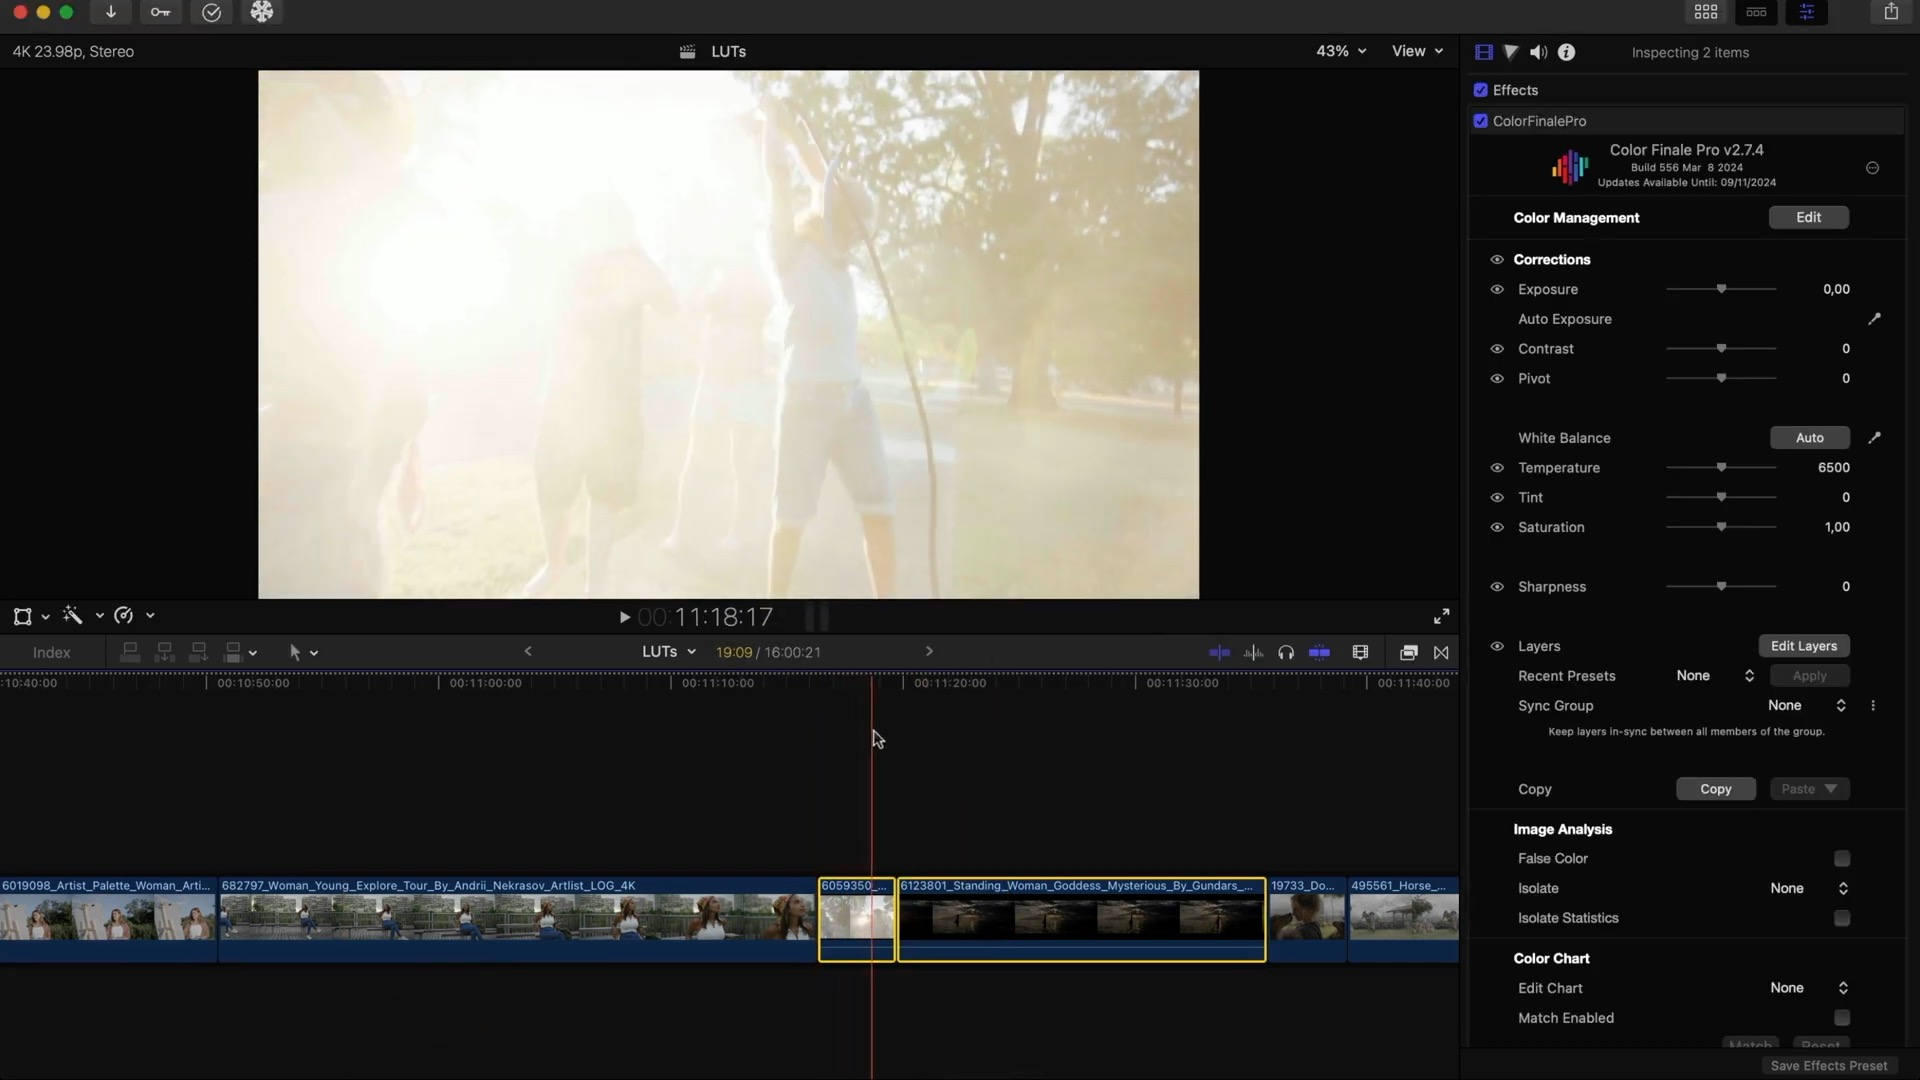
A lot of videographers have one or more go-to conversion LUTs that work nicely with the log material they work on most frequently. In this tutorial we are exclusively using log footage for accurate demonstration.
Example 1
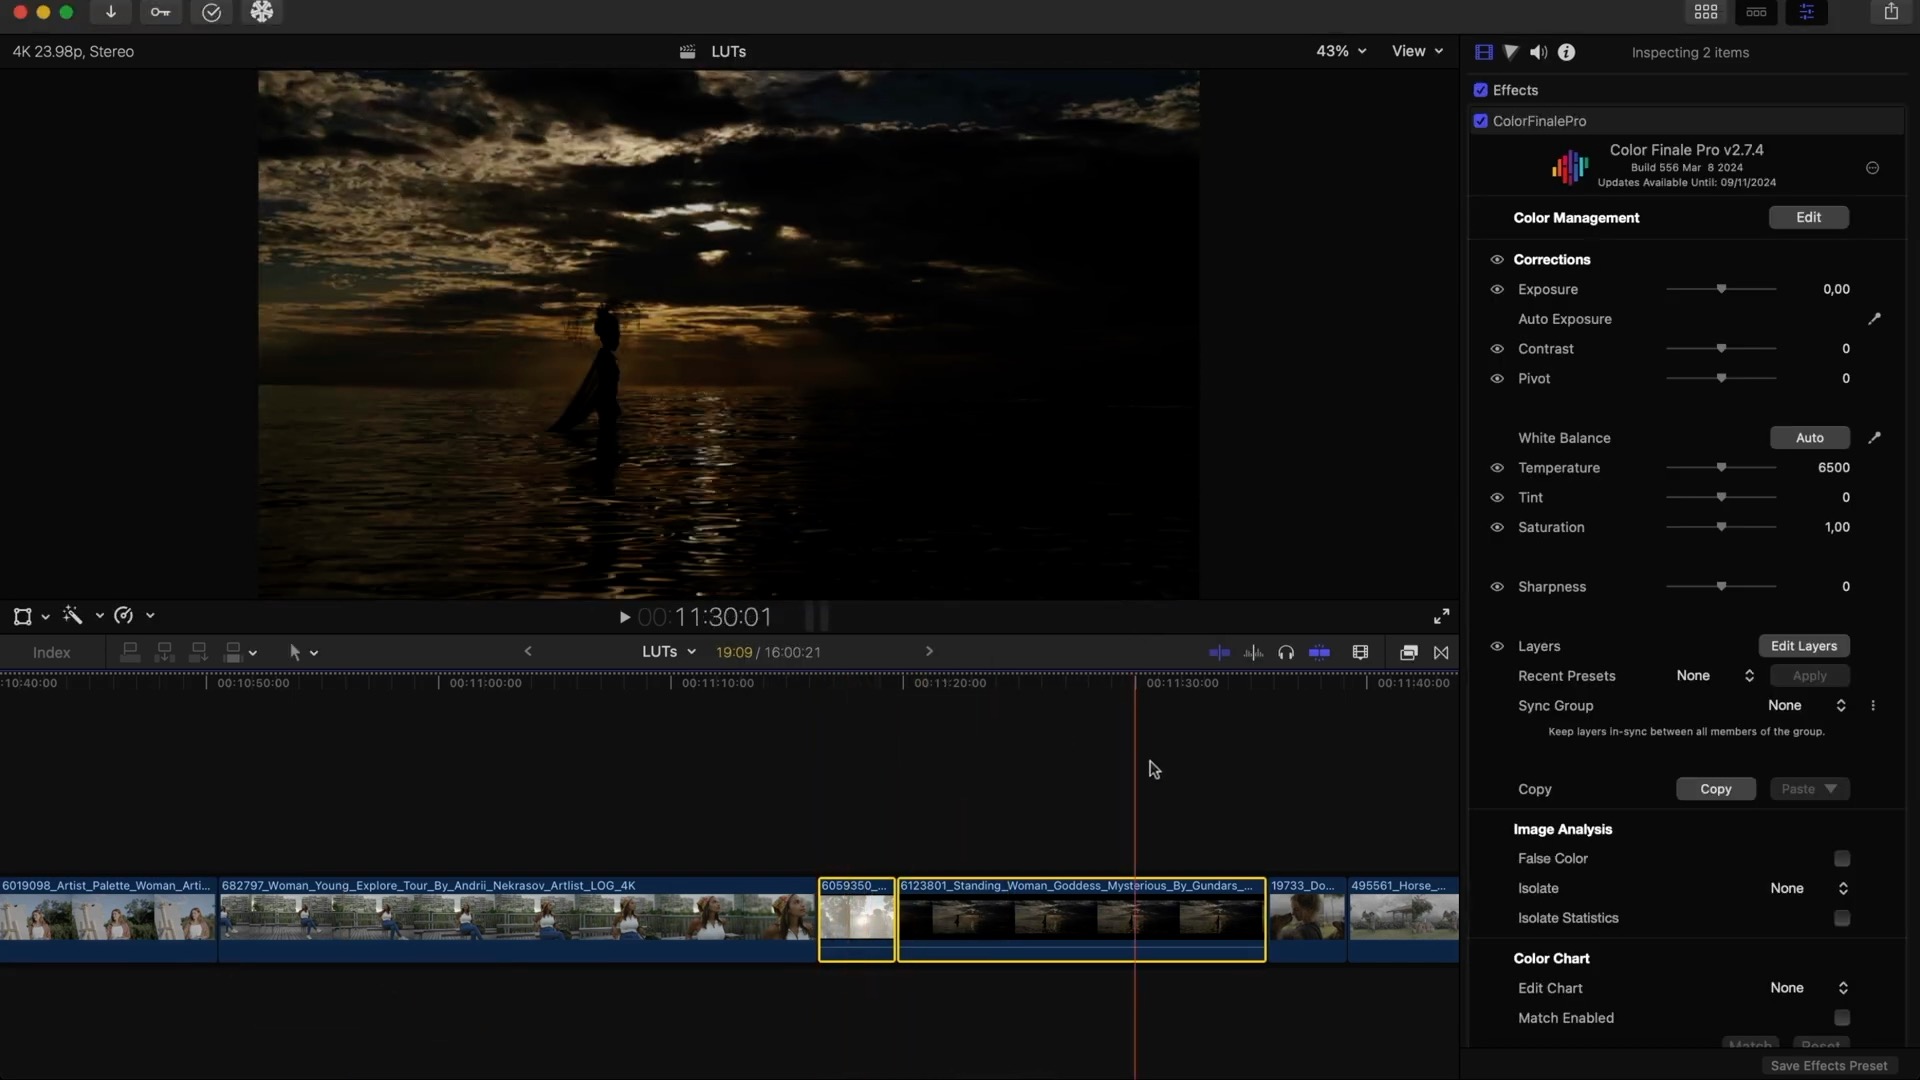
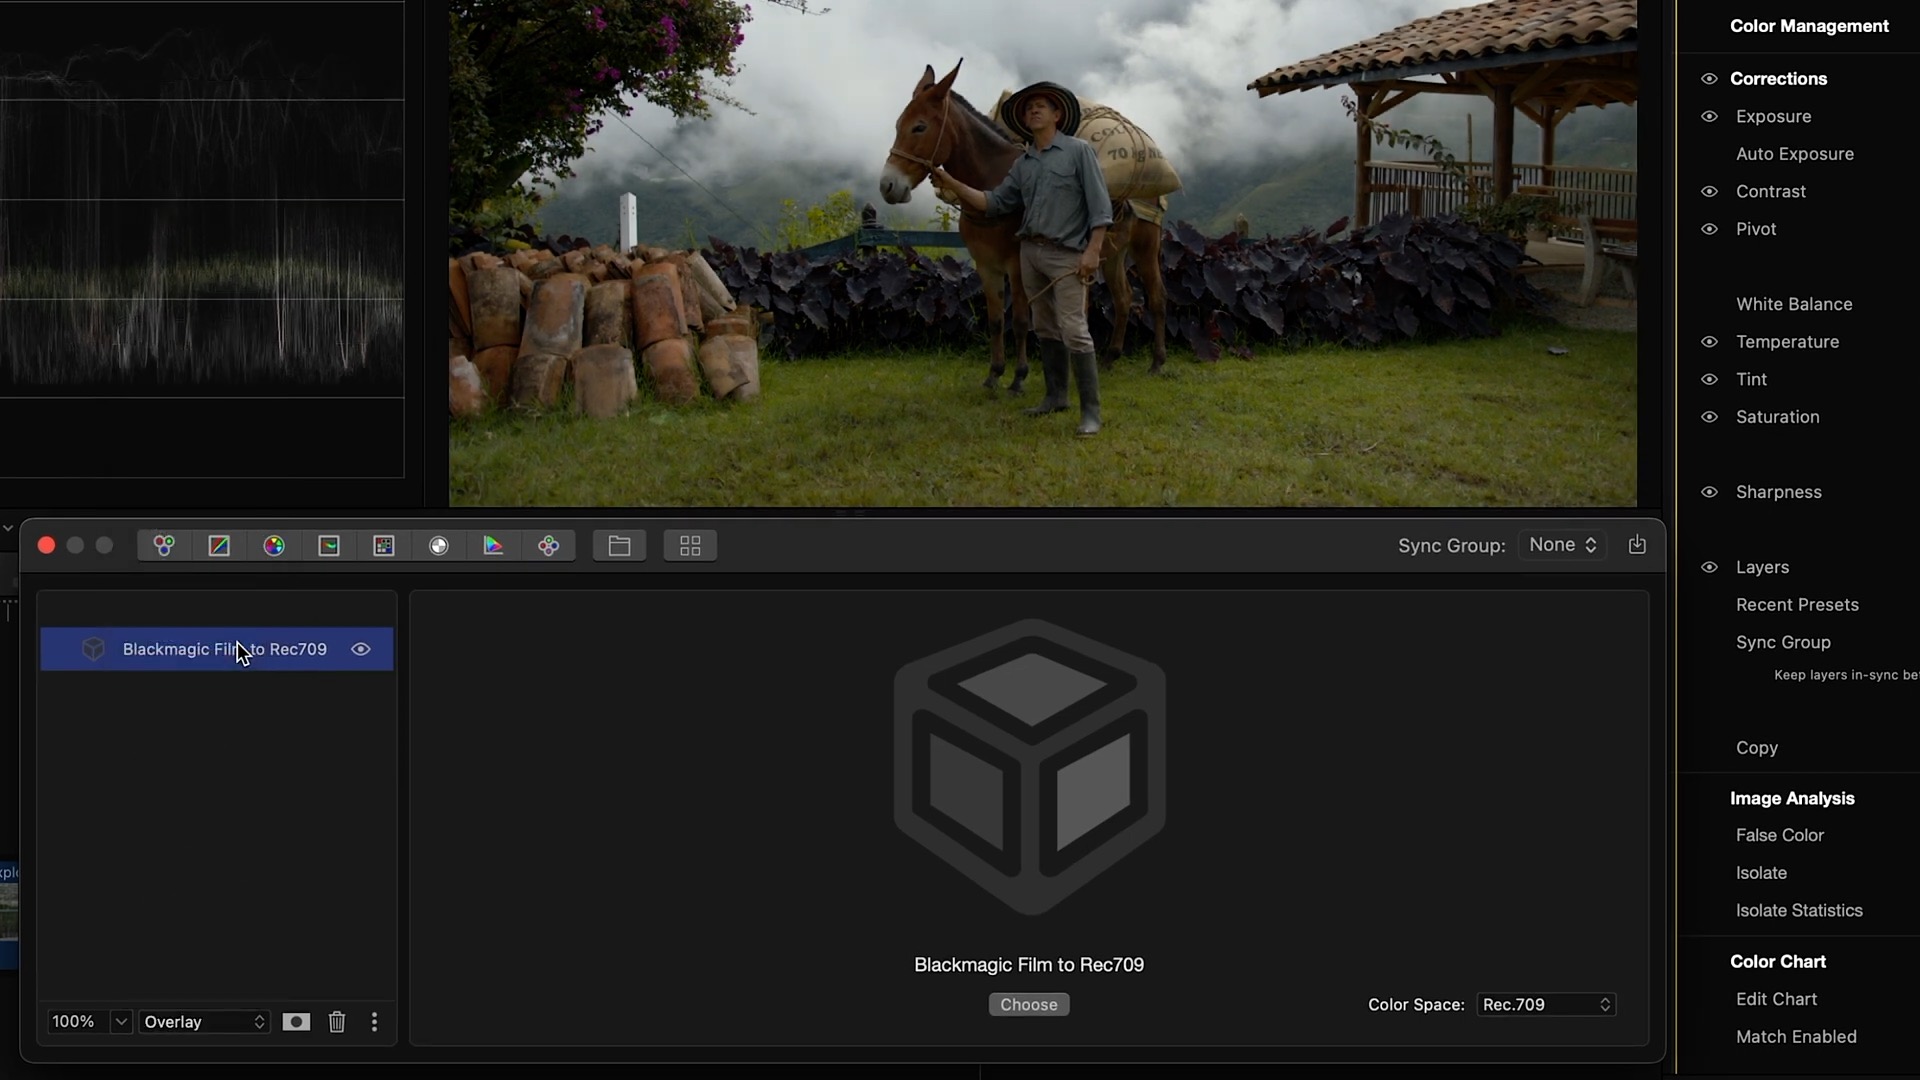
Here we applied a LUT, and it worked nicely on the footage. Let’s copy and paste Color Finale 2 onto other clips and again, all good:
But sometimes we can face problems immediately after applying a LUT. For example the highlights instantly become blown out, or the image too dark.
So is there a fix? You might be tempted to just skip that particular LUT and try another one from your collection, but what if you only have a handful? The good news it that you can keep that one and still bring your images to life.
To help evaluate the image it's always a good idea to first open the Waveform scope in Luma mode.
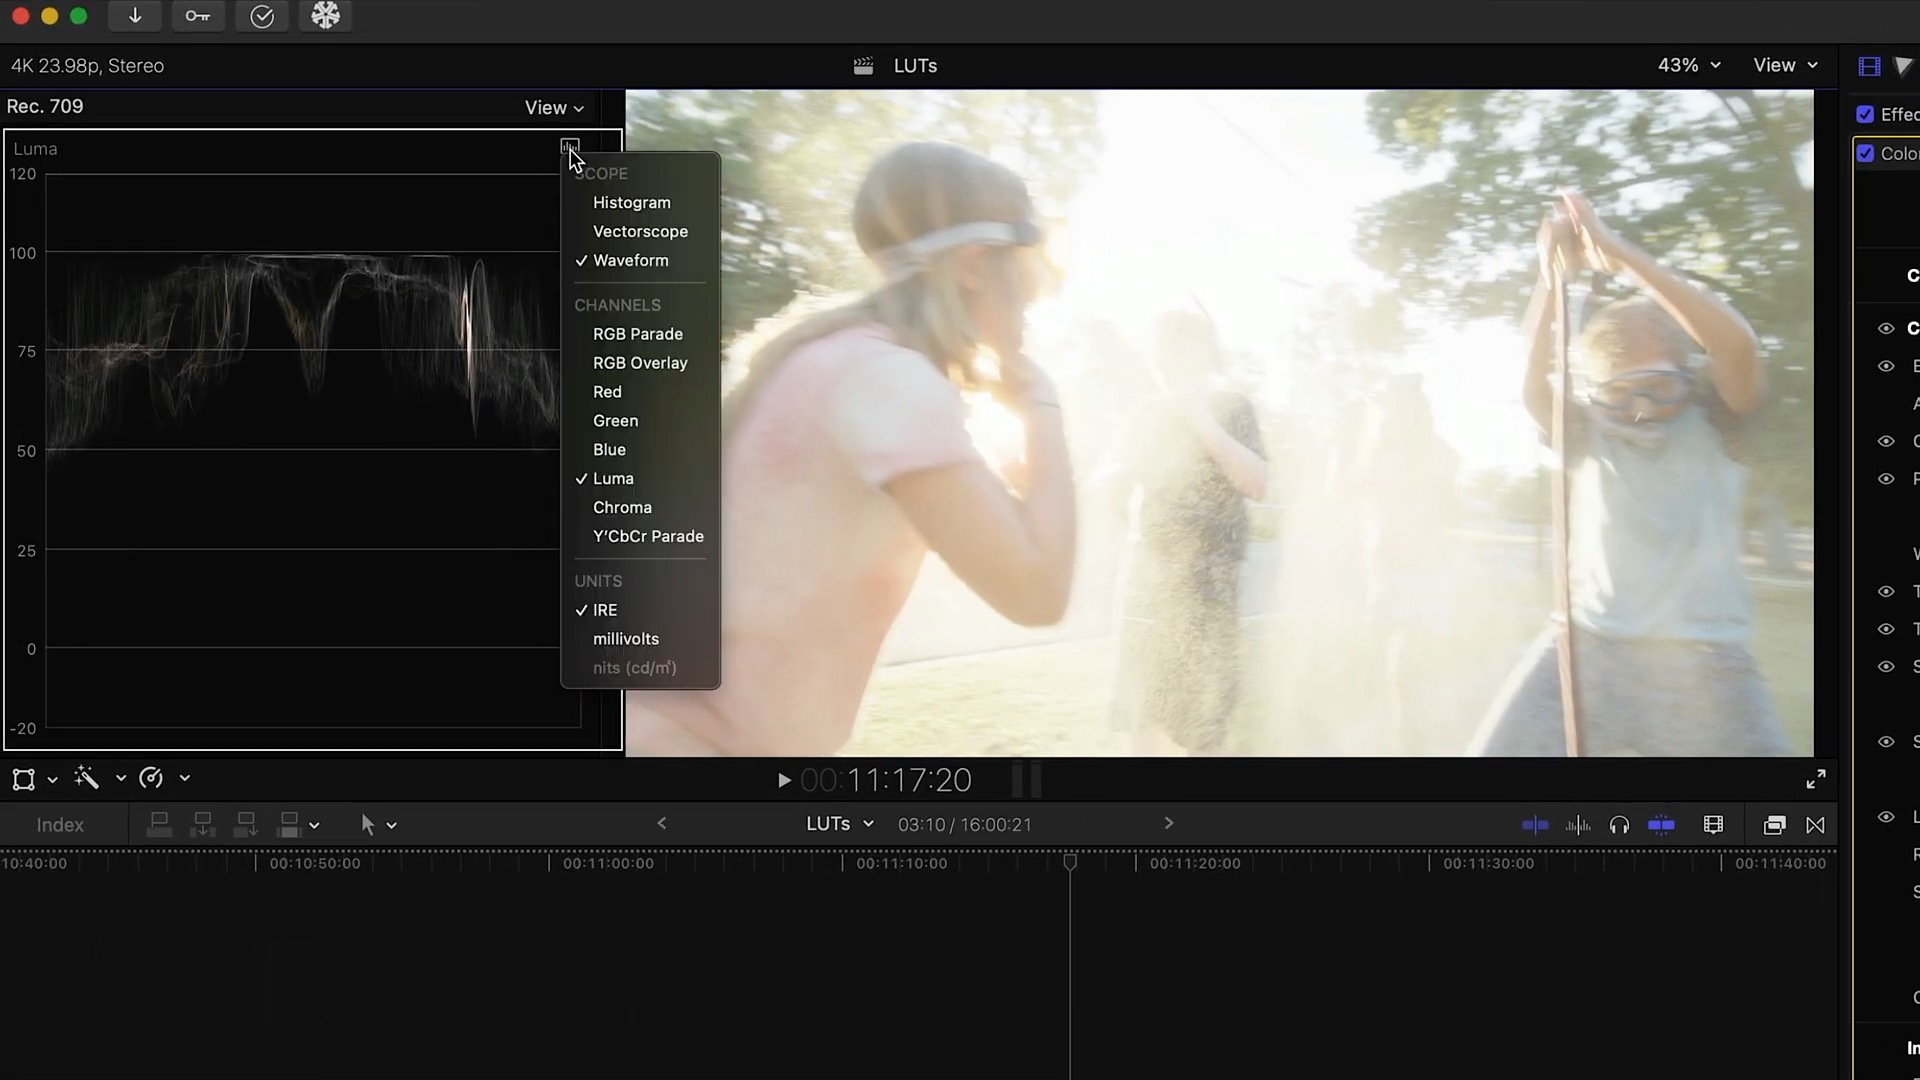
As you can see, in this case the footage is overexposed, and the sun is in direct view causing major flaring. Extremes like these could make things suboptimal for a LUT.
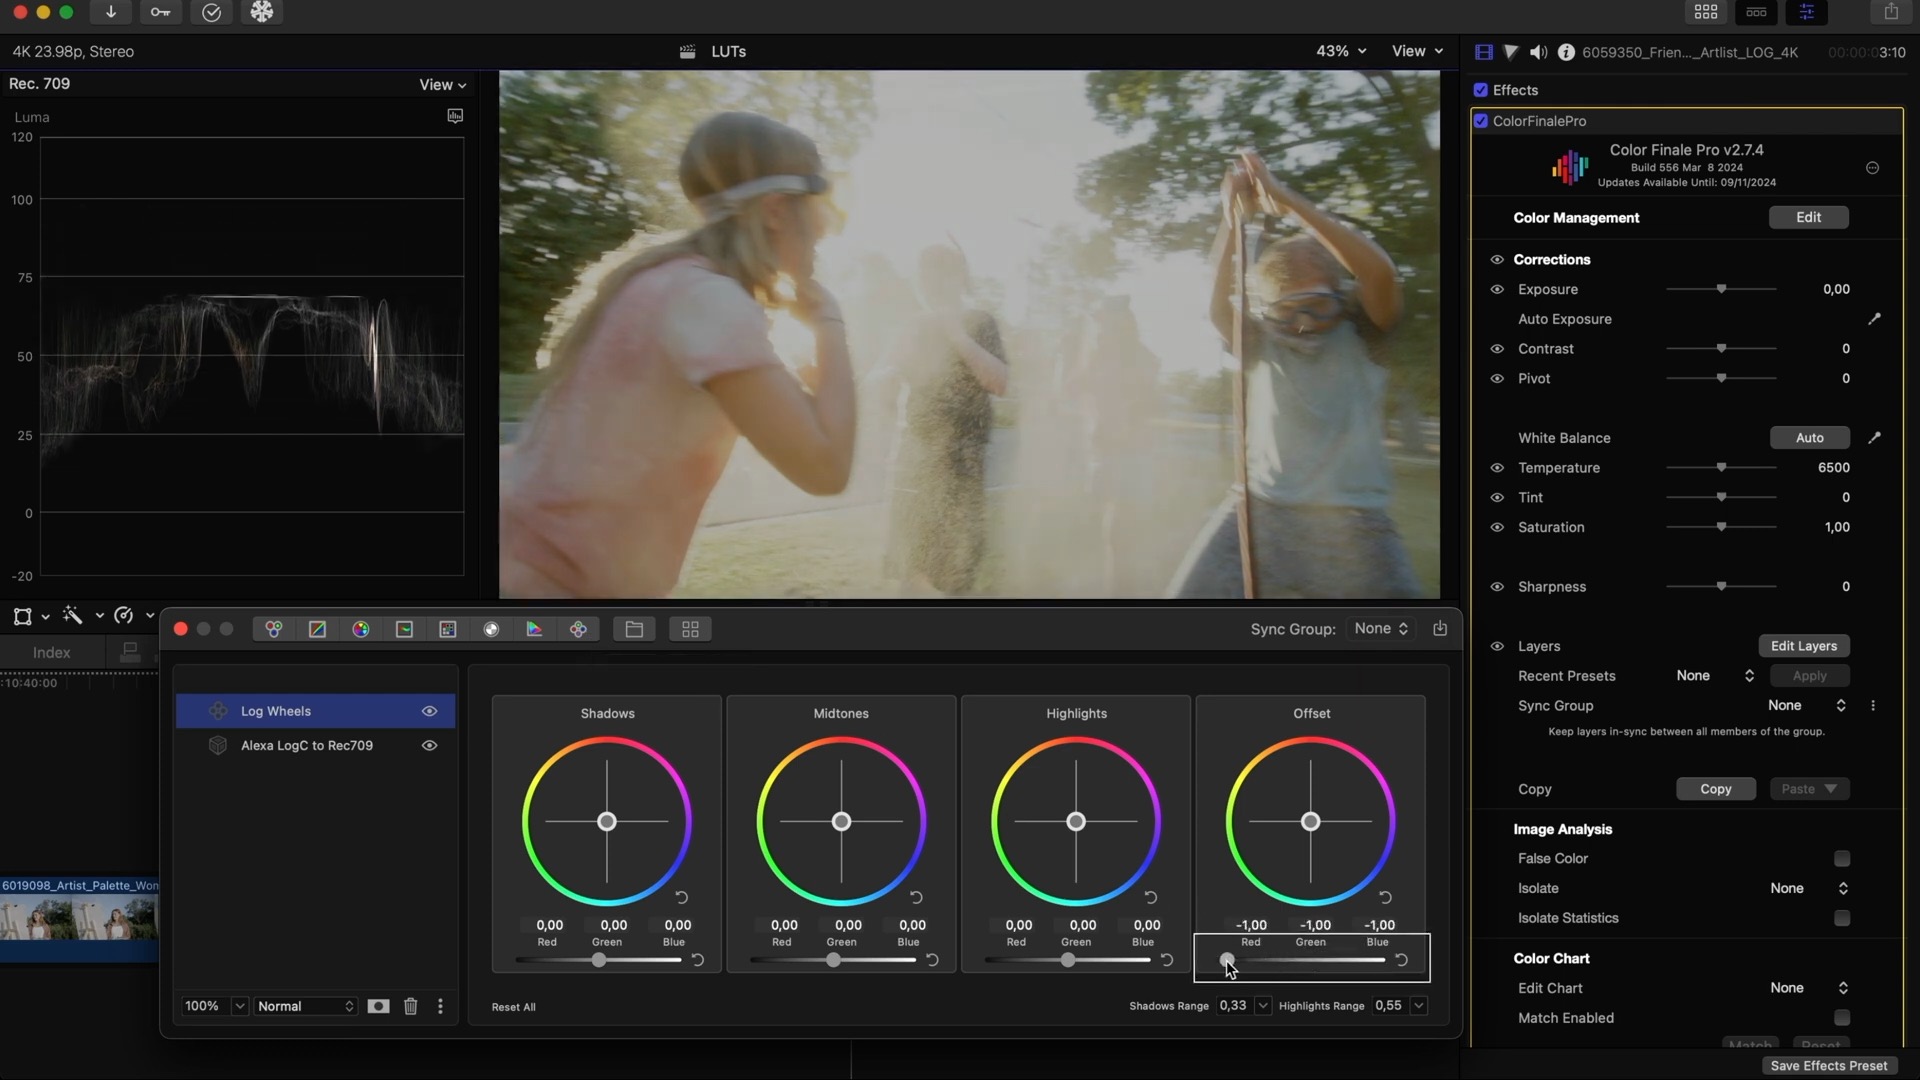
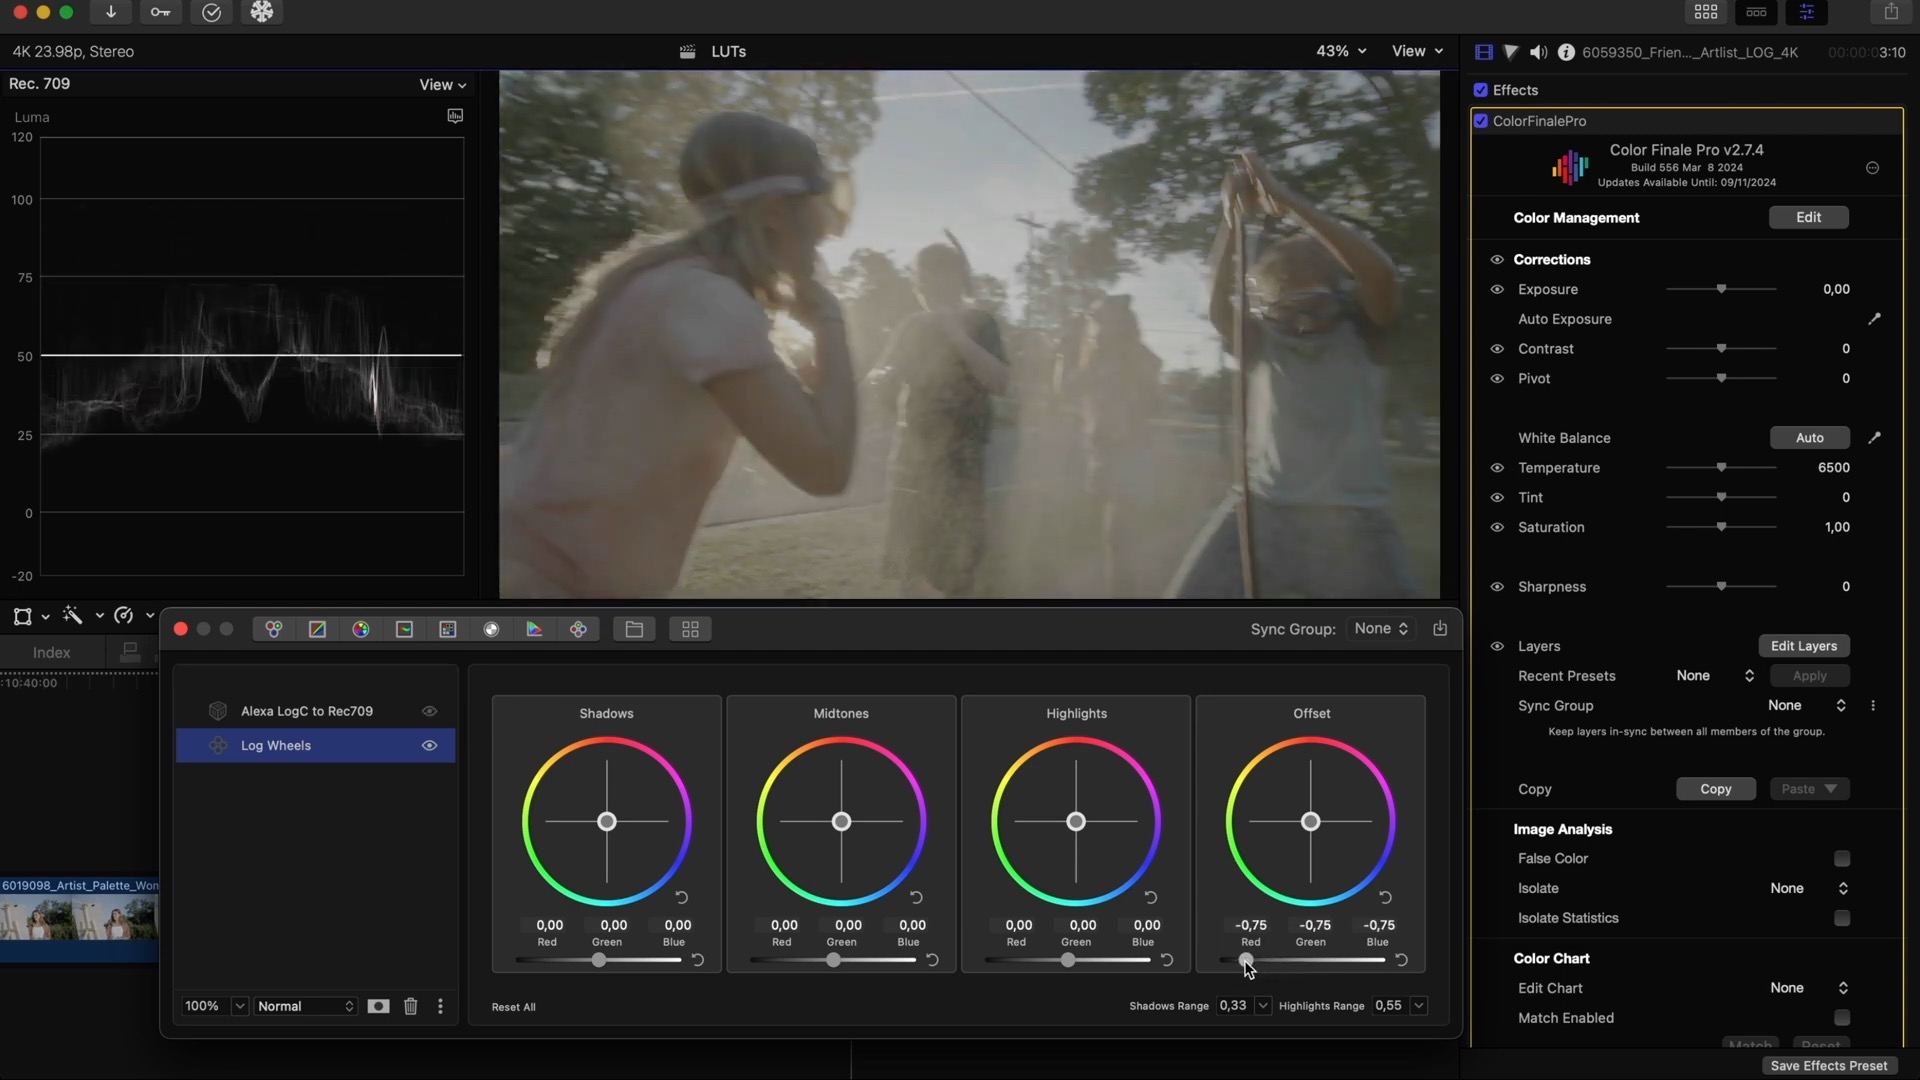
Color Finale 2 Pro provides the most flexible tool for working with log footage — something not found in Final Cut Pro’s native grading tools. That's the Log Wheels tool. Put the Log Wheels layer below the conversion LUT.

Let’s demonstrate why. First, keep it above and try to bring the exposure down, move the offset slider to the left and see what happens. Notice the highlights. There is just a straight line on the scope; meaning all the information in the highlights has been clipped and lost. There’s now no way to bring it back with subsequent operations.
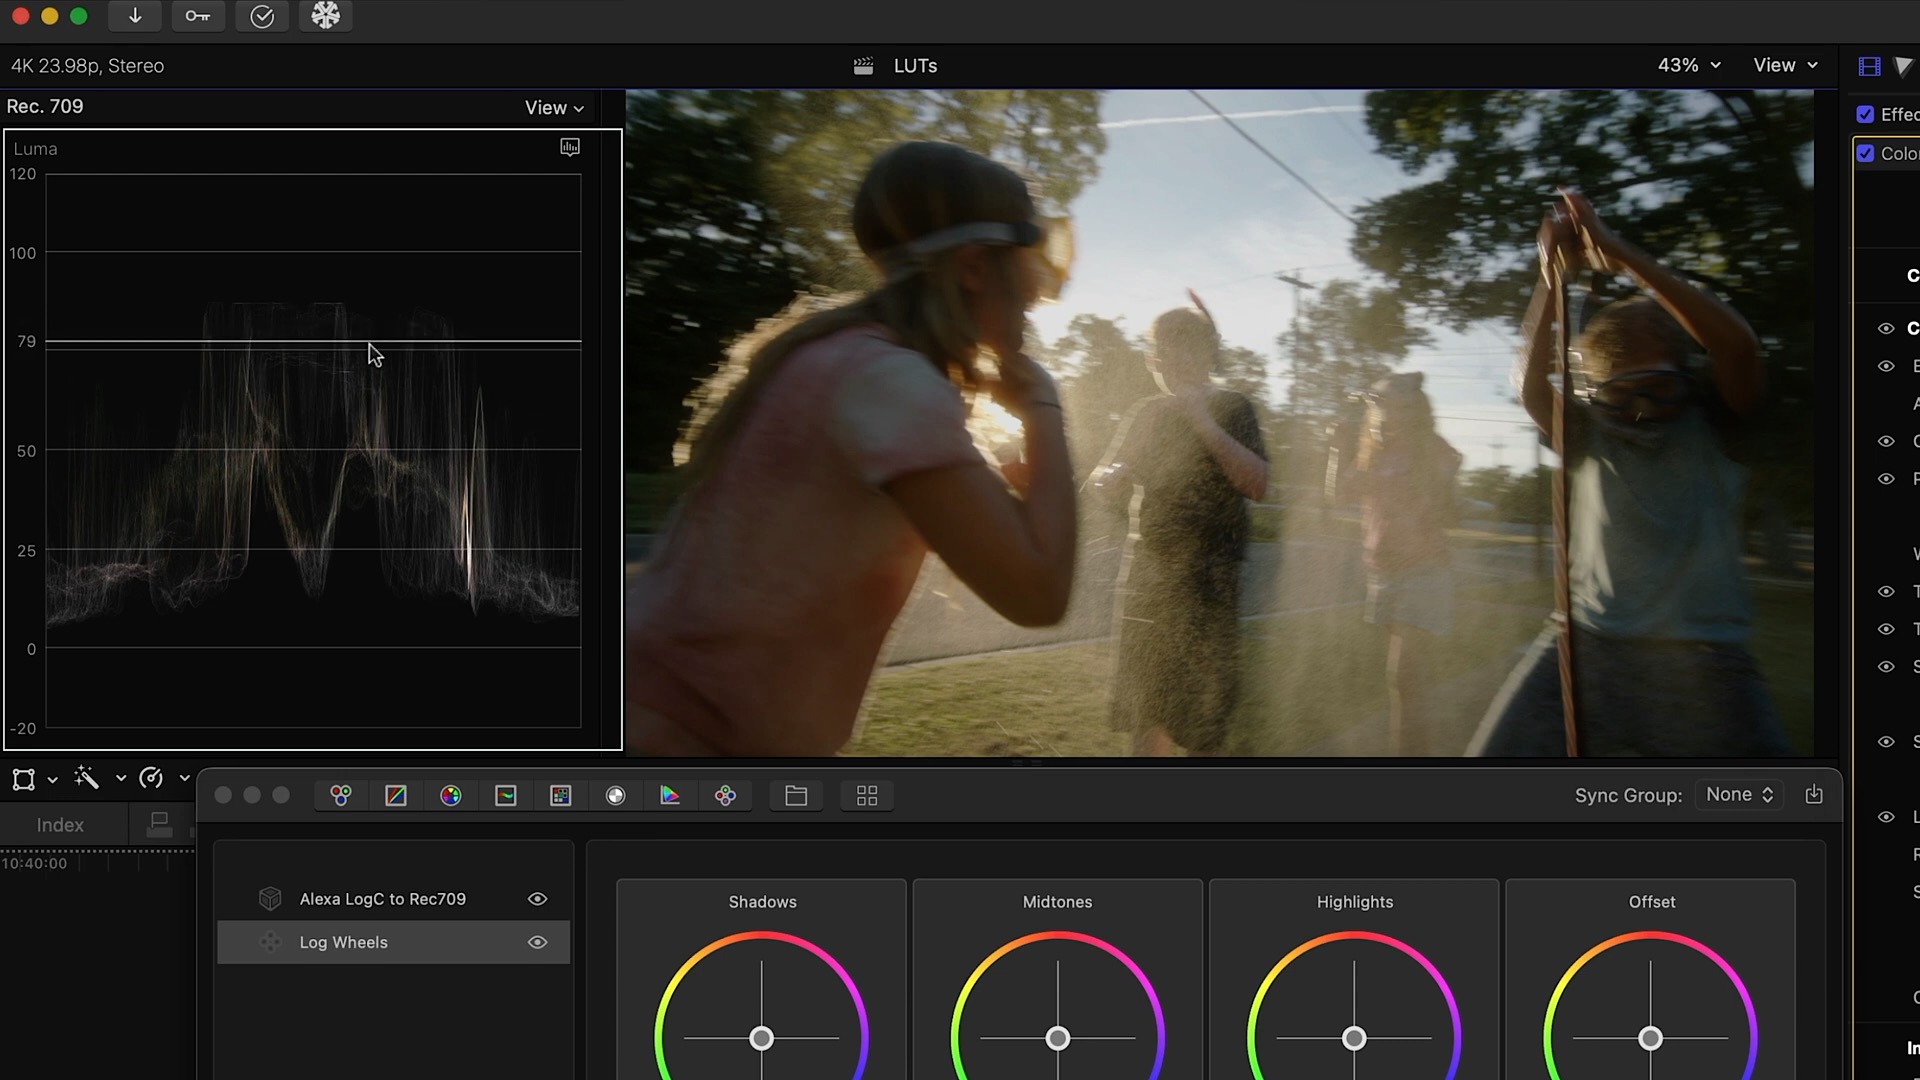
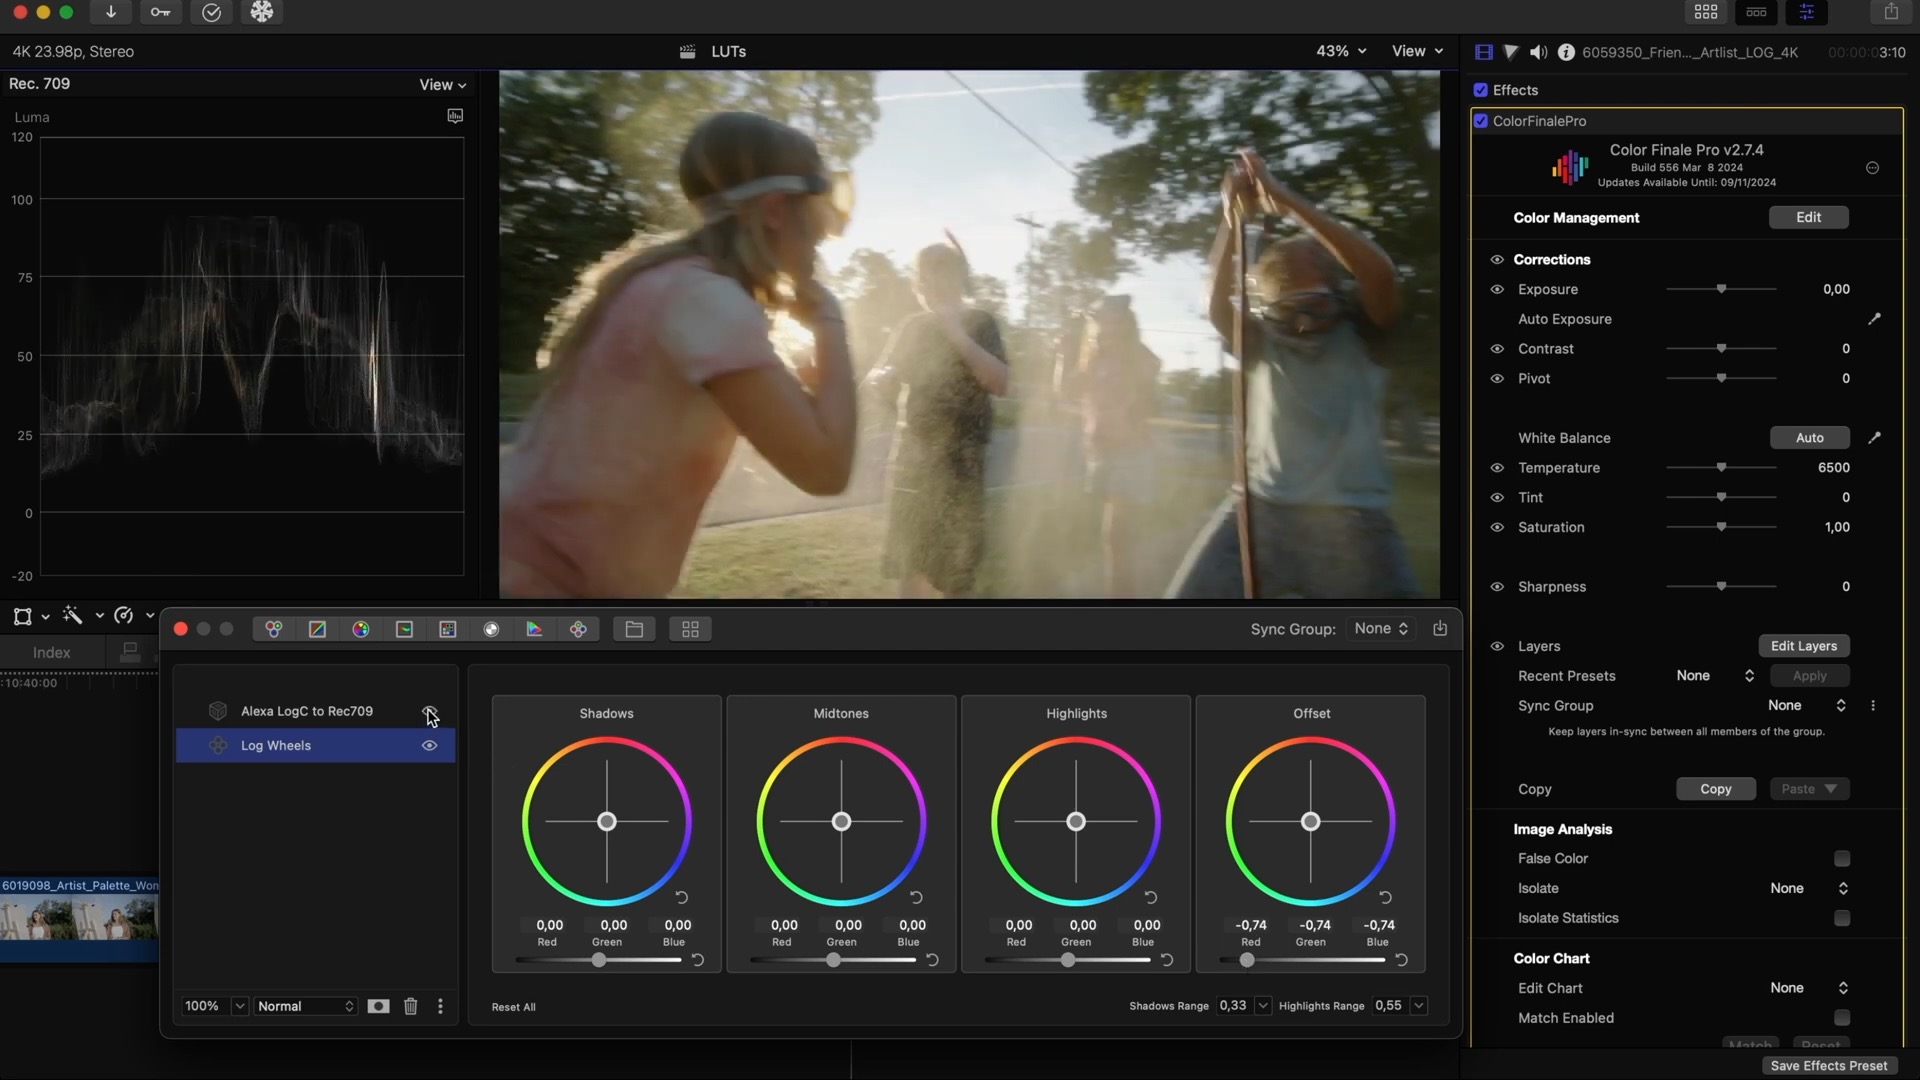
However if Log Wheels act on the footage first, below the conversion LUT, you preserve much of the information since the full potential and dynamic range of your Log footage is unlocked, especially in this kind of workflow.
If you look at the waveform now you would clearly see that it retains all the information that was clipped previously:
Turn off the LUT layer and continue to lower the exposure, and set the midtones so that they are around half way on the scope. Then turn the LUT layer back on. Now, our image is brought back to life and is looking good. Easy.
You can do the same with this next clip that has become too dark instead.
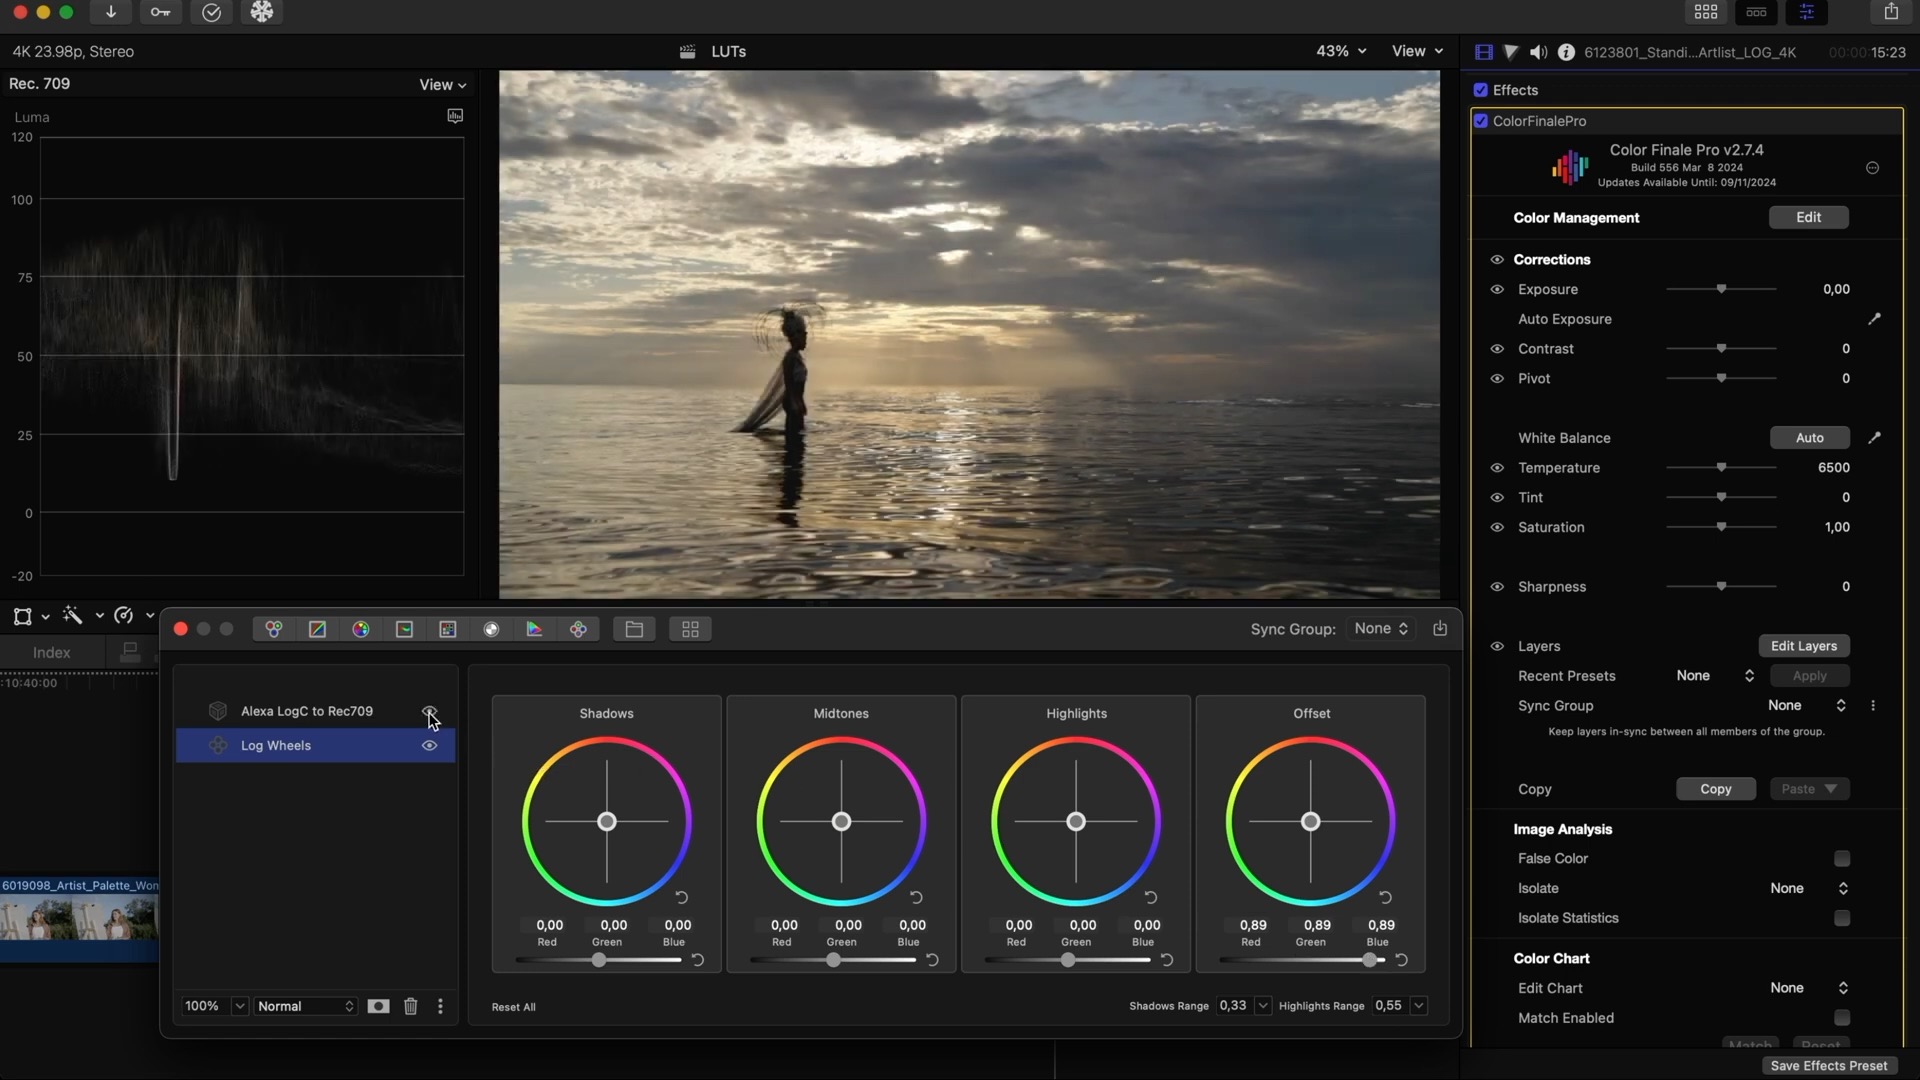
Follow the same steps but in this case you just need to increase the exposure. So, now we clearly see that using Log wheels together with a conversion LUT gives you an advantage over regular tools. And this is something Final Cut Pro doesn’t include natively.
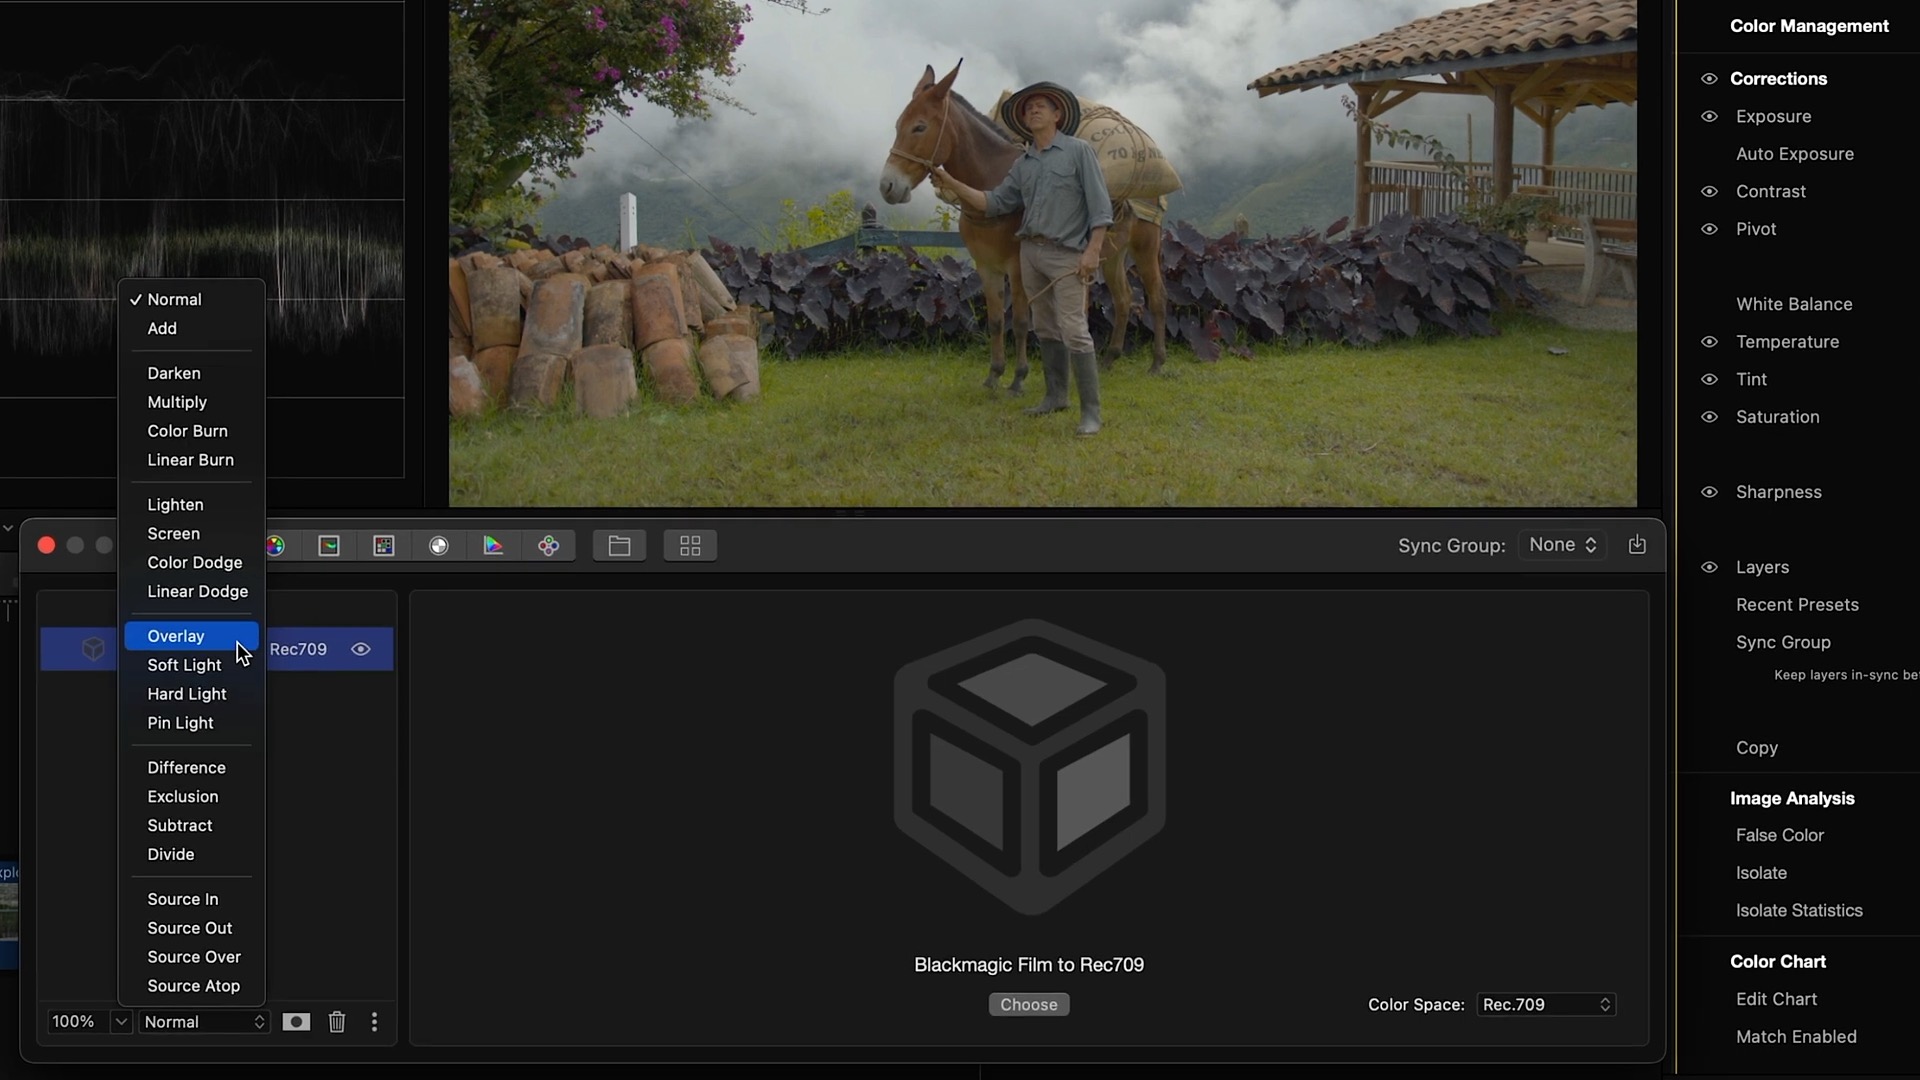
A handy tip: you can instantly increase the contrast of your conversion LUT if it's not doing enough for you by setting a blend mode on the layer. You can apply Overlay, Soft Light, or Hard Light to achieve a hard contrast result, all in a couple of clicks.
Example 2
Let’s take a look at another case when you might want to use a LUT that both converts the footage into a video color space, while at the same time giving it a look.
After applying a LUT the image could look better, and in most cases, you could try to find another one. But you can take steps to improve on what you have. Like previously, place Log Wheels below the LUT layer. Make some changes to the exposure, shadows, midtones, and highlights. You can add as many layers as you want, so for example you can create another Log Wheels layer to help further stylize the original look.
Here's the before:
And here's after:

Example 3
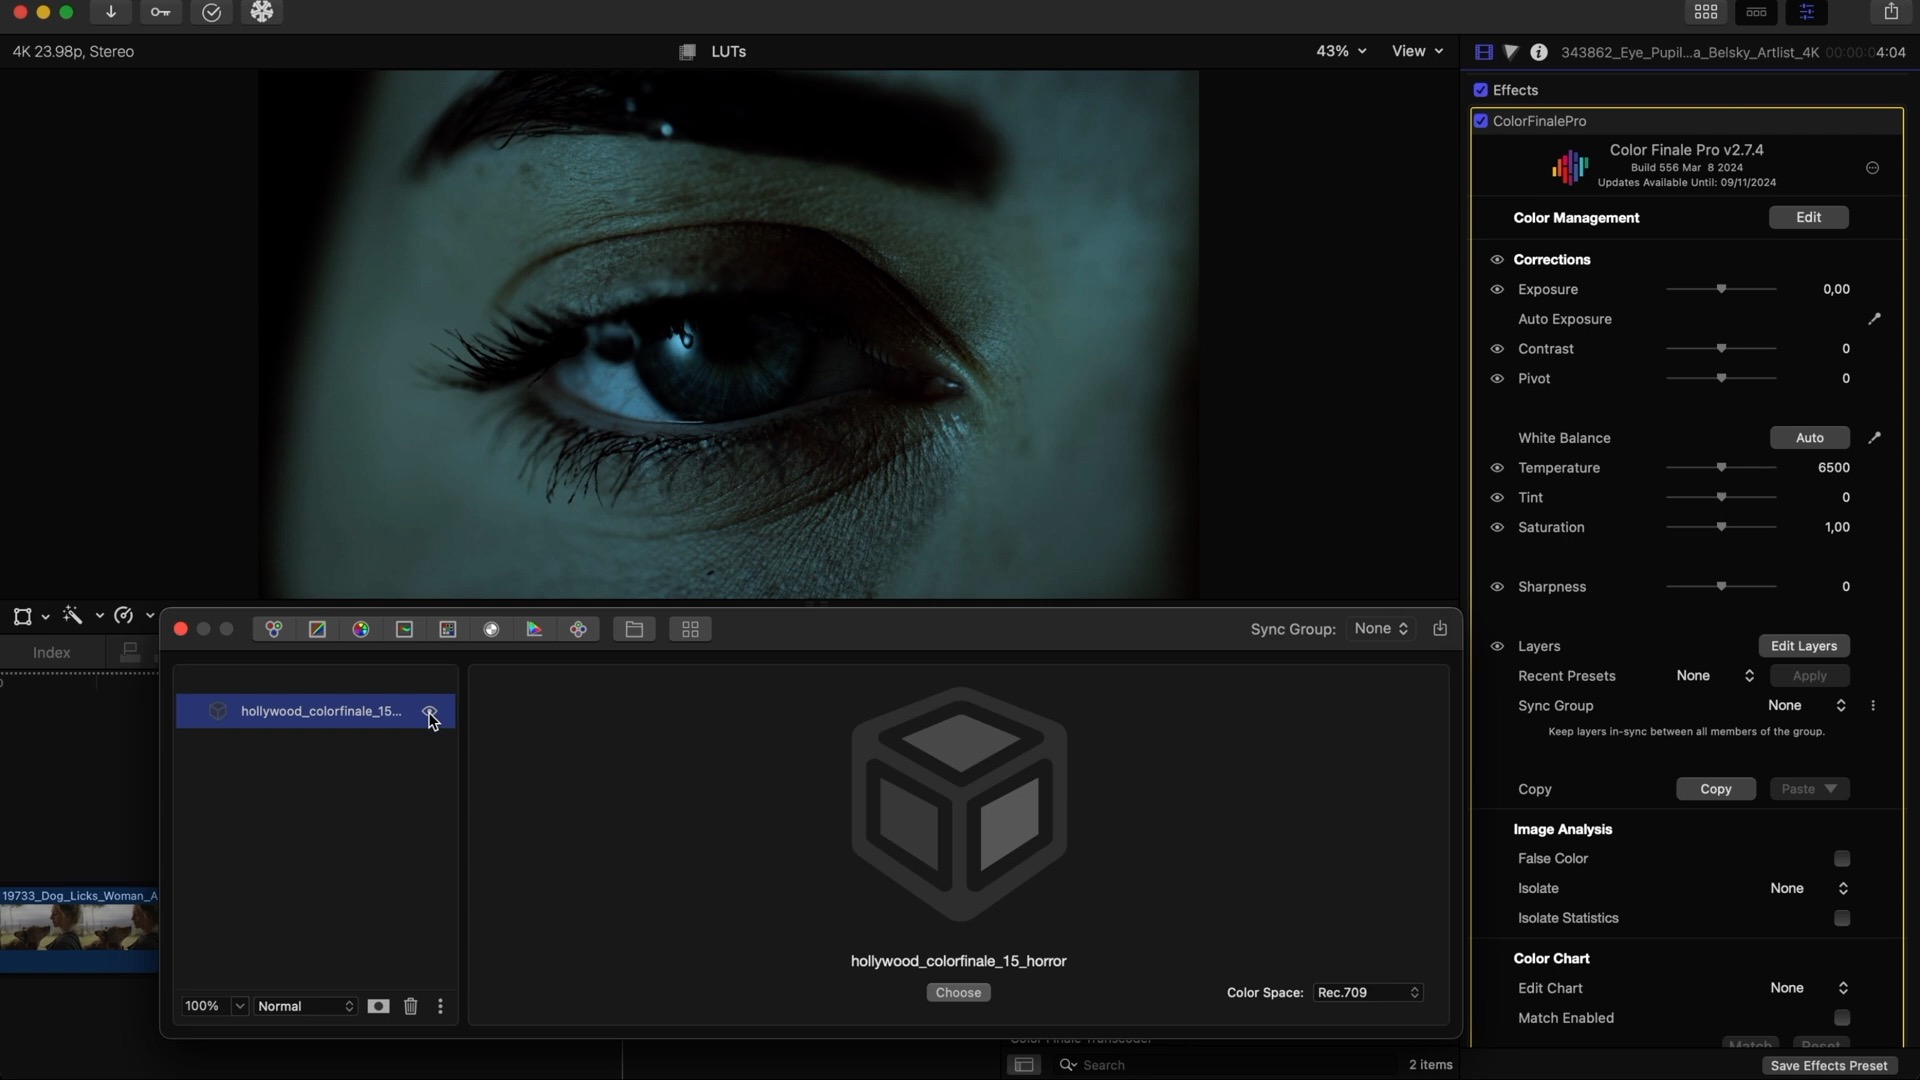
You can also apply masks over LUT layers. Here is a close-up that we want to stylize.
Let’s pick a LUT from our Hollywood LUT collection; for example, let’s choose Horror. Instantly spooky!
A B-Spline mask around the eye can keep it untouched by the LUT. First, create a group and put your LUT layer into it. Then create a mask over this layer. Invert it and change its feather to around 25%.
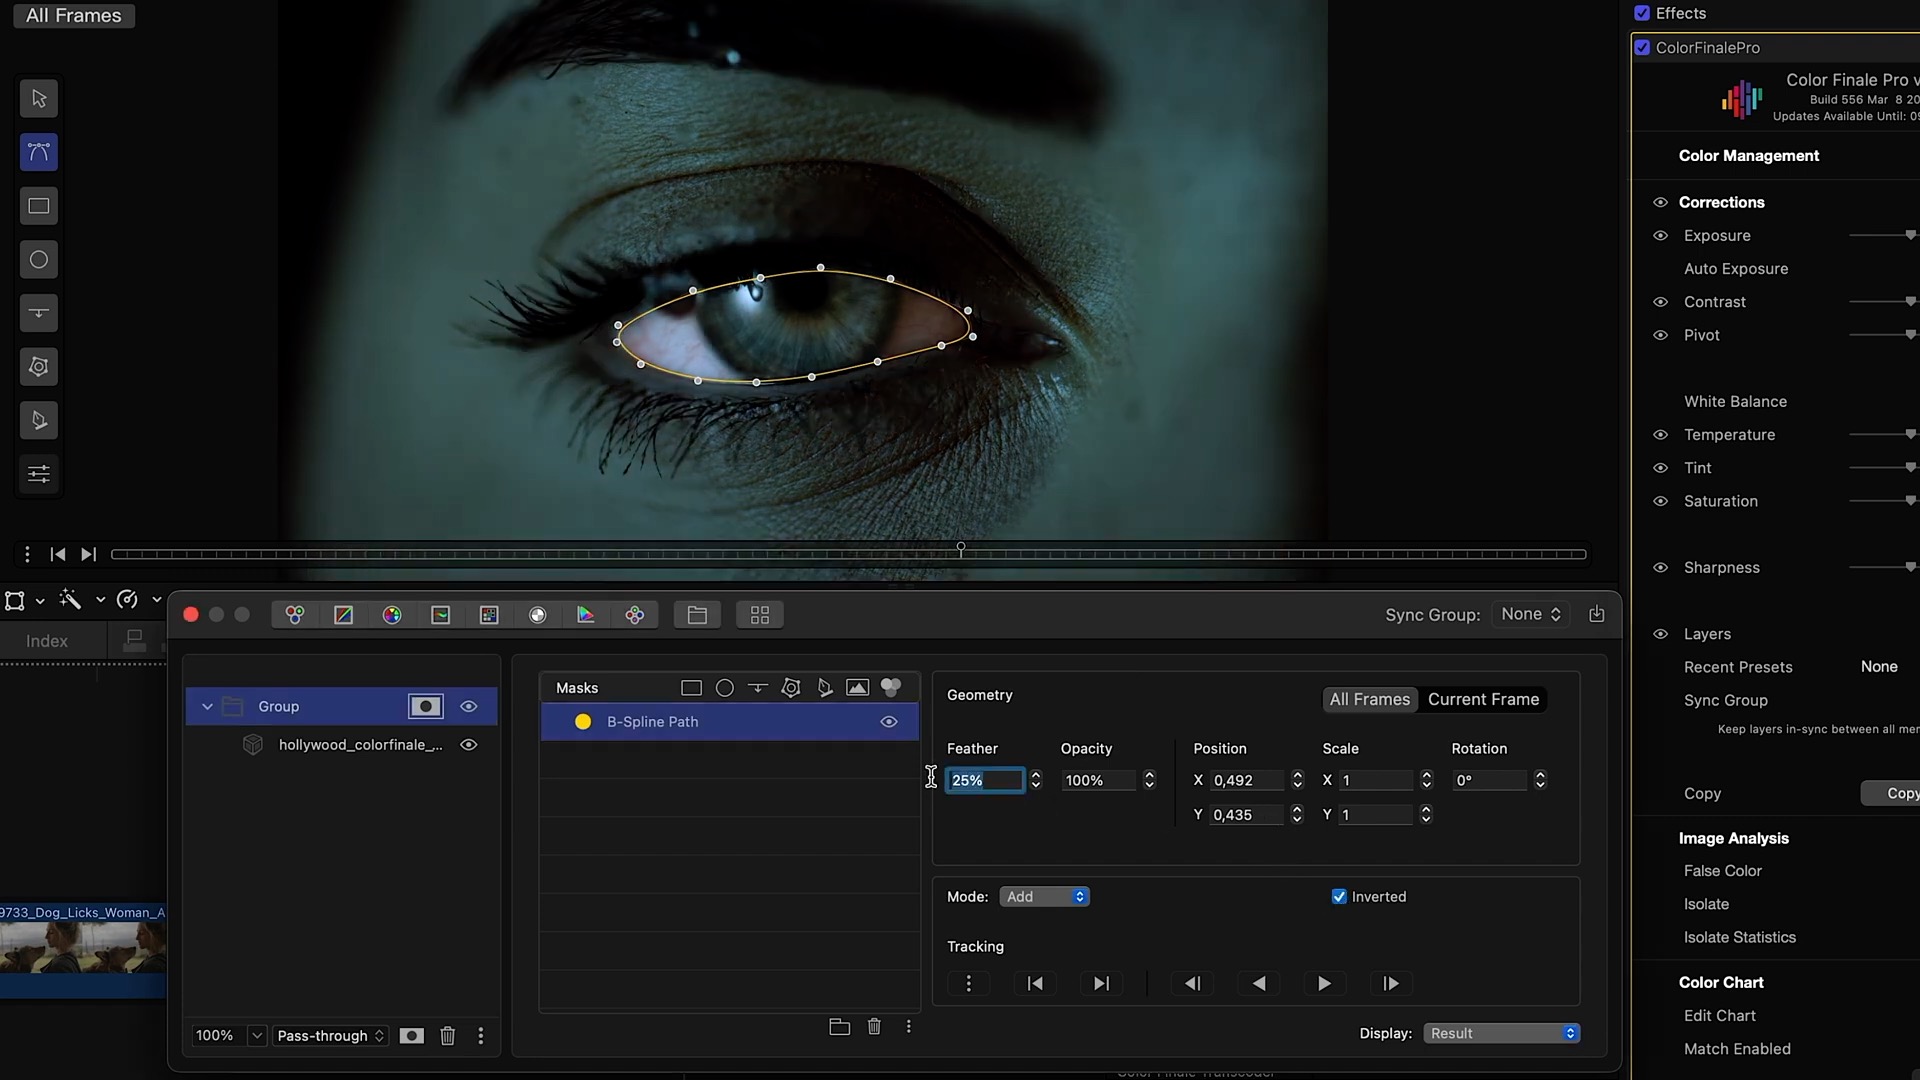
Just one mask can increase the overall impact of your footage! By adding more tools into this group, you can continue to refine the final image:
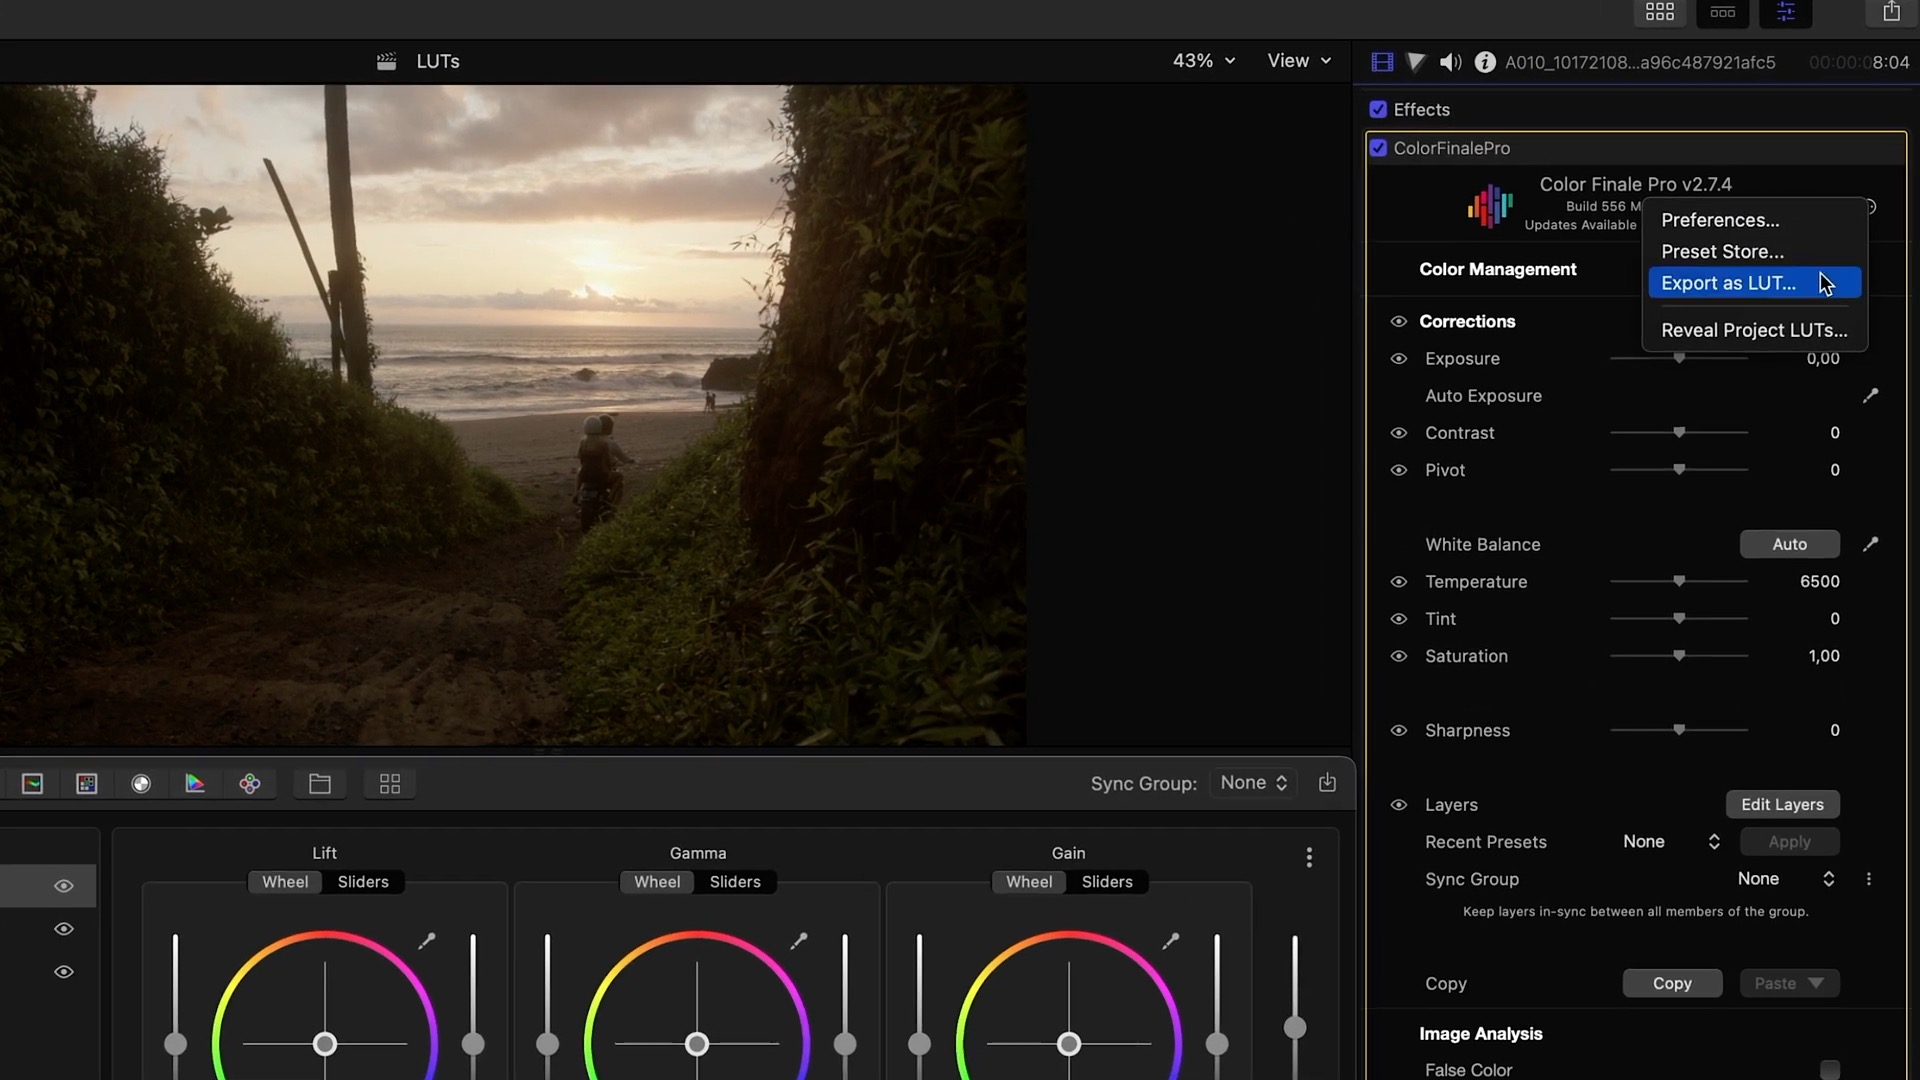
Exporting LUTs
So you've create a really nice look. What if you want to re-use it down the line? Color Finale 2 Pro includes an option to export your color grade as a .cube LUT. For example, you can add it as a LUT to your camera or monitor during a shoot. To export, go to the Color Finale 2 Pro inspector and click on the circular button in the top right.
Note that due to the nature of LUT files, masks and effects are not saved. If you want to save everything, consider saving as a Preset instead to use with other Color Finale 2 projects.
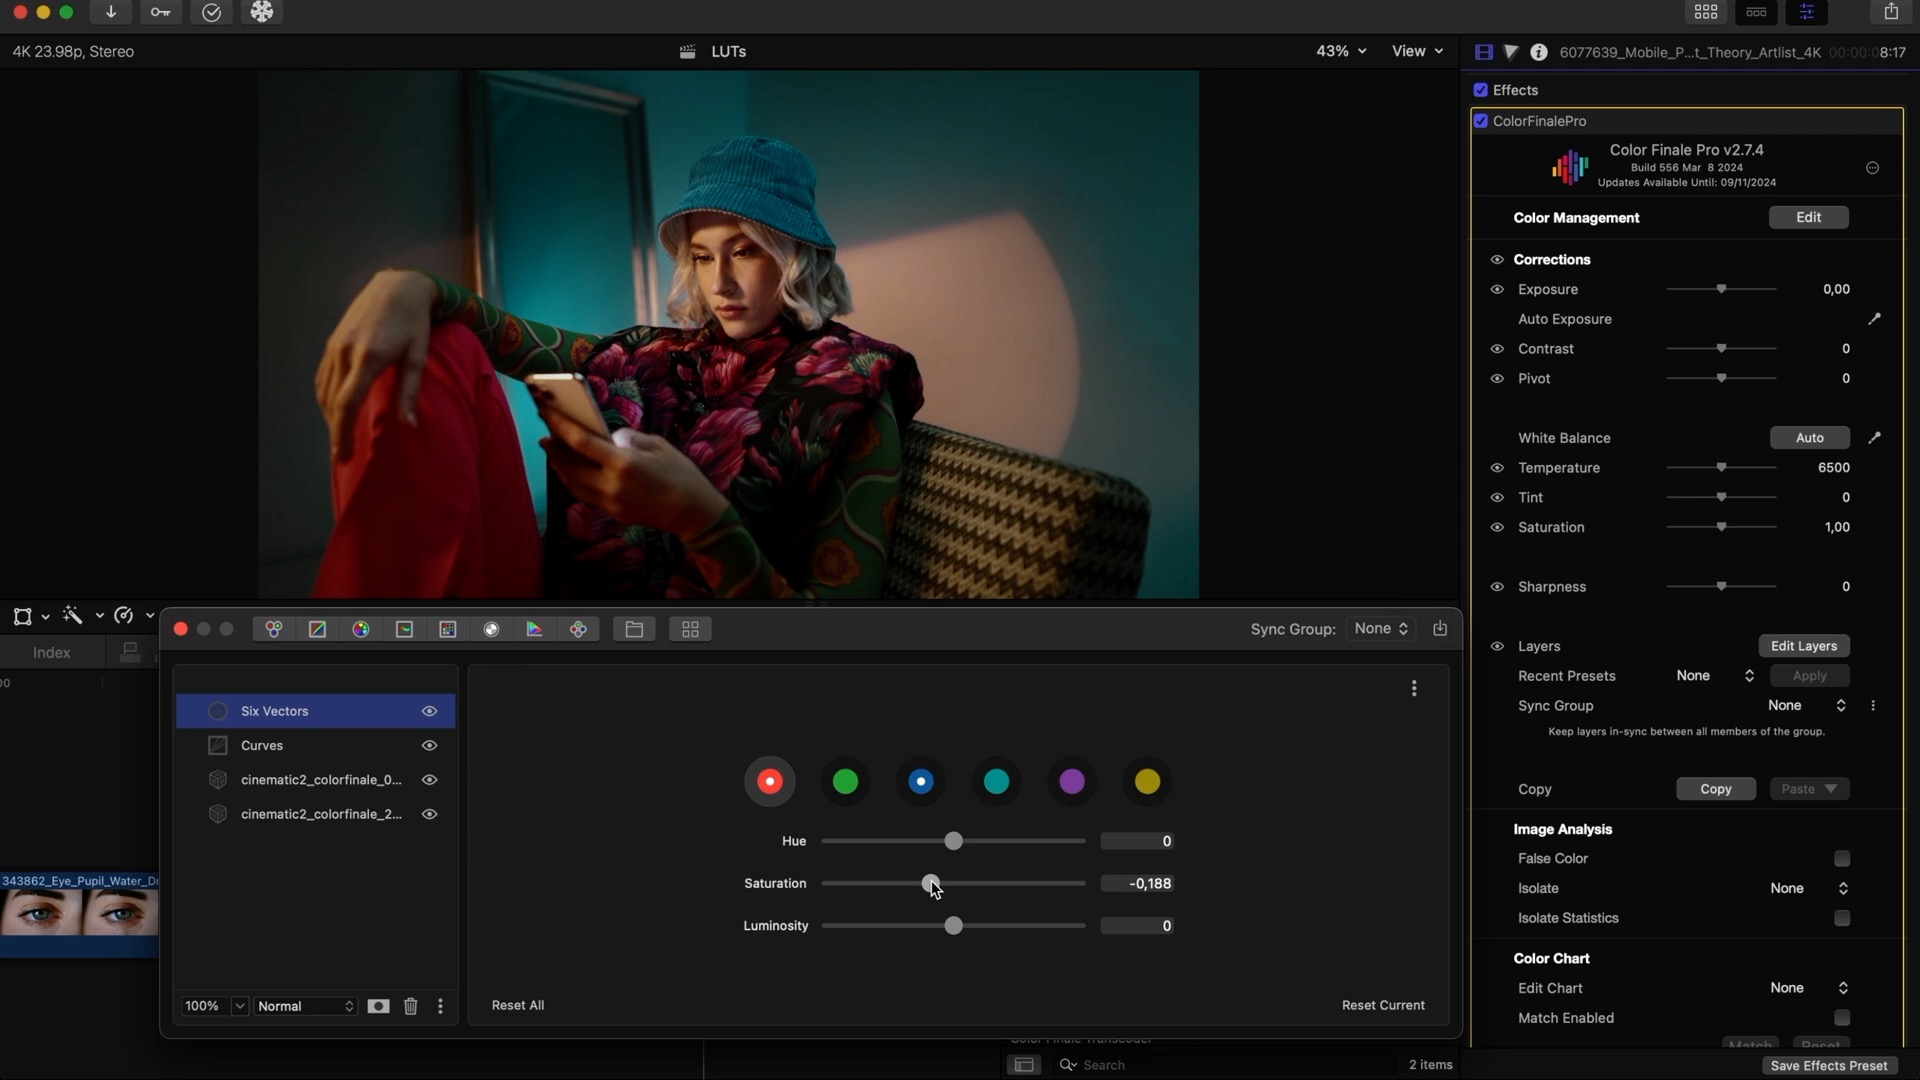
LUT Opacity and multiple LUTs
Another useful tip is that you can change the opacity of any LUT to control its effect. Sometimes when you try to find a LUT to stylize your image, you go from one LUT to another and in an attempt to find the right look nothing seems to do the job! But you can always play around with the layer opacity, in addition to using other tools to improve the results. You can also apply multiple LUTs on top of each other for unique results.
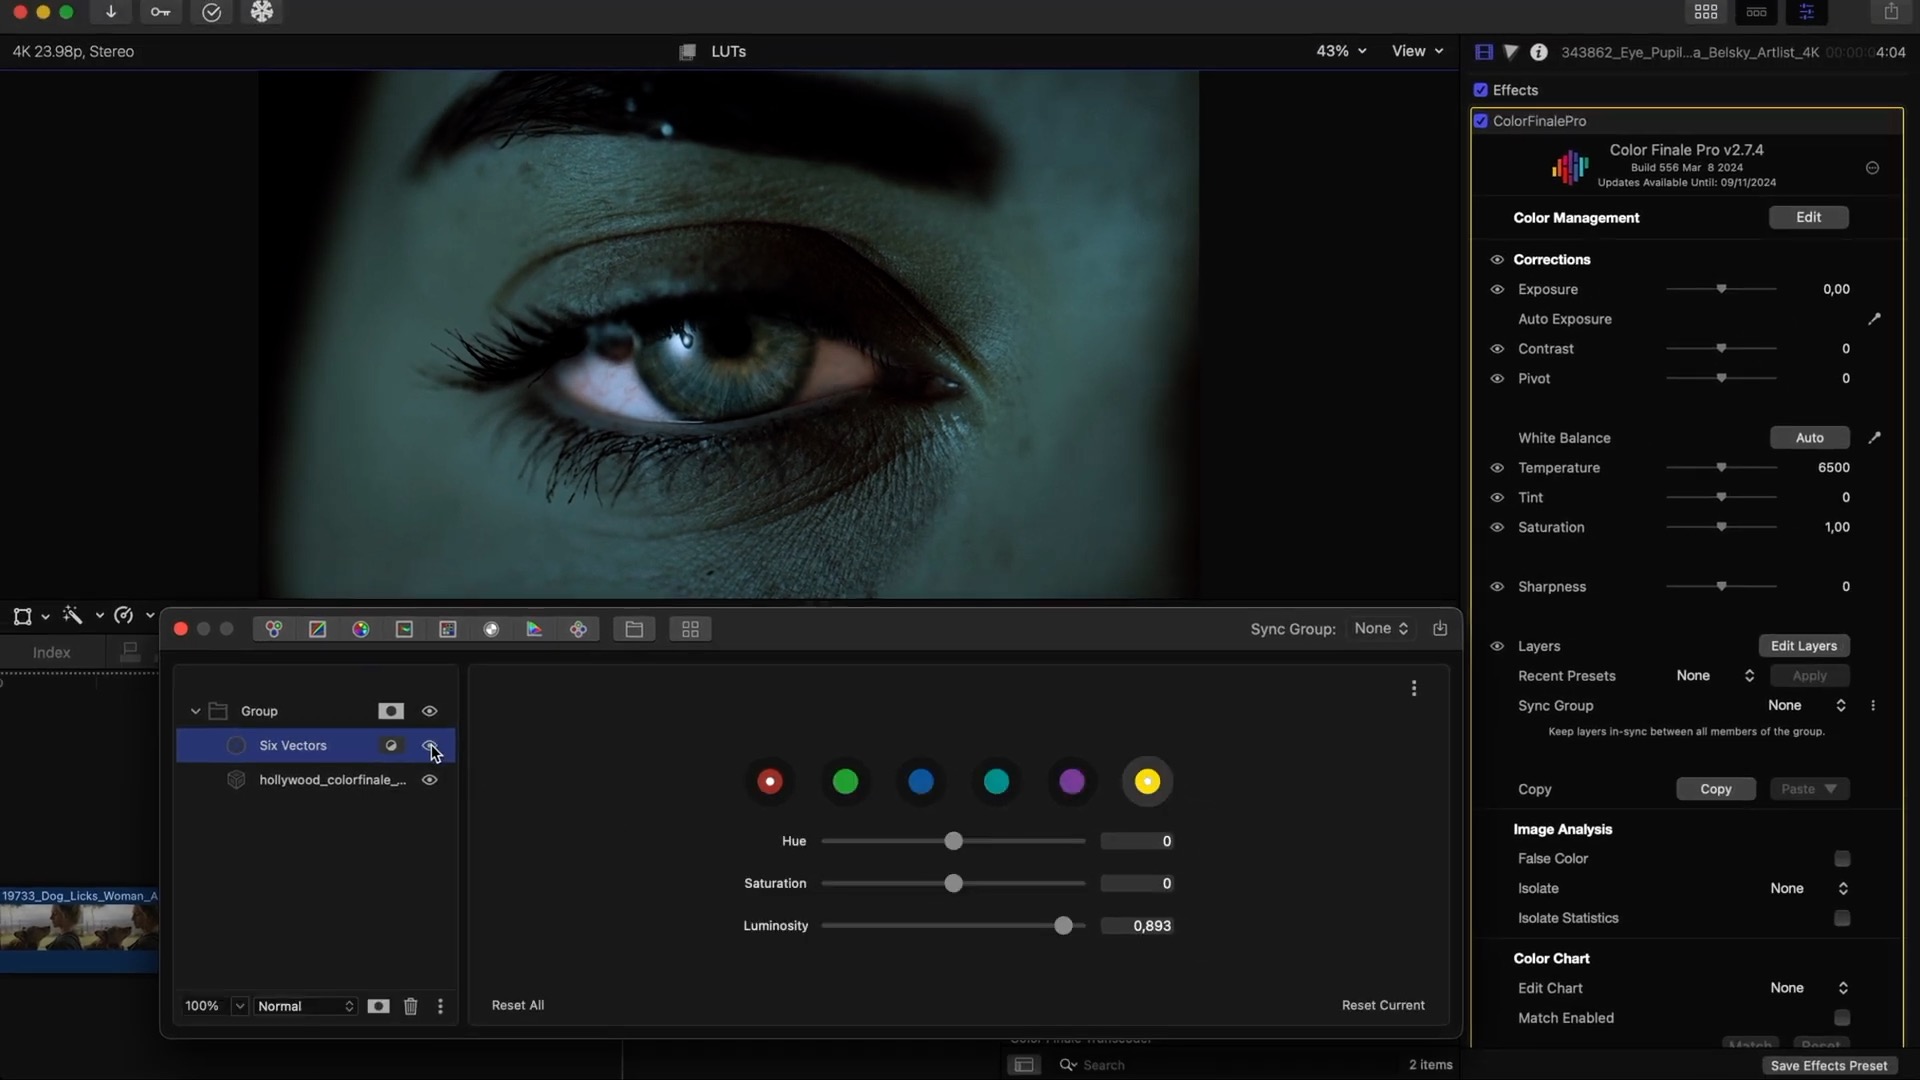
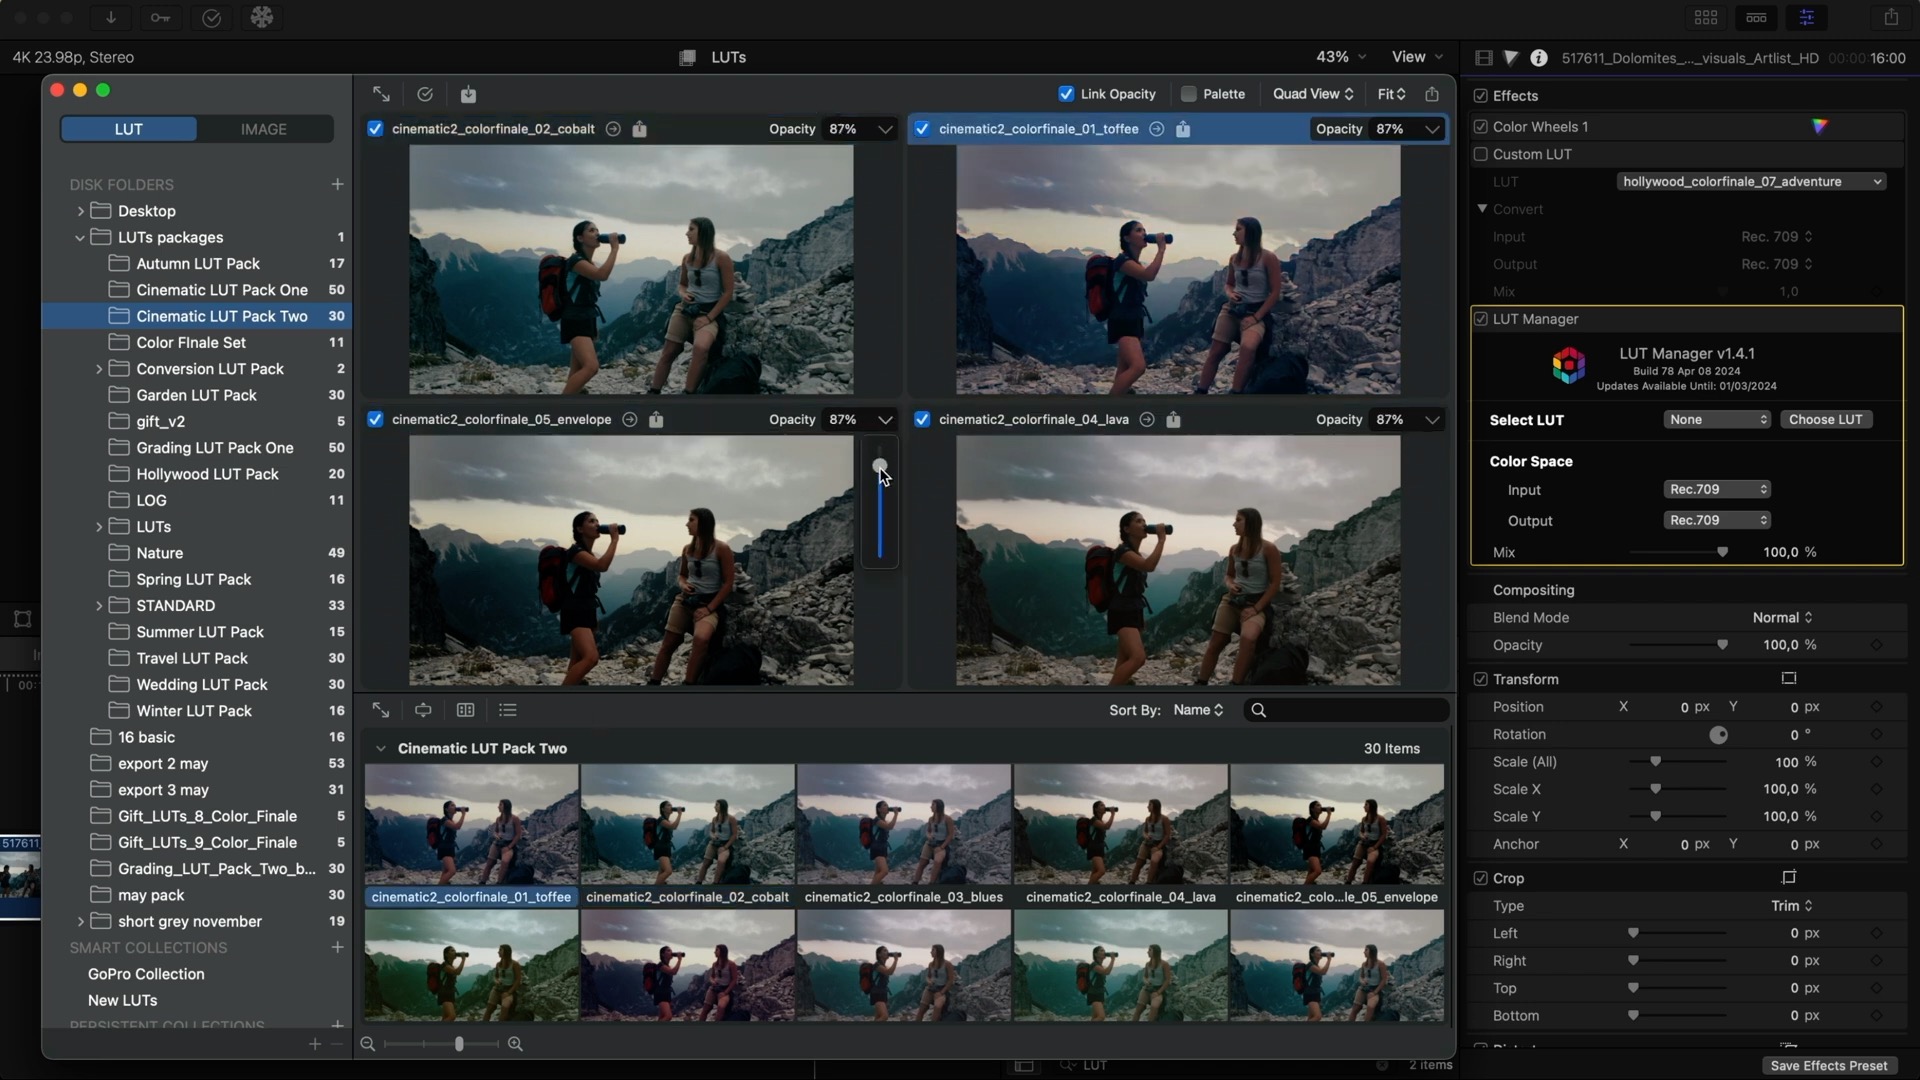
LUT Manager
On the topic of LUTs we want to mention our app called LUT Manager. It's a real timesaver for when you have a lot of LUTs tucked away on your computer and want a quick way to sort and preview through them. It’s often hard to find and choose the right look for your project, and it gets doubly frustrating when there's a long drop-down menu of file names.
LUT Manager instead offers quick visual previews over your own footage. Send a frame right from the Final Cut Pro timeline and compare up to 4 large images at the same time side-by-side. Easily send the look back, and LUT Manager will apply it to your clip. You can even stack a conversion LUT with a look for accurate previews.
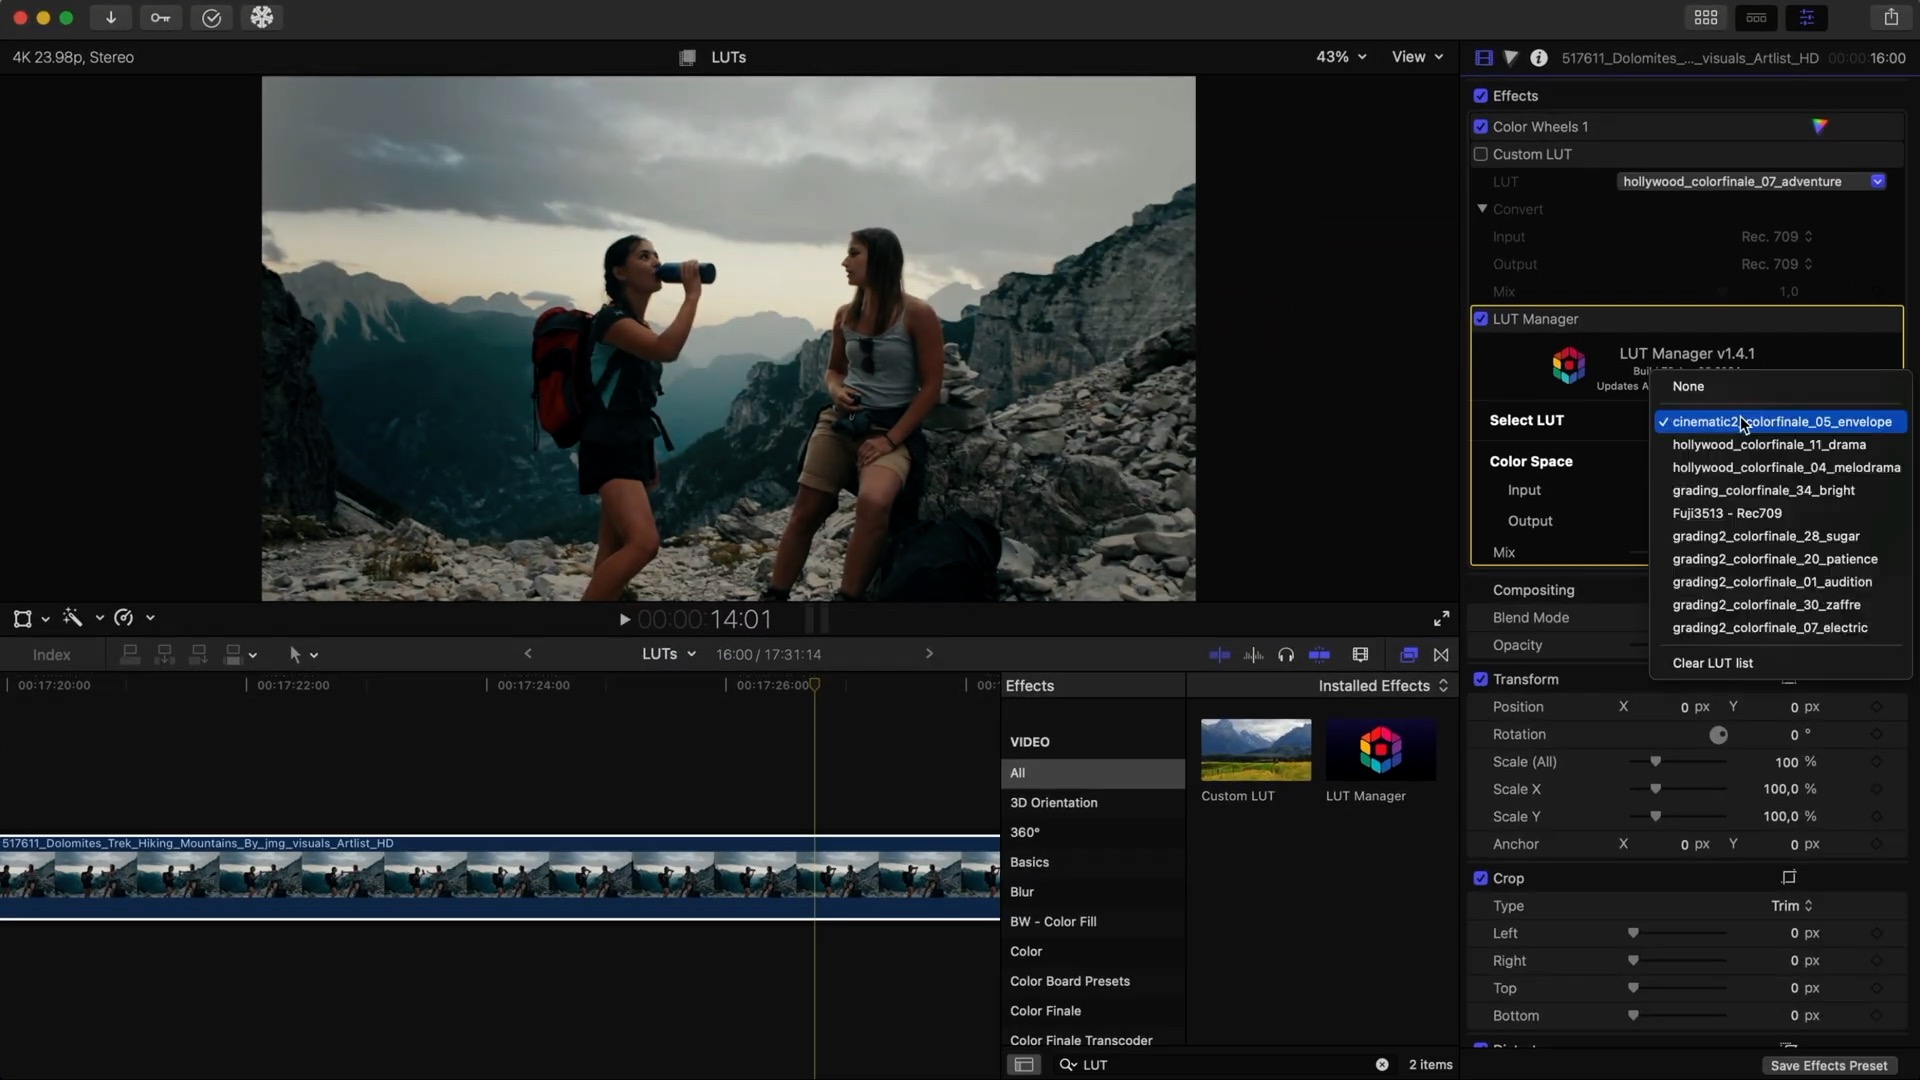
It can of course also be used as a standalone application without Final Cut Pro, handy for quick previews of LUTs during the day-to-day. Easily export a preview as a frame or even bake the LUTs into an exported video file! There's a free 7-day trial and more info on the LUT Manager page.