Introduction
Color Finale 2 Pro is home to a wide collection of color editing tools, each powerful in its own right. They all help to make your video projects look their best. One tool that's been part of the color grading arsenal since the first version of Color Finale is Six Vectors, and in this article you'll learn about this powerful tool and how it's been upgraded in the 2.12 update of Color Finale 2 Pro.
Also in this update we’ve introduced the all-new Texture EQ tool, and we’ll explore that in more detail after we’ve gone over 6 Vectors.
What are Six Vectors?
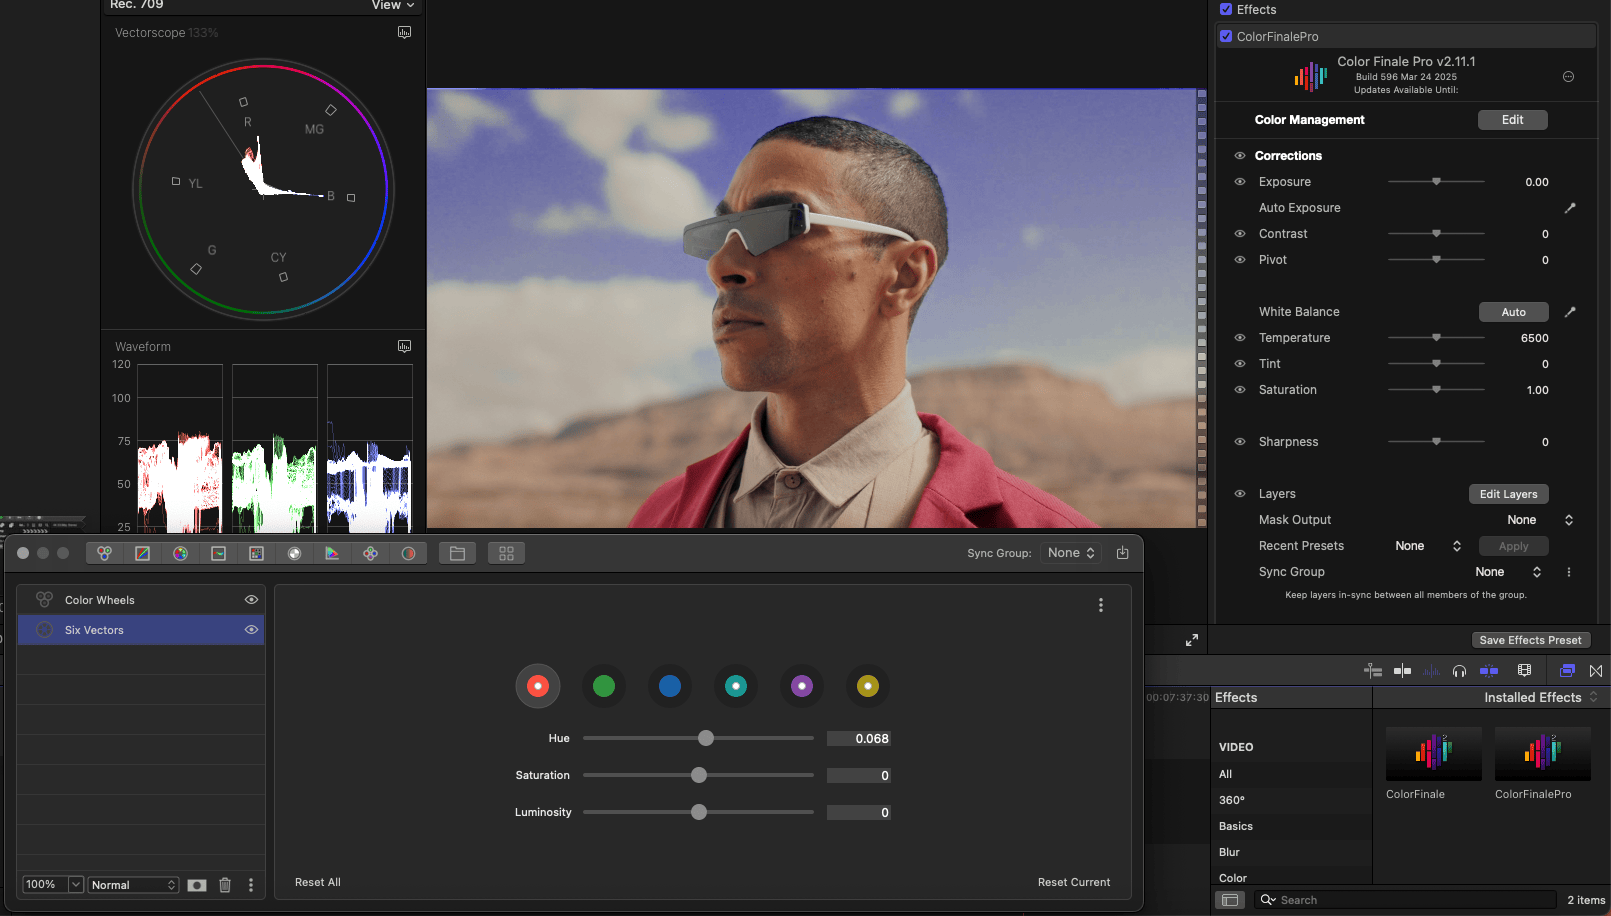
The idea behind Six Vectors is simple in concept. Primary and secondary colours by their very nature exist in almost any kind of shot. Since all images on a monitor are made out of additive RGB primaries, let's control these red, green, and blue color vectors directly, including their secondary colors - cyan, magenta, and yellow. This elegantly subdivides the color wheel into 'slices' that are granular enough for many common color operations.
For example, if there is a blue sky in the shot, working on the blue vector limits the changes to just the sky if there are no overlapping hues. Green covers the most part of leafy foliage (evergreen trees, fresh grass, etc), and the red and yellow vectors combined cover many types of skin tones. Six Vectors best handles transitions between well-separated colors, it's very precise. So in modifying blues, any teals and magentas (the colors next to blue on the color wheel) remain unchanged.
When to use
And so when we talk about working or modifying these colours, what do we mean, and what parameters can we use for this? Often we want to target specific colours to balance them in relation to the rest of the image, for example to draw attention to or from an element.
It’s also useful for shot matching, for example if you need continuity in the color of the sky between shots, or if there is an important brand color that has to remain consistent between shots in an advert.
So Six Vectors is best used as part of your secondary corrections workflow: that is on footage that's been exposure and color balanced, with color regions that are clearly separable. A typical workflow would be to do a primary corrections pass, followed by secondaries with such tools as Six Vectors, and then a ‘tidying up’ step where you go back to your primary corrections to remove any unwanted shifts as a result of the secondary corrections.
HSL controls
Hue, saturation, and lightness (HSL) parameters are a standard approach for intuitive color manipulation. That same blue sky could be given additional 'density' — its visual weight — by increasing saturation while at the same time bringing down its lightness. The lush greens could be too overpowering in the shot, so perhaps pushing their hue into the yellows while gently decreasing saturation could improve the visual balance of colors. Or consider a subject's face that is too red in an otherwise well-balanced shot: shifting the hue of the red vector into yellow could resolve this issue.
And this shifting of hues along the 6 color vectors is often invaluable to bringing cohesion and balance to shots—the difference between a good color grade and a great one.
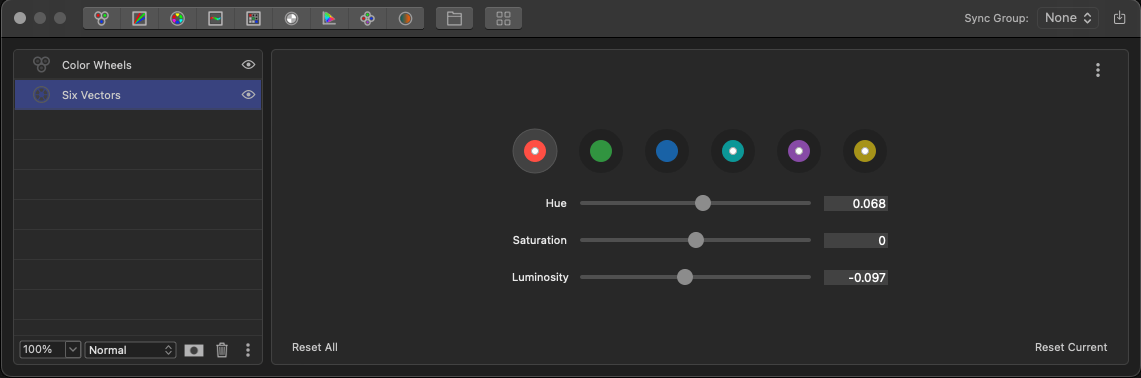
Skin tone hue
One eagerly awaited addition that we've added to the Six Vectors tool in the 2.12 update is the skin tone hue. While there are many ways to target skin tones, for example with HSL Curves, including this option alongside the primary and secondary vectors significantly speeds up the process of getting the right skin tone.
Texture EQ
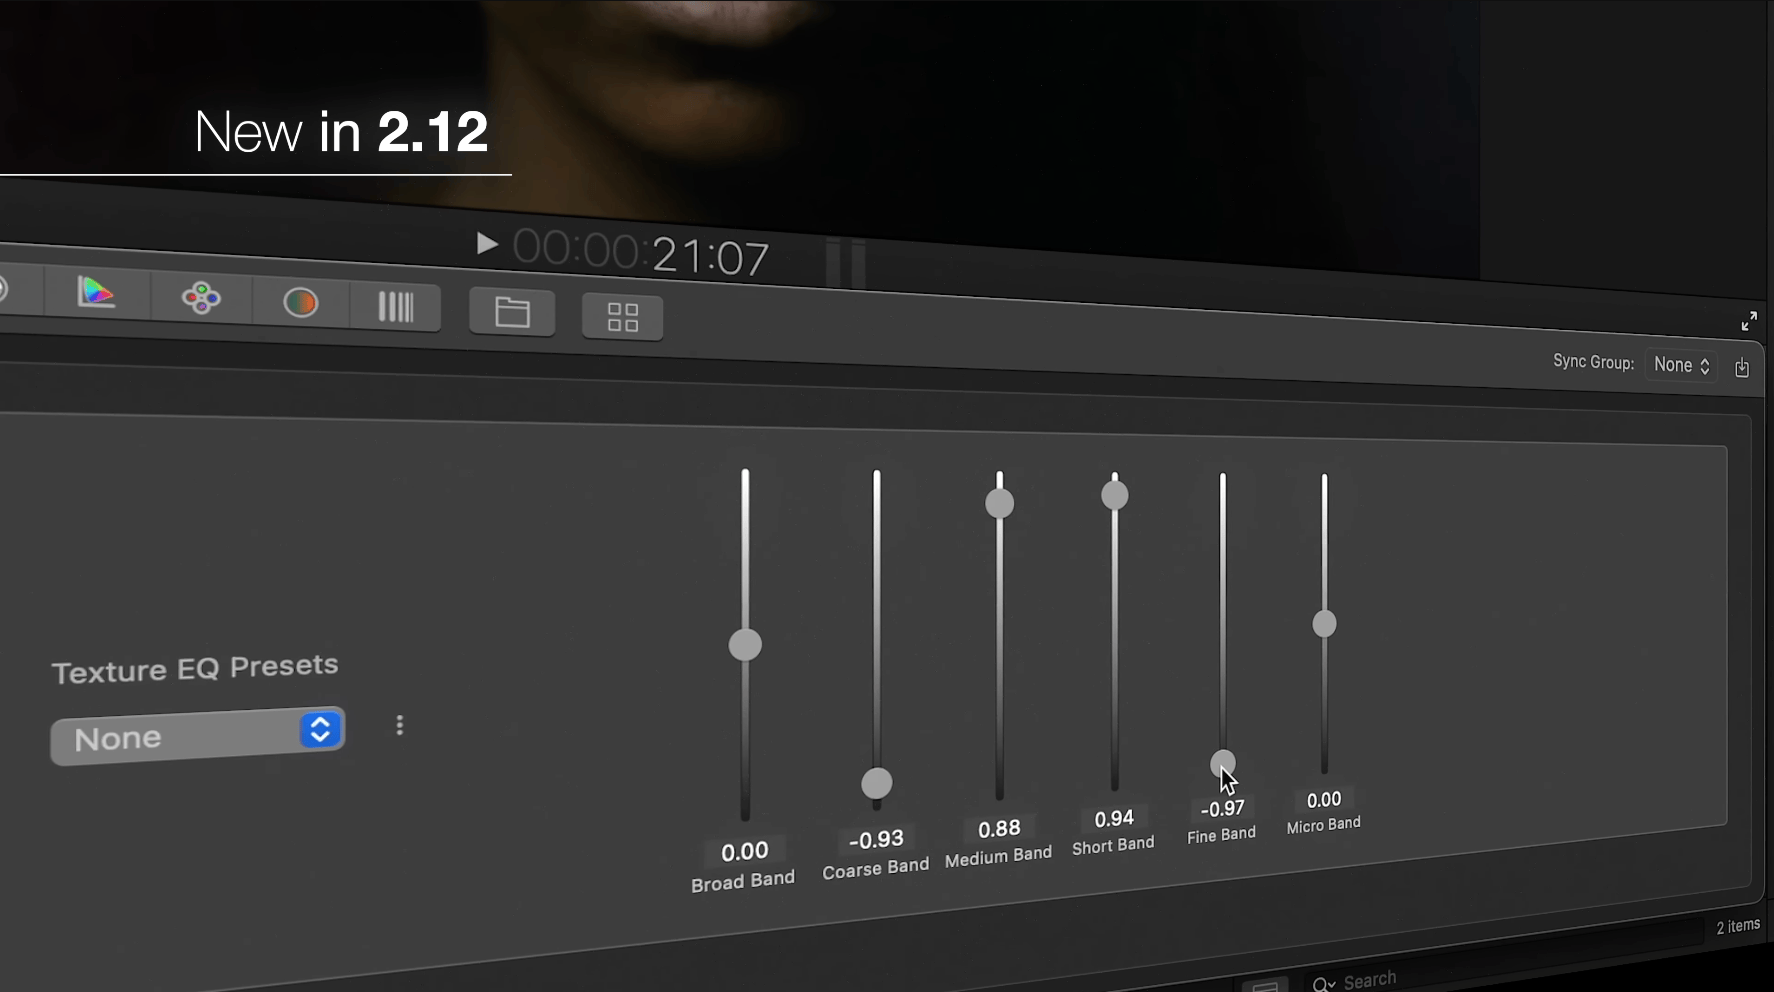
The new Texture EQ tool lets you blur or sharpen clips in a unique way. For the purpose of this tool, each image can be thought of as being separated into different levels of detail, in our case 5, and each level — or ‘frequency band’— is individually controlled, and can be sharpened or made more blurry.
This lets you make targeted sharpness adjustments where needed, like only on the details such as eyelashes while leaving the underlying shape of the eyelids — a bigger element — untouched.
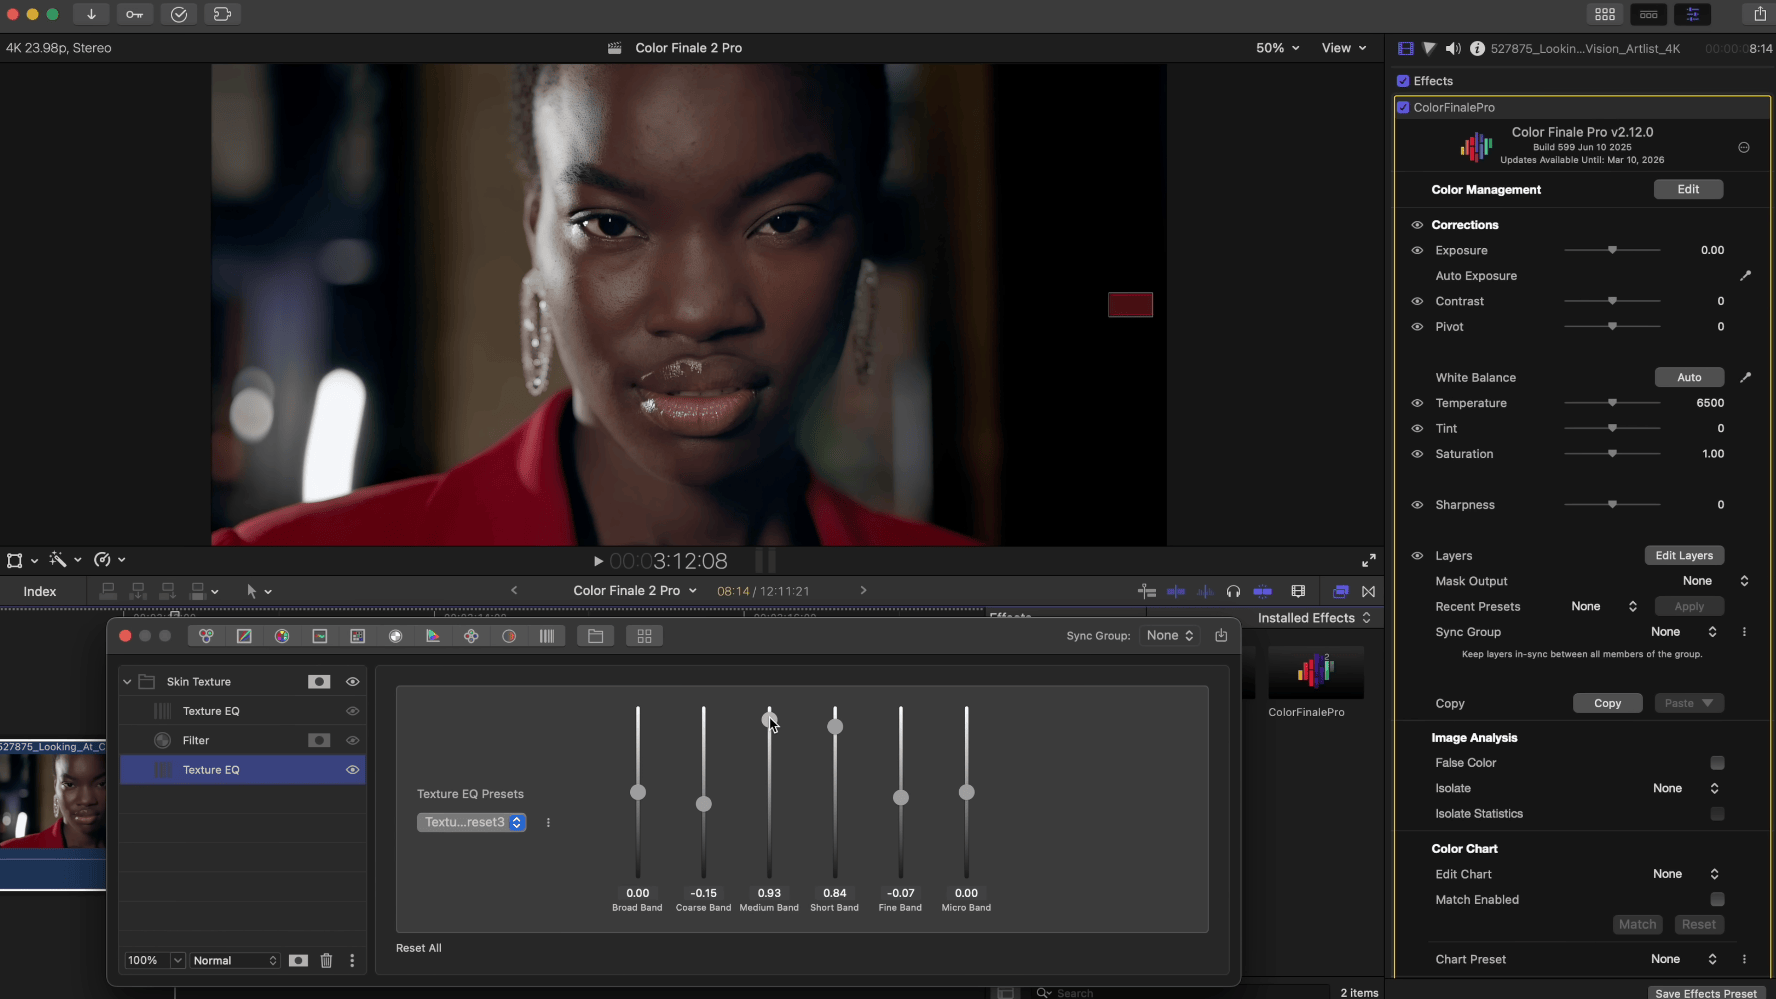
A popular way of quickly making skin appear smoother is by frequency separation, and it’s now possible in Color Finale 2 Pro with Texture EQ. And like with many tools in the plugin, you can save useful adjustments as presets that you can use over and over again in your other projects.
Another use is to instead deliberately push sharpness in the mid-bands to add punchy definition to the video, while still controlling for smaller details, making sure there’s still a balance, with the shorter band sliders.
Free trial
Try Six Vectors, Texture EQ and all the other color grading tools for yourself with a free 7 day trial of Color Finale 2 Pro, check the link in the top right for the download. Thanks for reading!