This isn’t night.
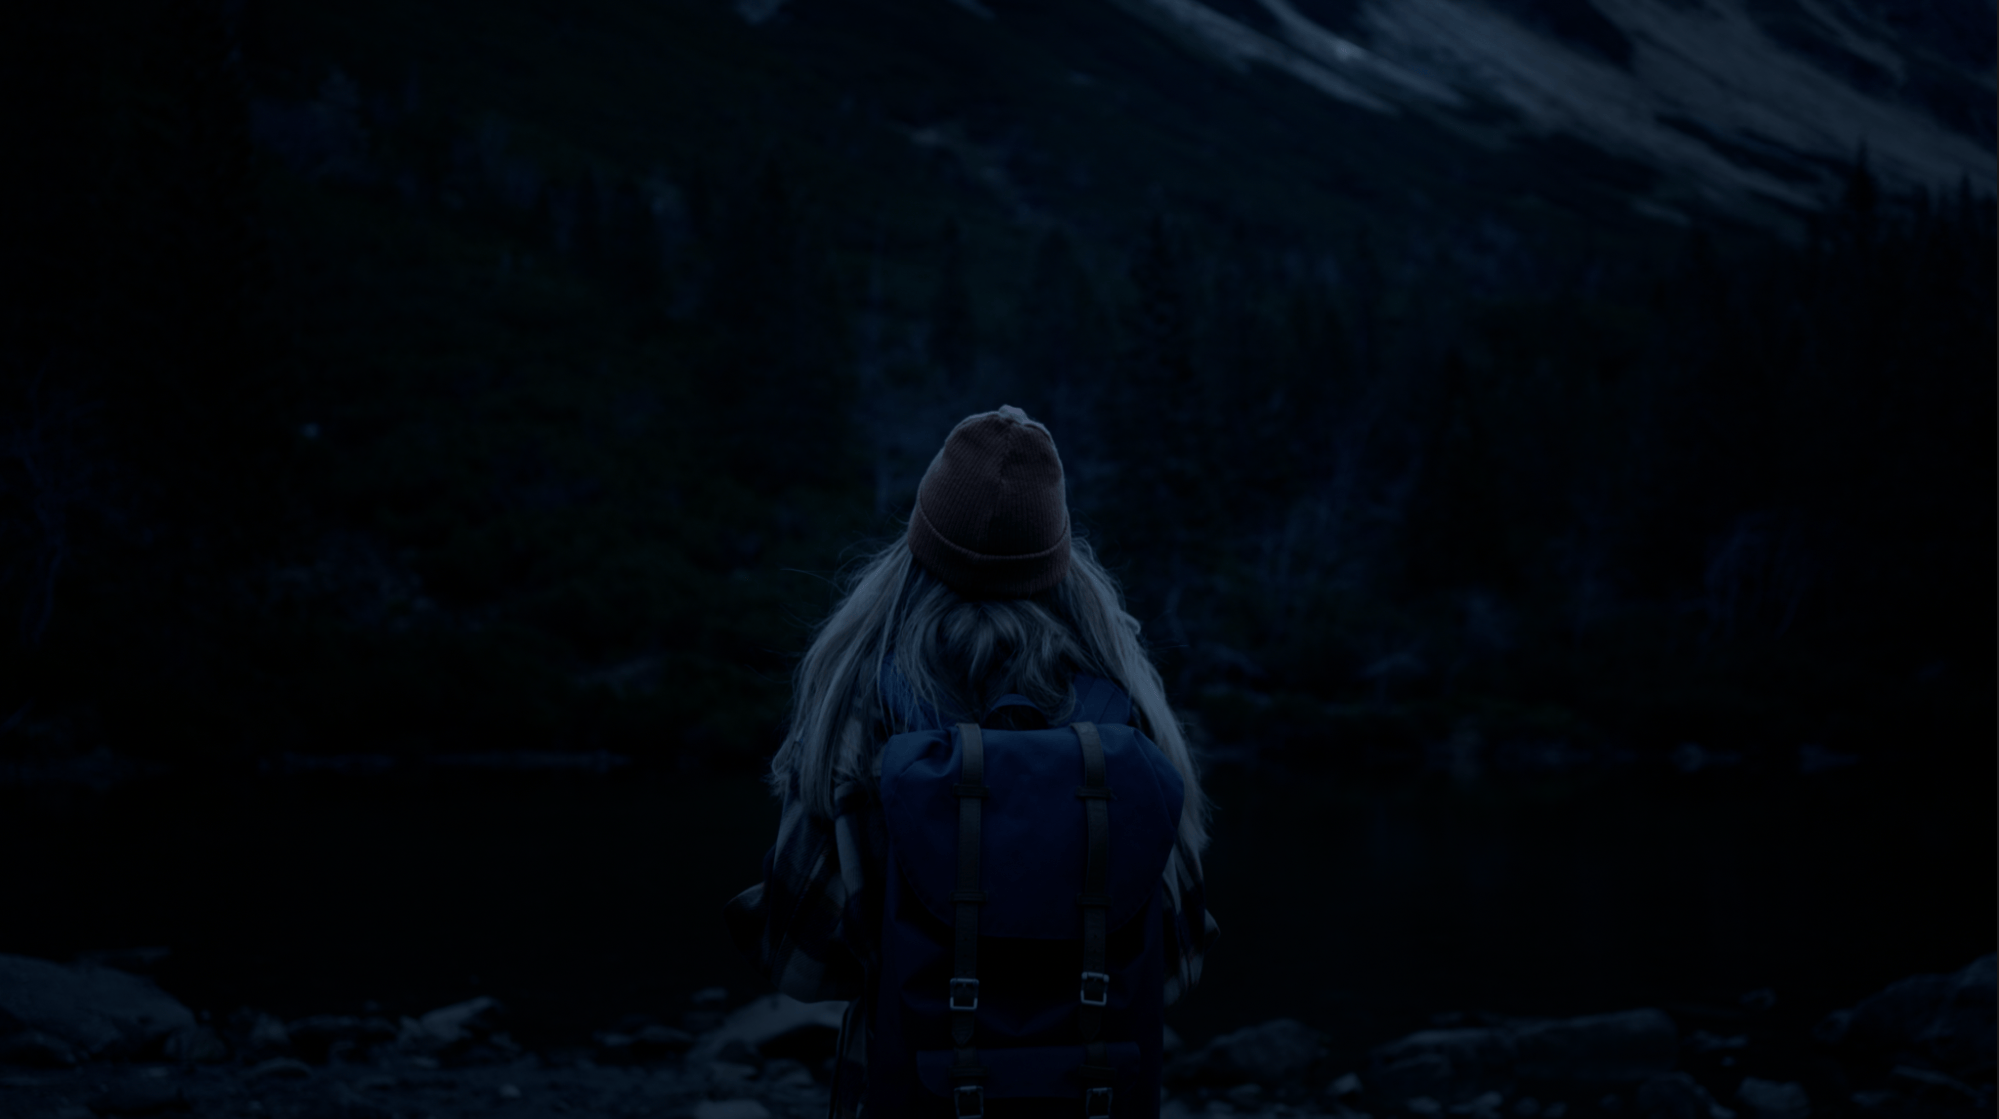
This was shot in broad daylight… and most likely you didn’t even notice.
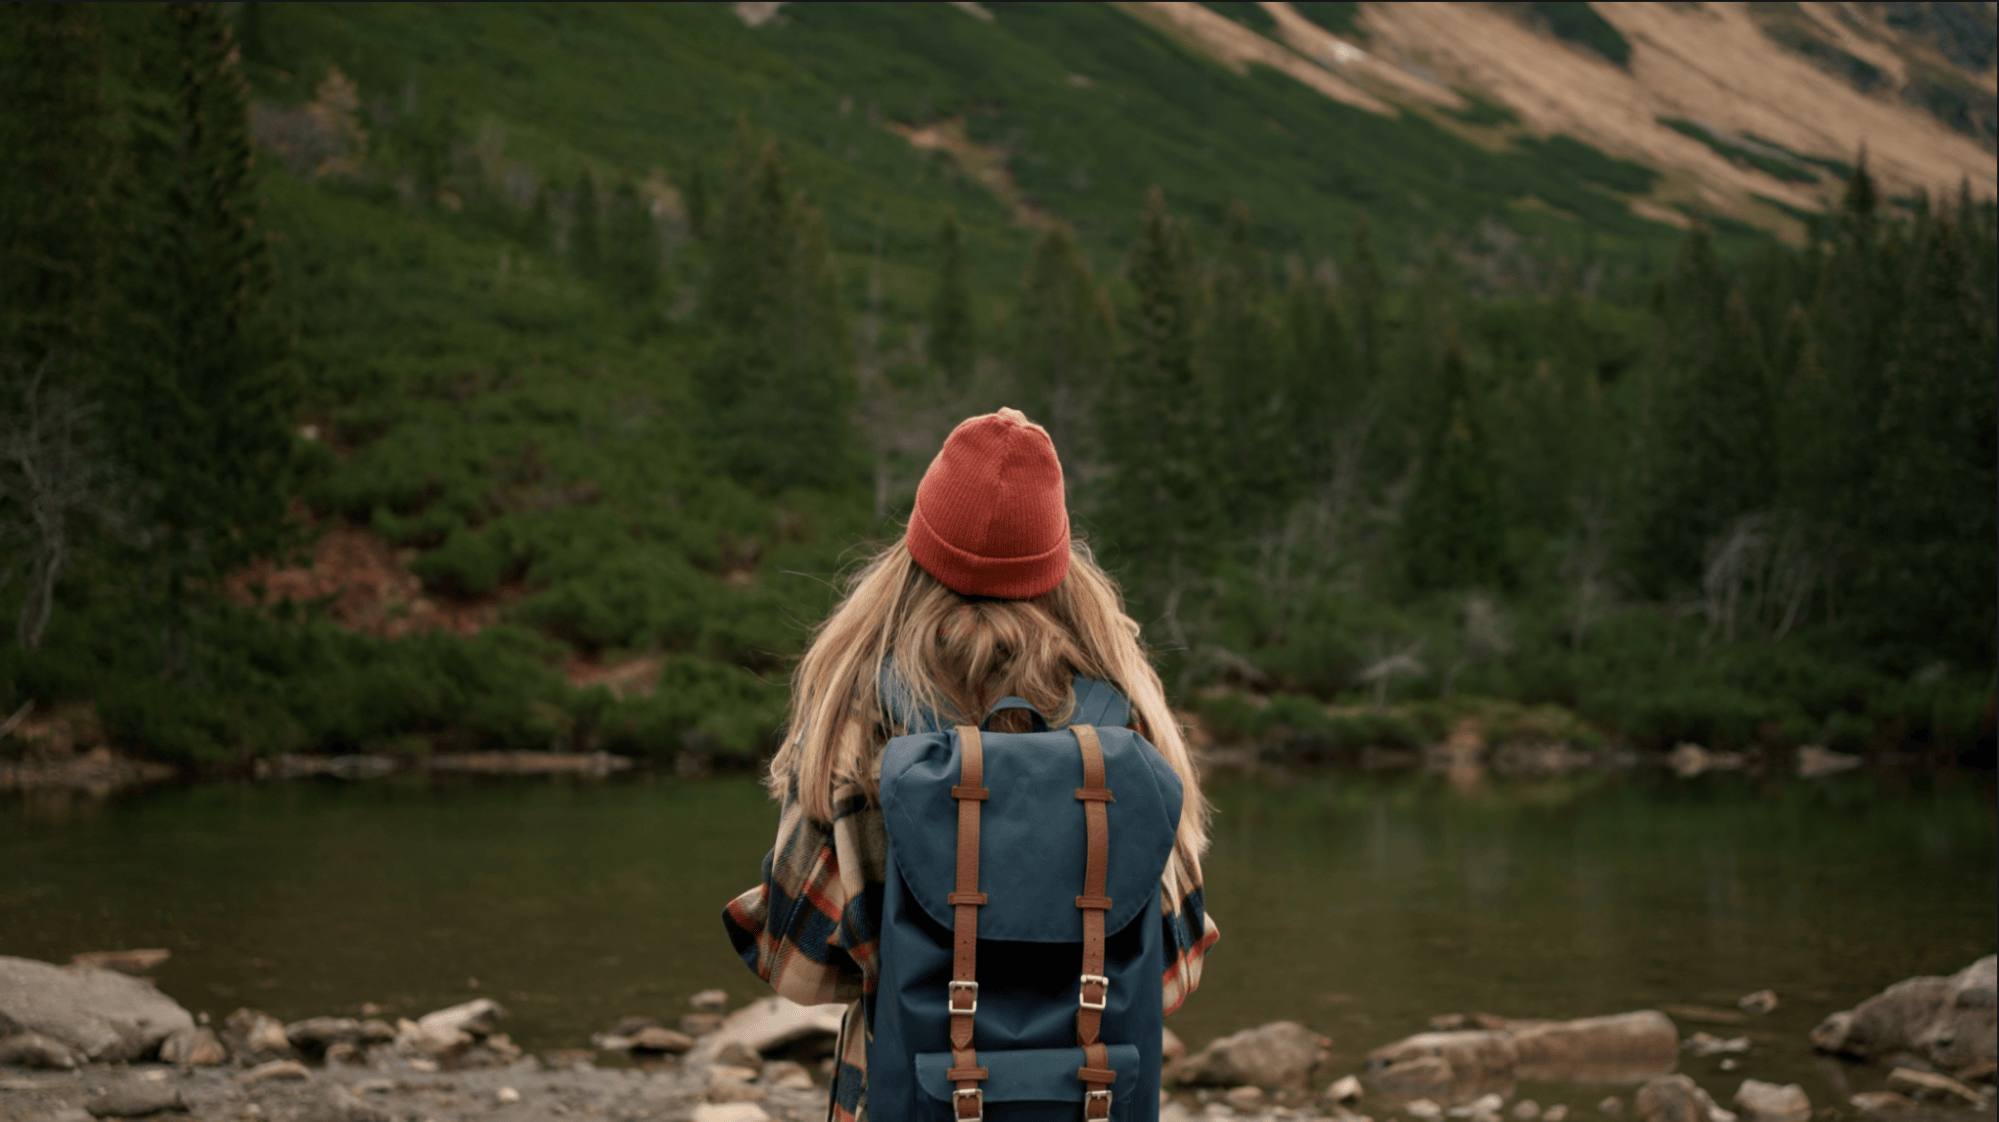
From Cast Away to The Revenant, turning day into night is a long-standing technique in Hollywood post-production.
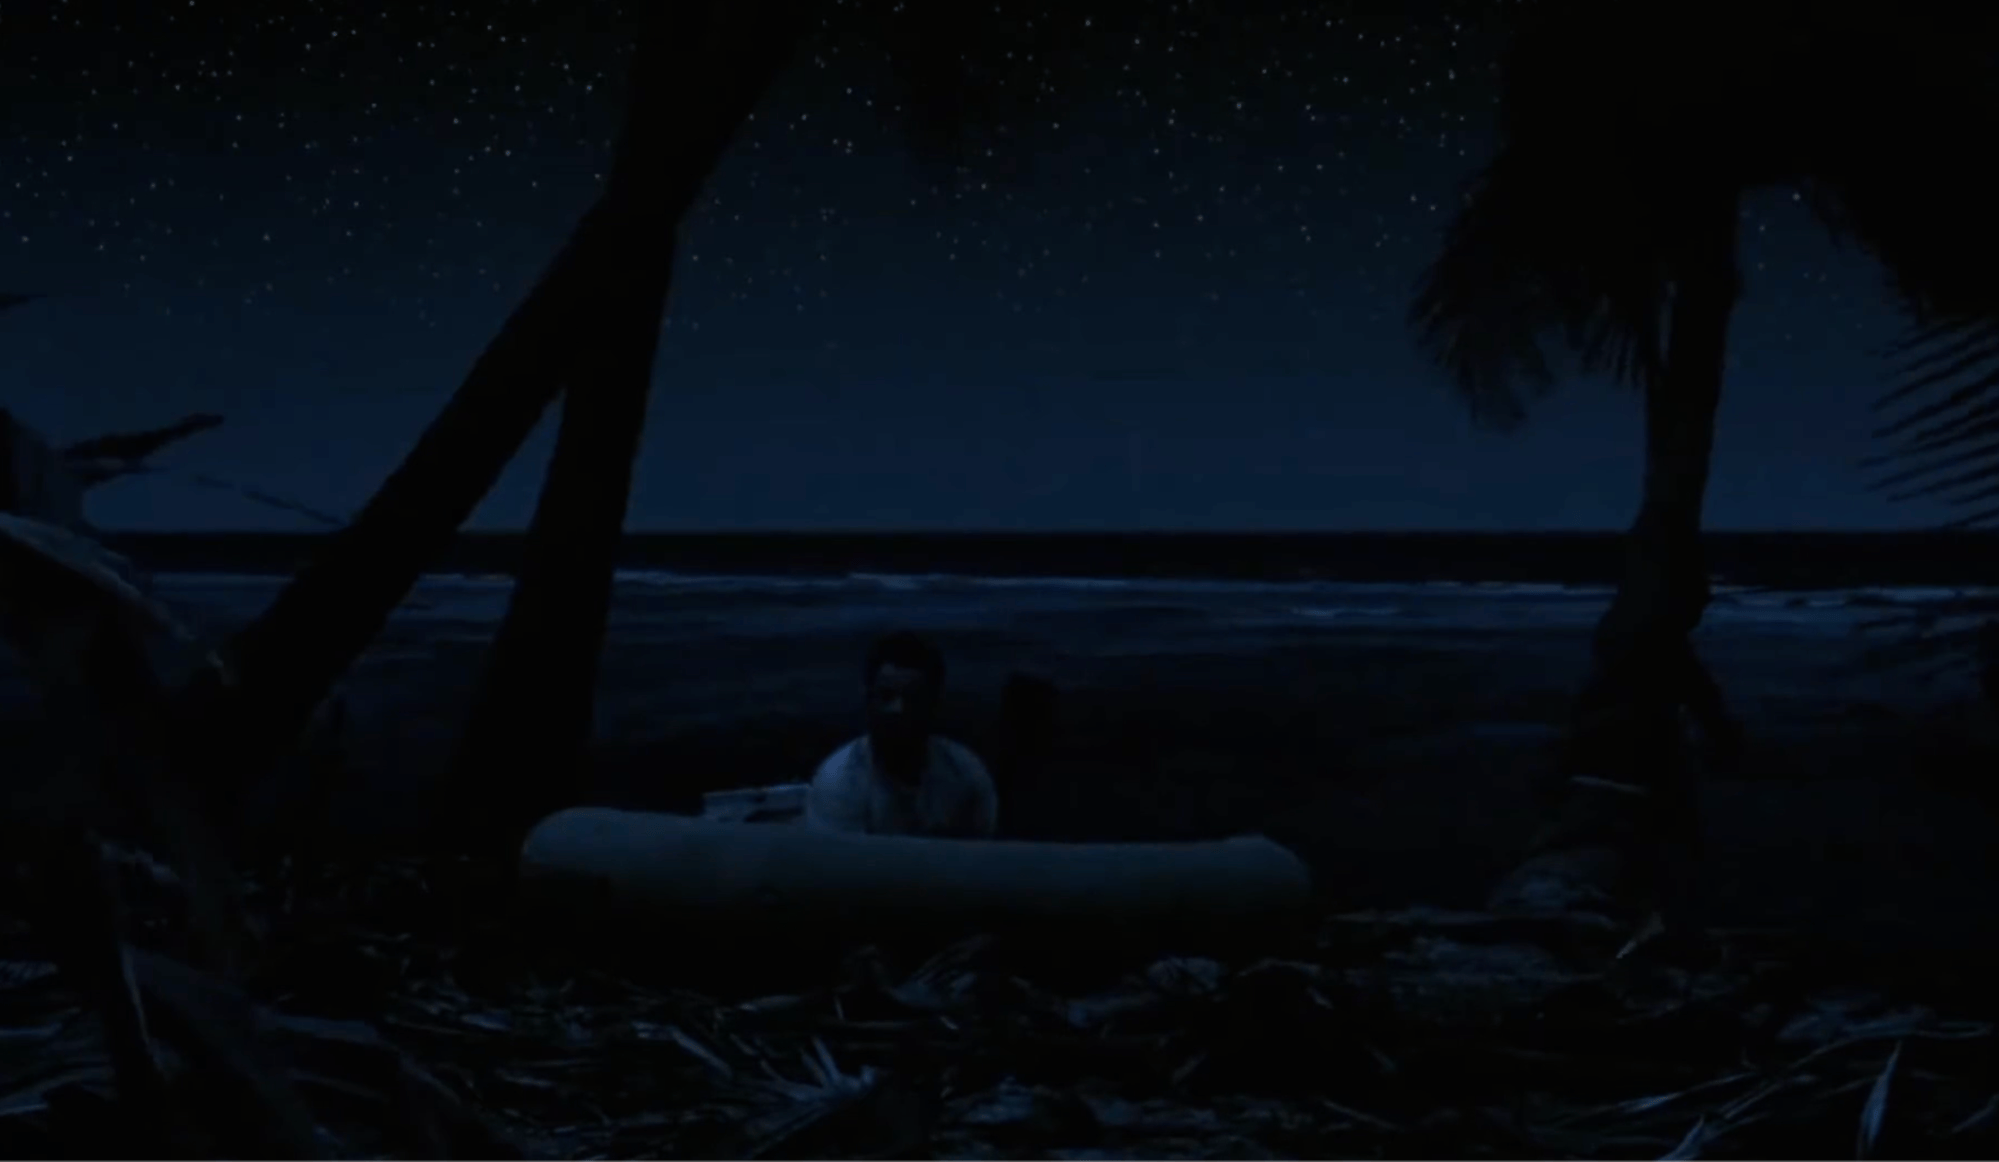
But here’s the real question: Can you do it too, using just Final Cut Pro? The answer is: absolutely.
In this tutorial (watch the video version above), we’ll show you exactly how to pull off the “day-for-night” effect, step by step, using Color Finale 2 Pro, a powerful color grading plugin for Final Cut Pro.
Example 1
We’ve selected one shot as an example: a man sitting near a window.
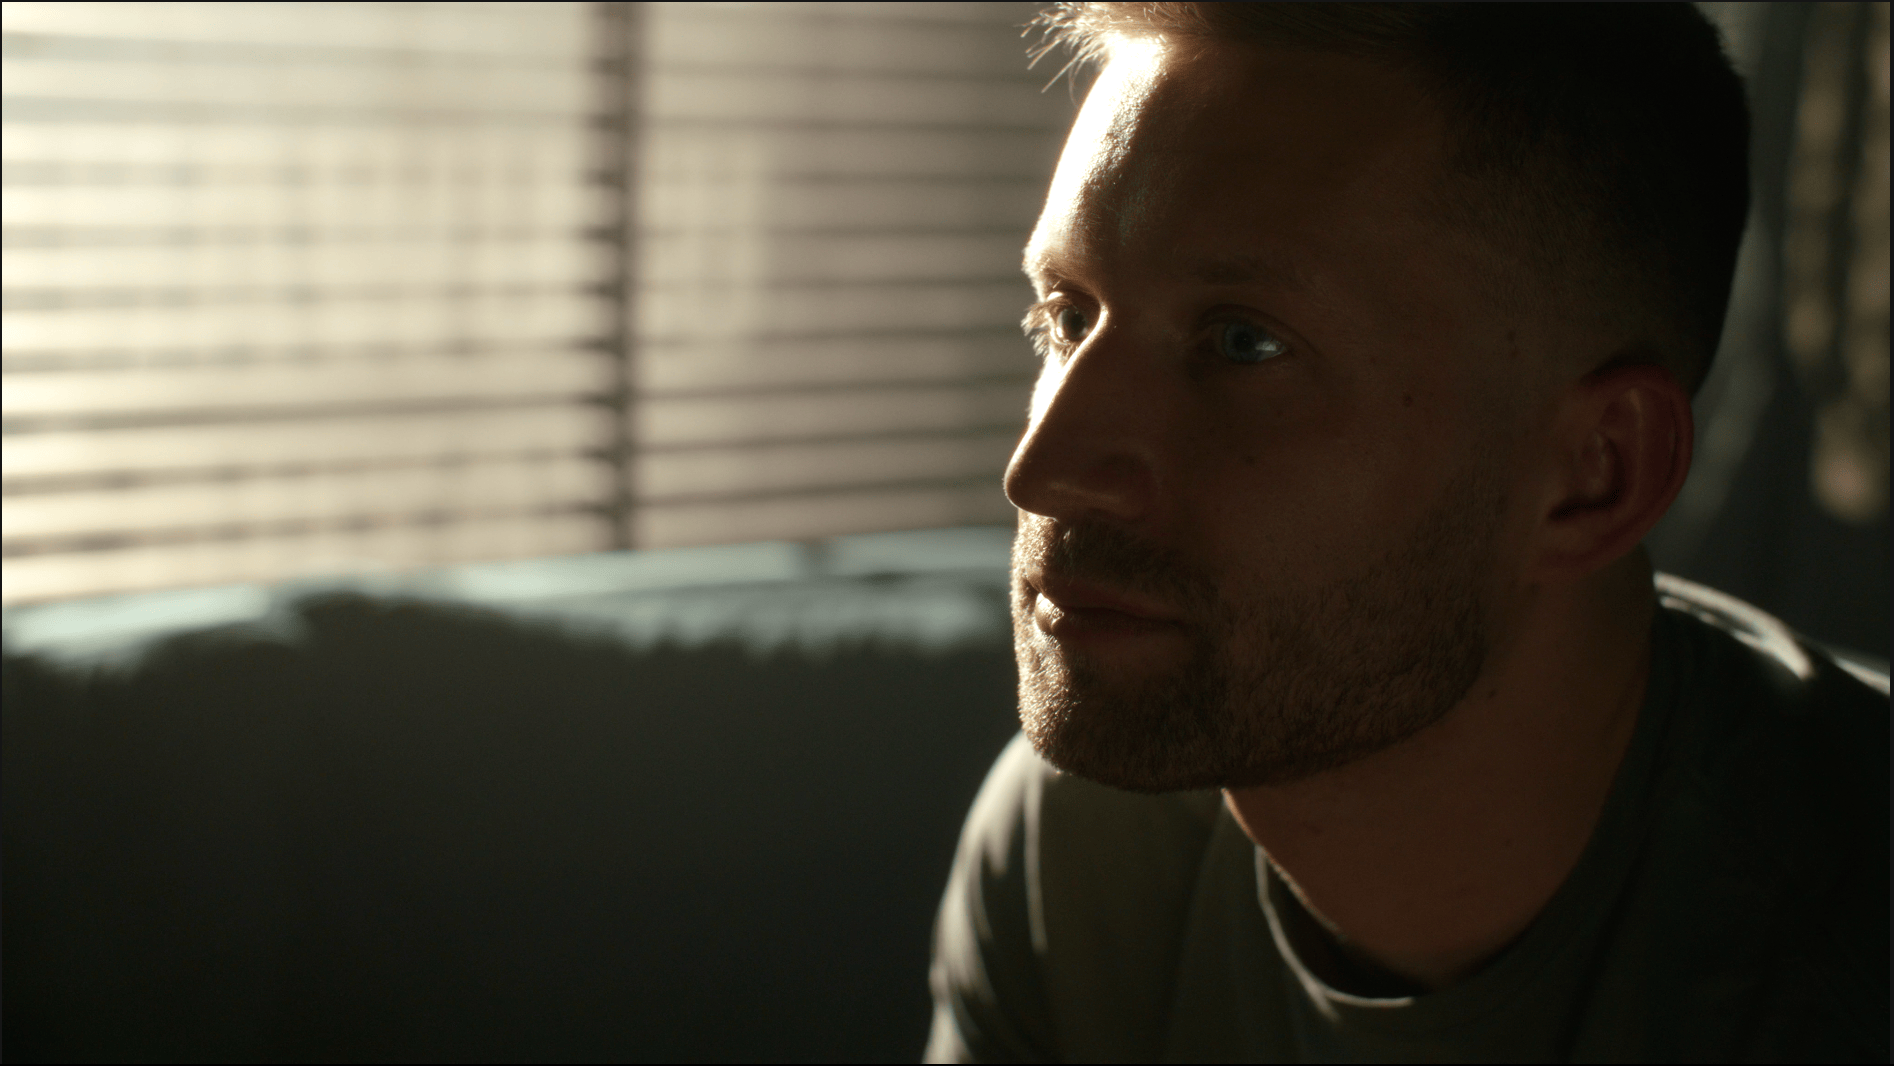
We’ll approach it in 4 steps.
Step 1: Reduce Exposure
The first thing we need to do is darken the image. At night, we naturally see less detail, especially in the shadows.
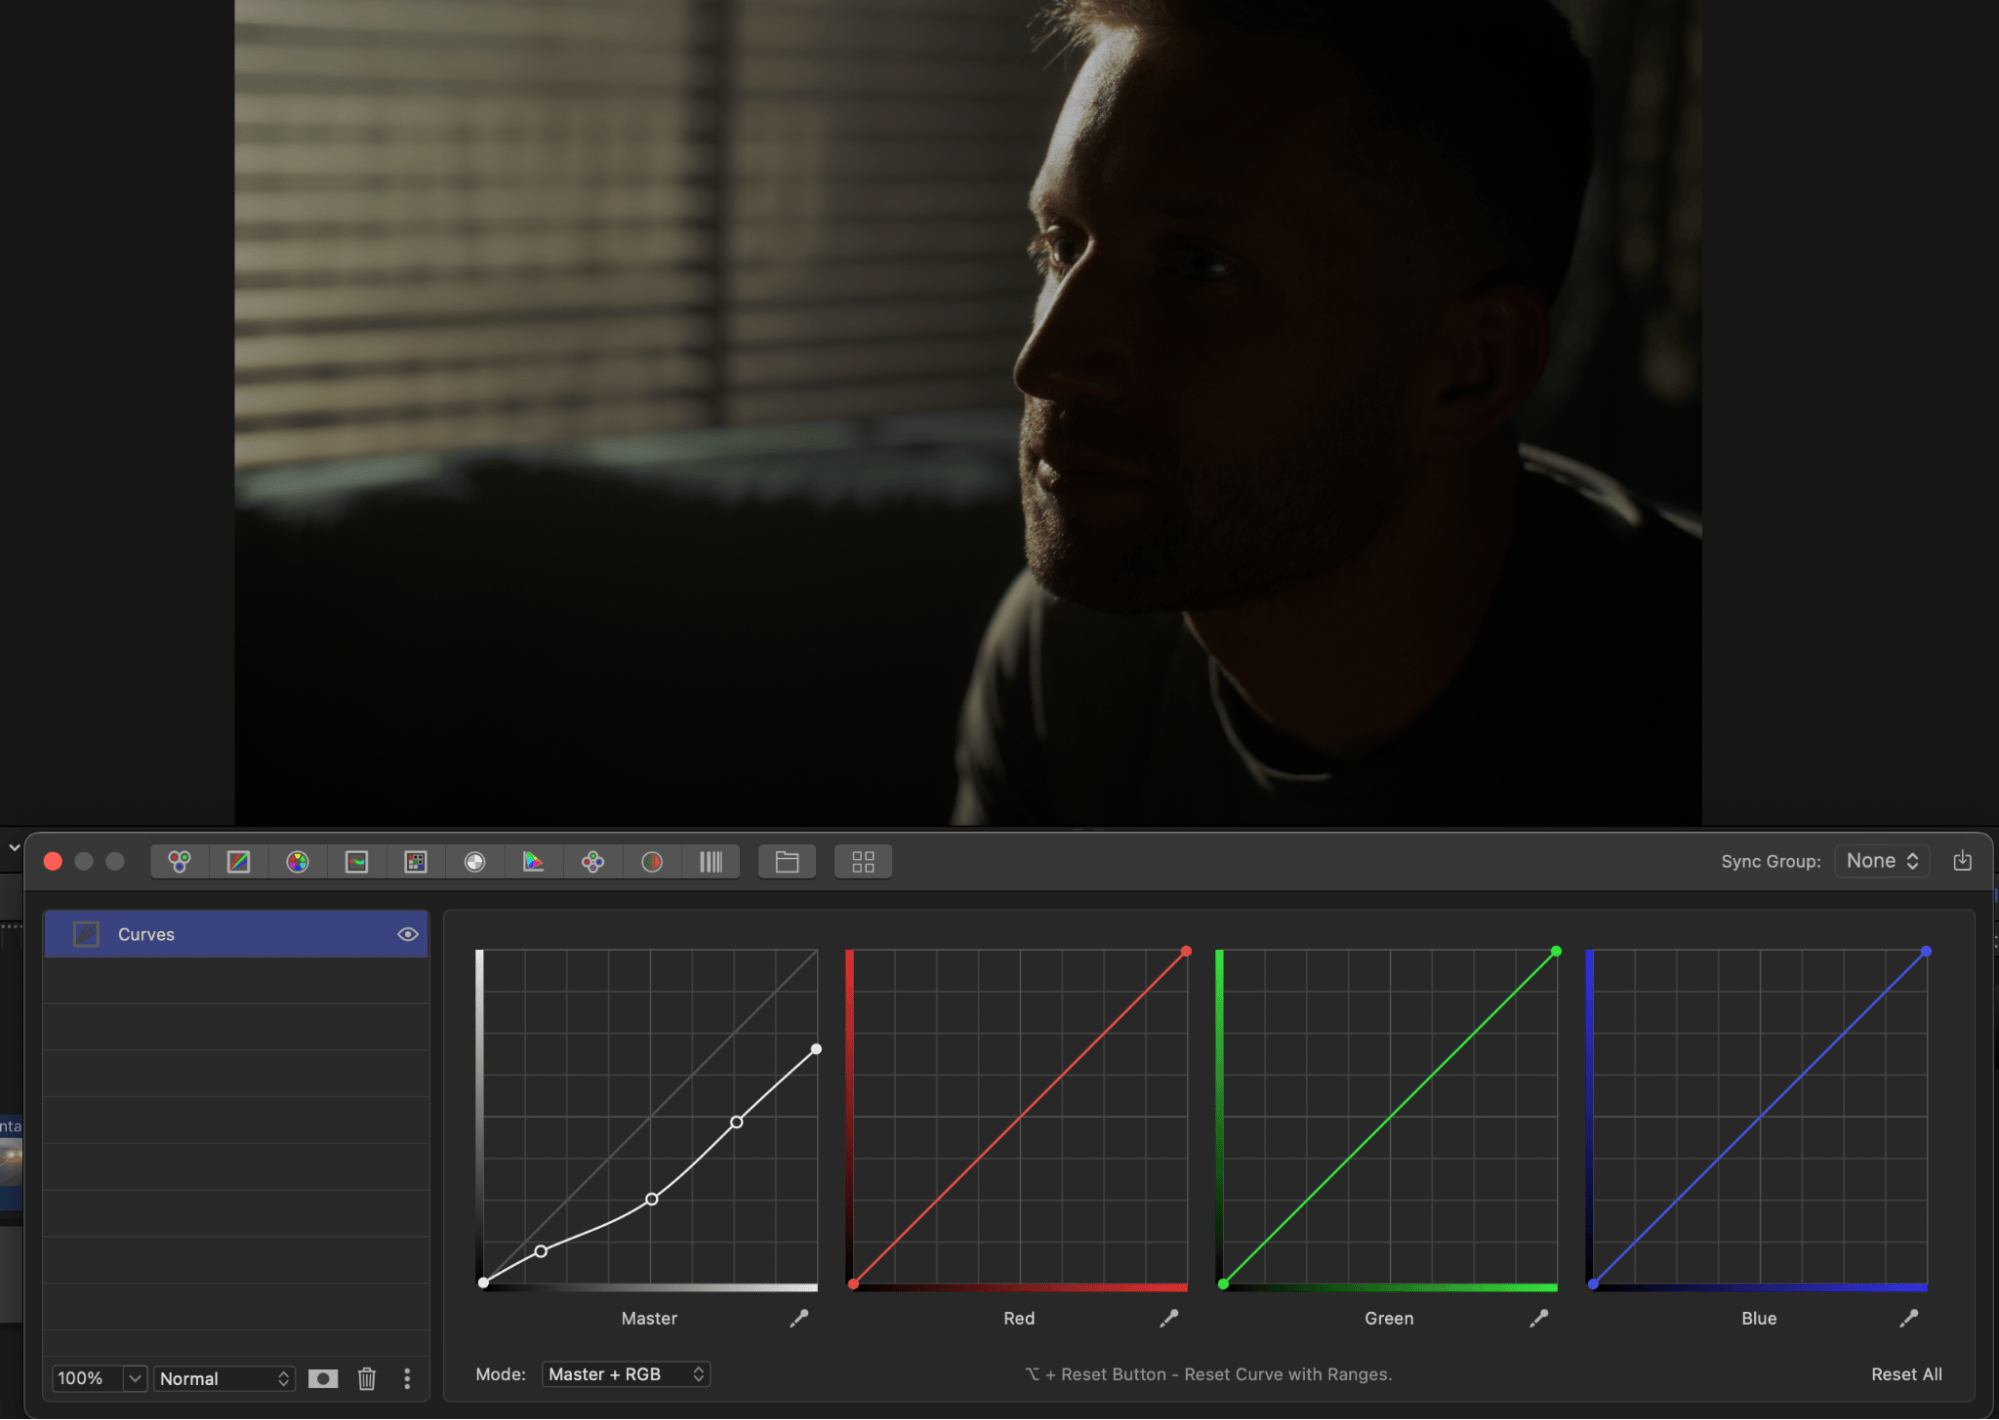
Go to the Layers panel, add an RGB Curves layer, and pull down the highlights, midtones, and shadows evenly. In this case, we’re not lowering the highlights too much; we’ll talk about this in later steps.
At this point, the footage should already look much darker, almost like it was shot at night.
Step 2: Add a Blue color cast
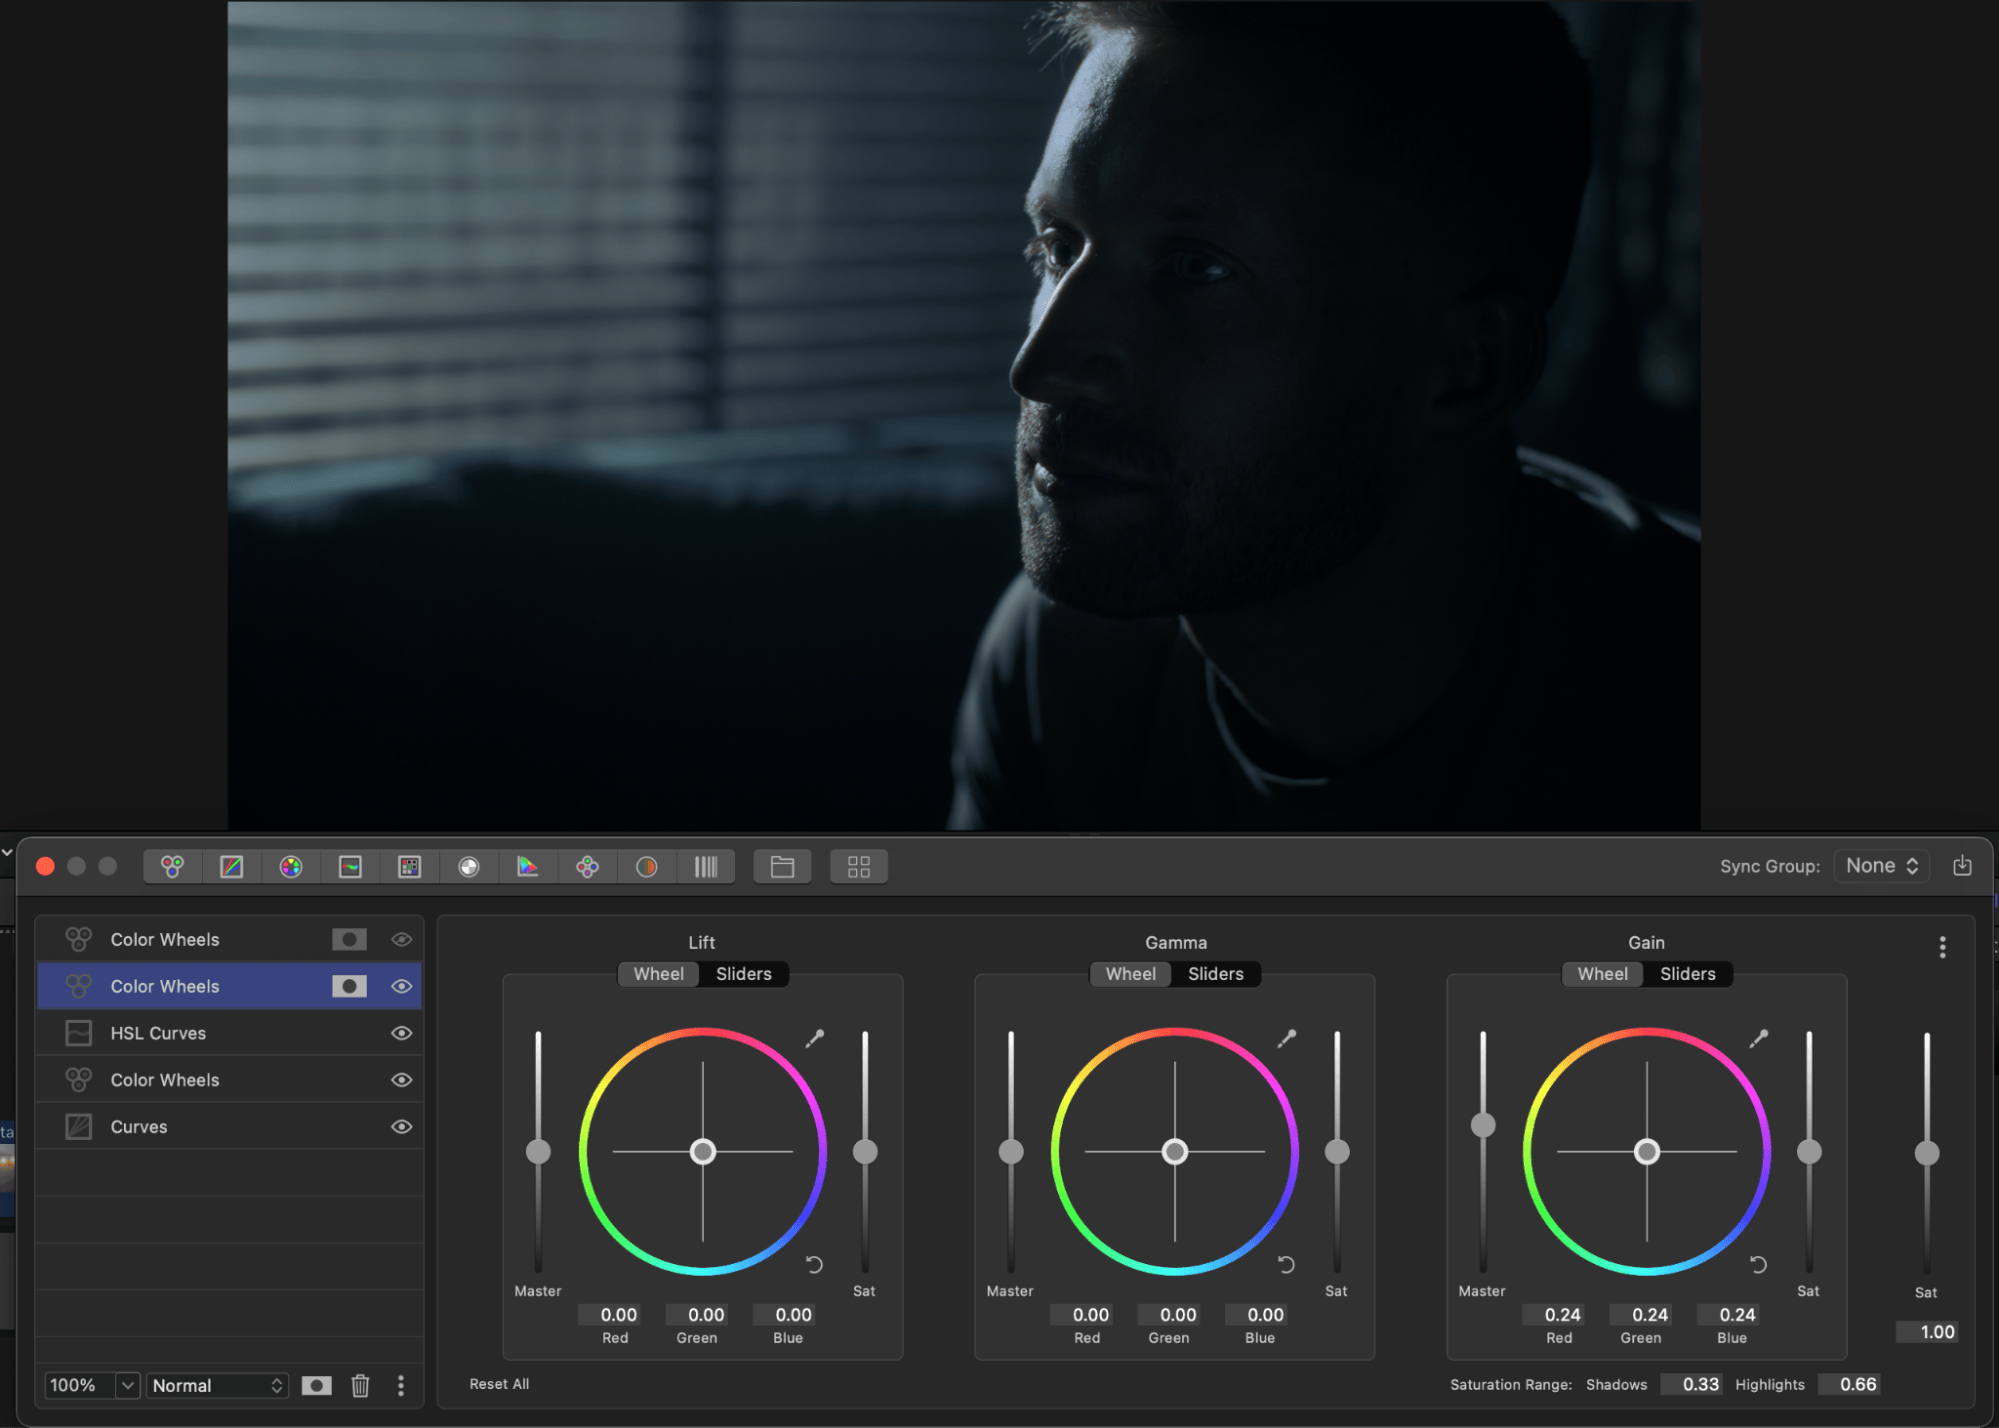
Next, we add a cool blue tone typically associated with moonlight. Create a Color Wheels layer and push blue into the highlights and midtones, from top to bottom, just like light naturally falls in a scene. Make sure not to touch the shadows — we want a natural look, not something overly stylized.
Right away, the scene starts to shift into a believable nighttime look.
Step 3: Desaturate Colors
In real darkness, colors are less intense — there’s very little light bouncing off objects, so colors appear muted to our eyes.
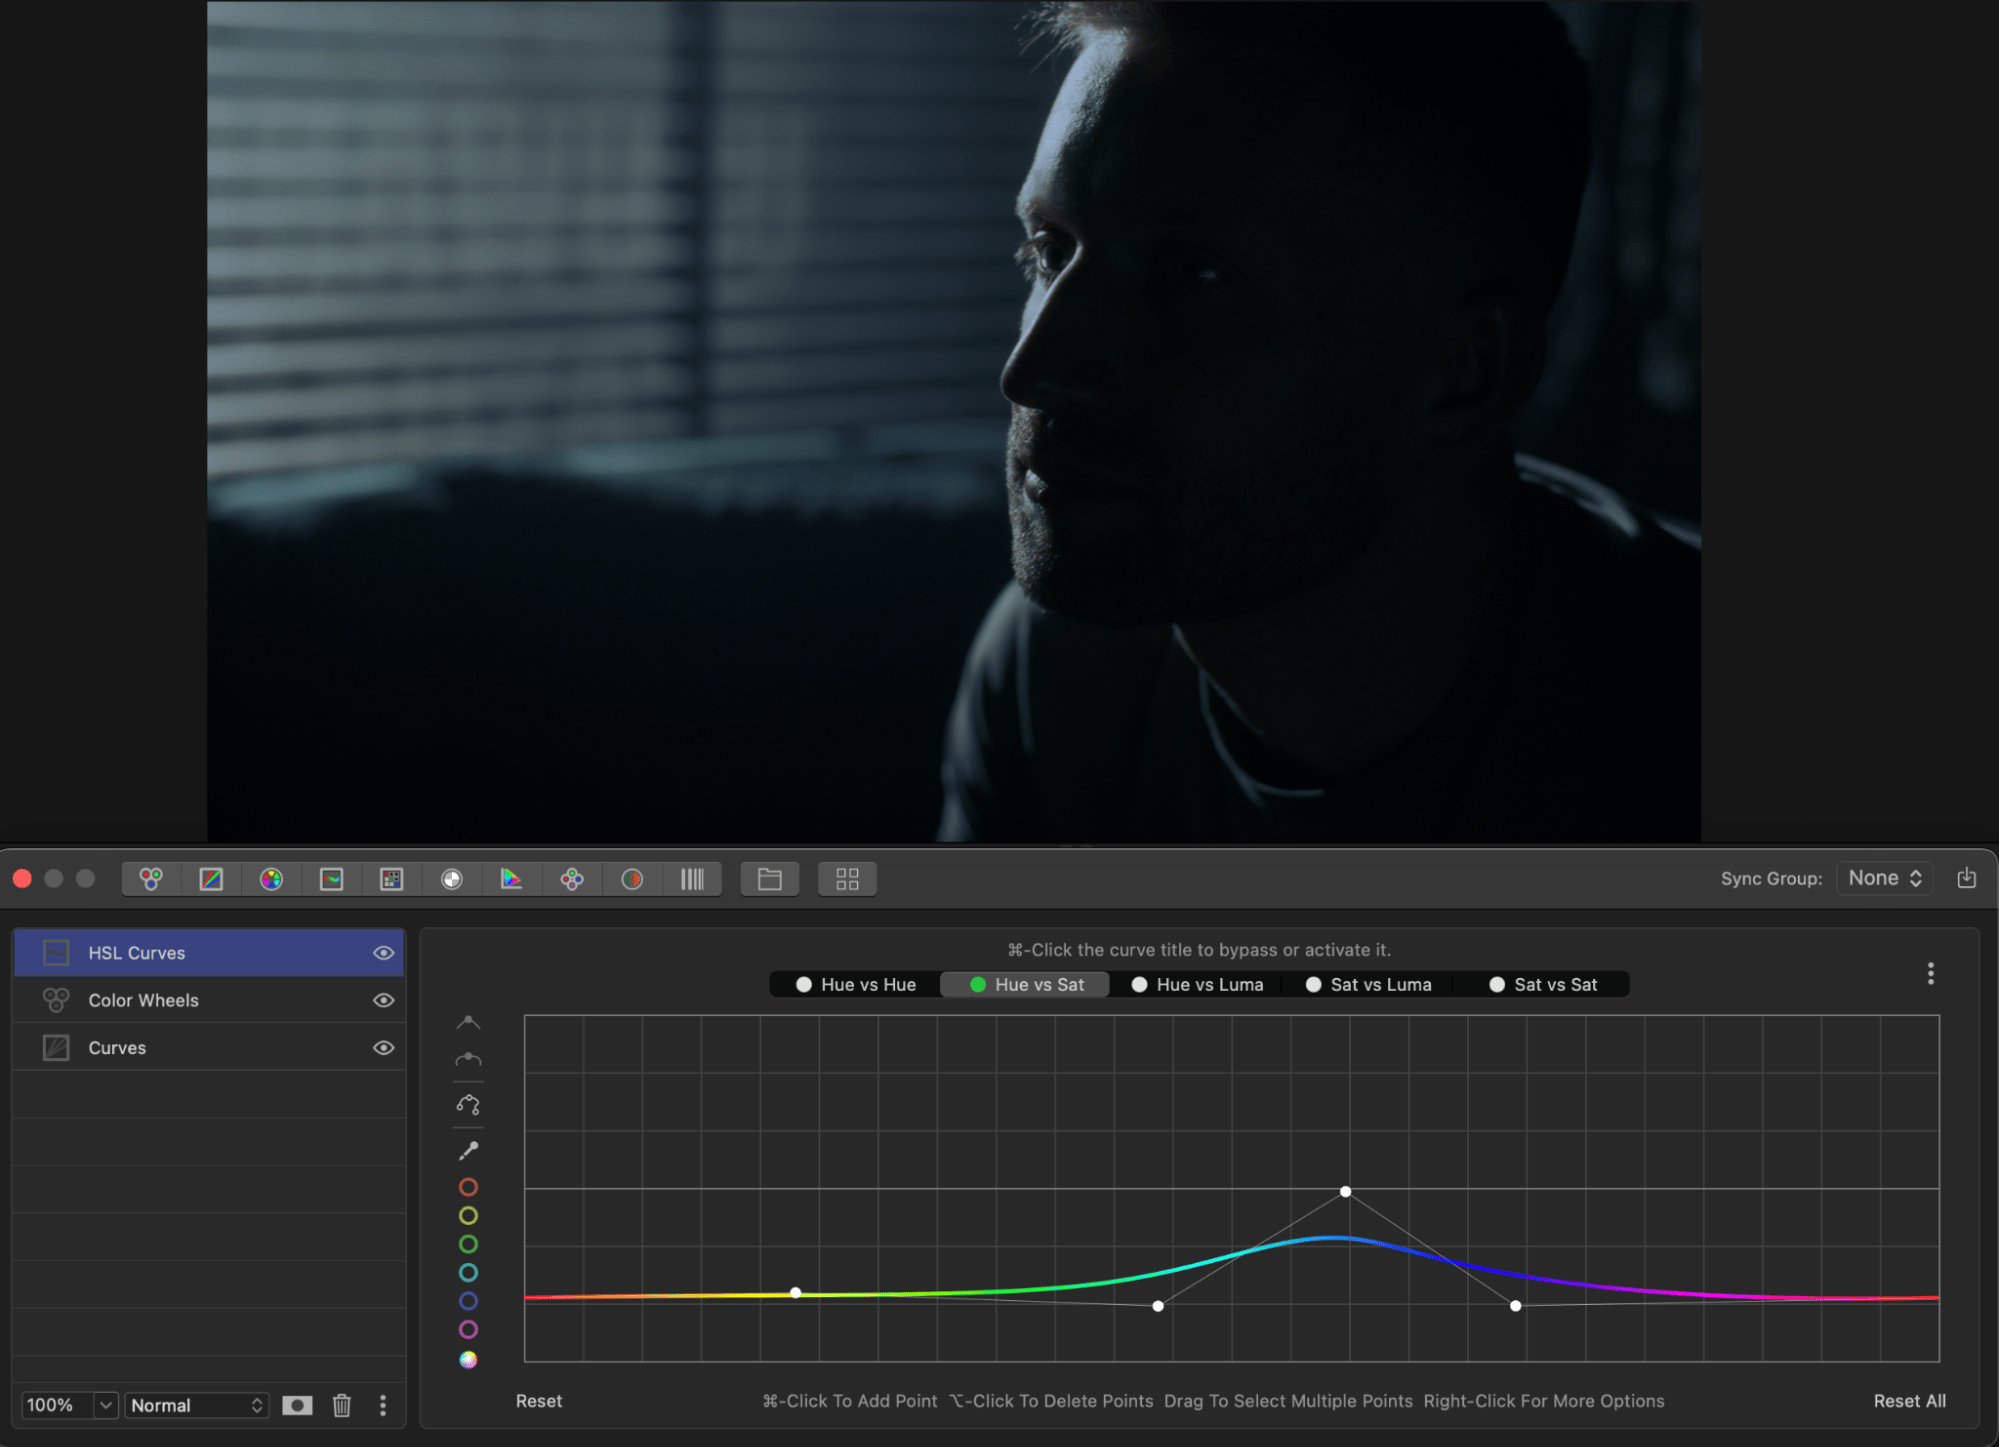
Add an HSL Curves layer, and under Hue vs. Saturation, start pulling color out: slightly desaturate the cool tones (blues, in our case).
Desaturate everything else more aggressively — reds, yellows, and other warm hues.
The goal is a neutral, desaturated look, similar to how our eyes see things at night.
Step 4: Creative Masking
This is the most powerful and creative part of the process: reshaping the light. We’re going to use multiple masks to selectively highlight, darken, or cool different areas. This is why we didn’t lower the highlights a lot. Now we are going to work on a source of light and light reflections.
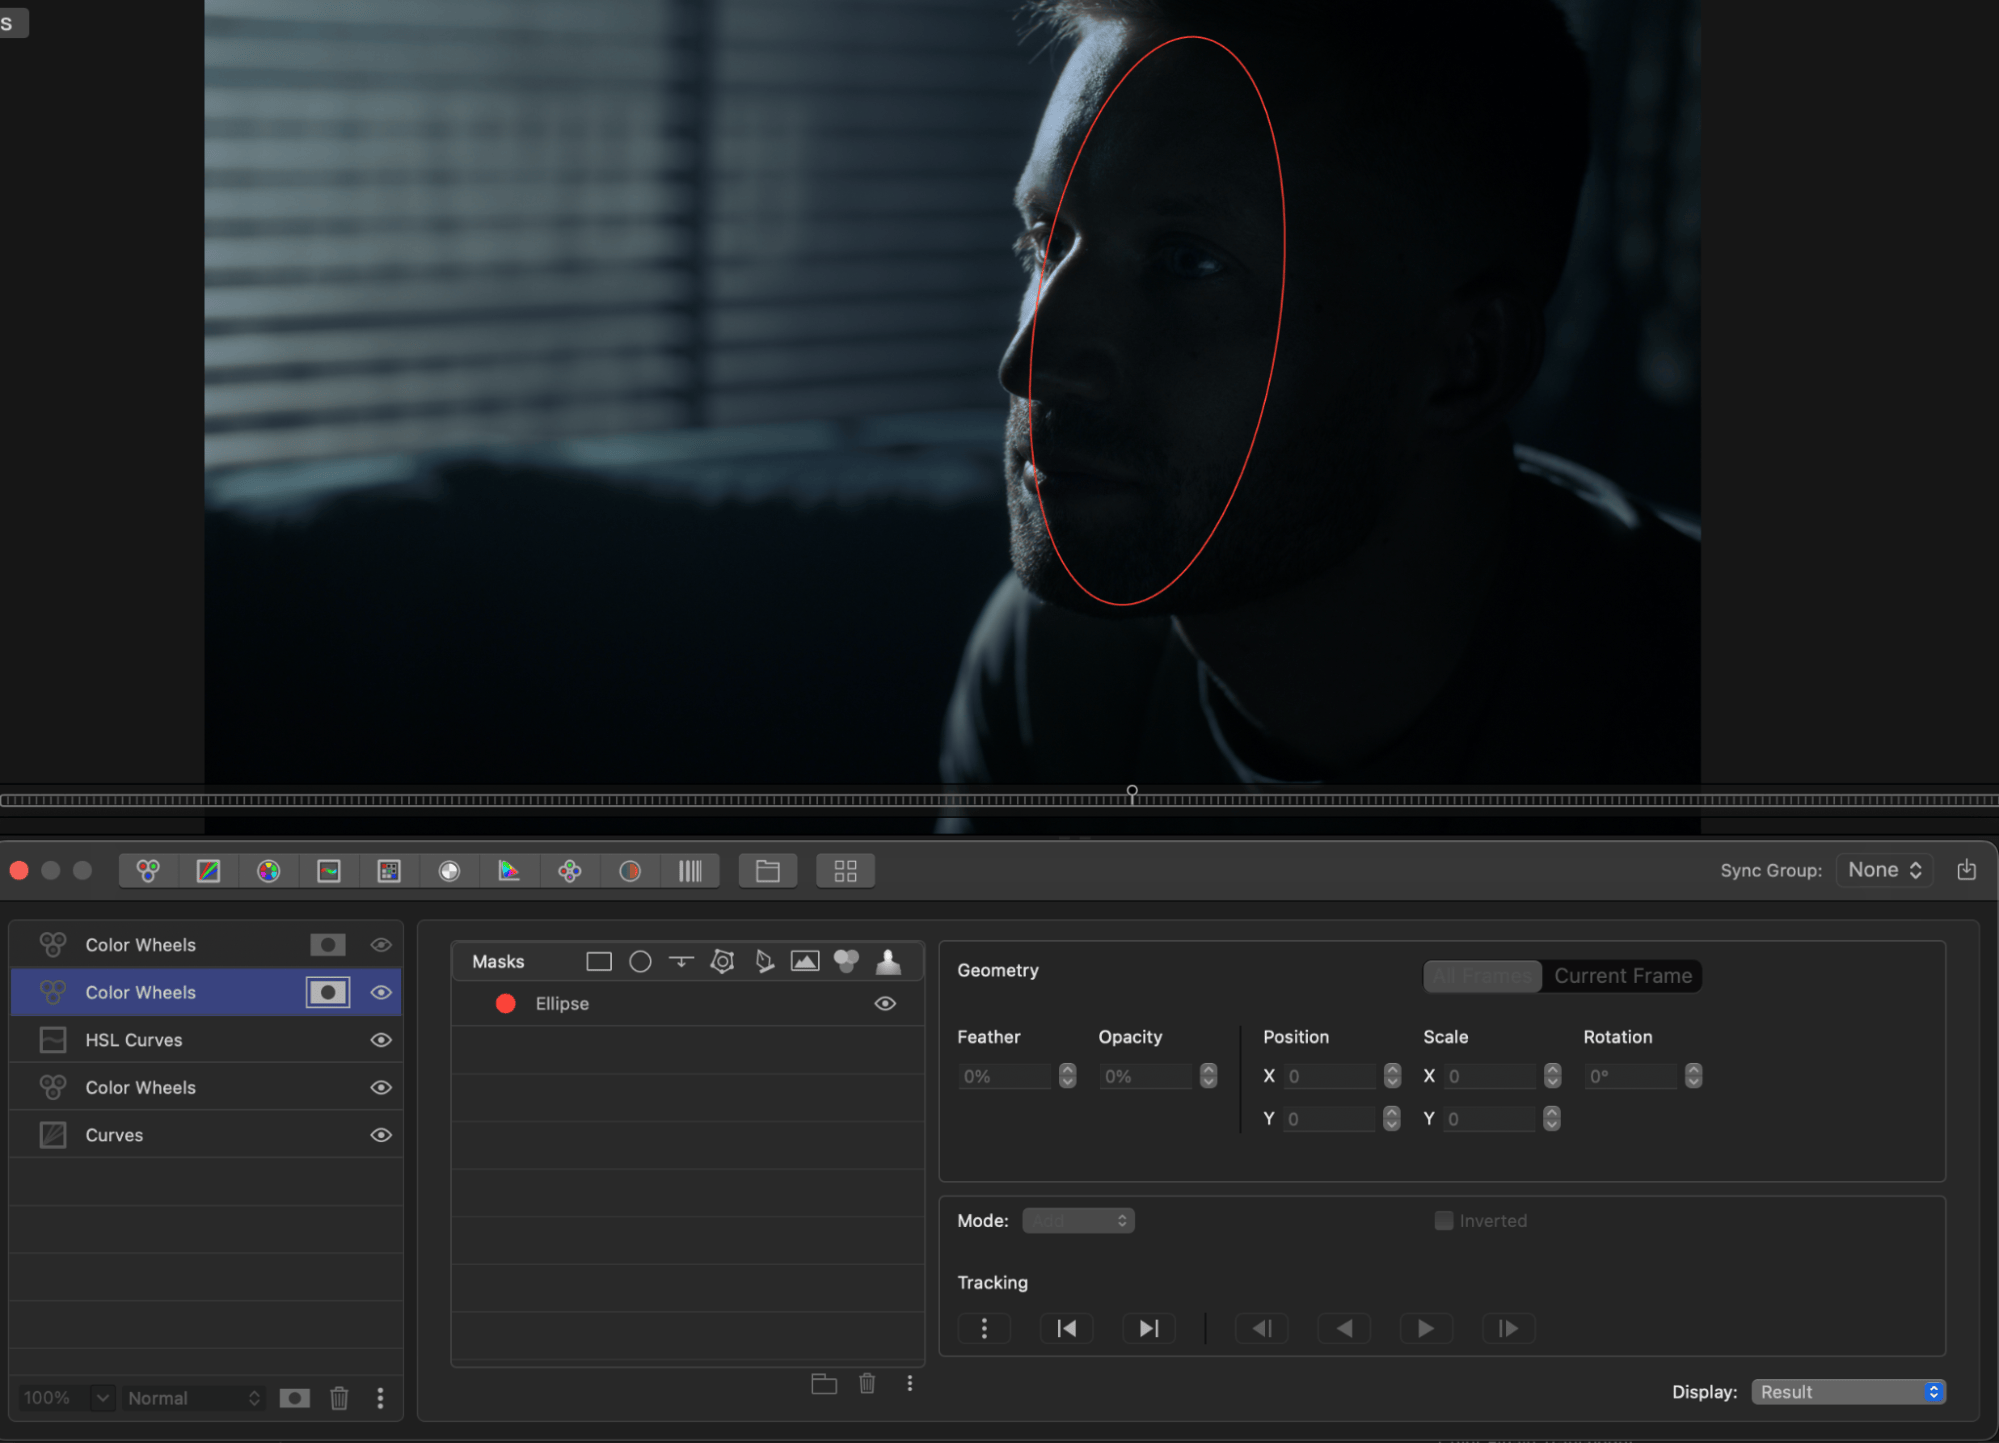
Let’s put more focus on the subject. First, add another Color Wheels layer. Then, apply an elliptical mask. Place it on the talent’s face. Then, track the mask back and forth. Now we push the highlights up slightly.
Next, add another Color Wheels layer to work on the light coming through the window. Here, an image mask will come in handy. Add an image mask and accurately mask areas where the light hits — the window and reflections on the talent. Blur it slightly. Then, play around with the Midtones and Highlights to set any color you want. Try green or yellow, for example. You can also control the strength of the light by tweaking the Master slider. This is where your scene can truly transform and go from a natural to more stylised look.
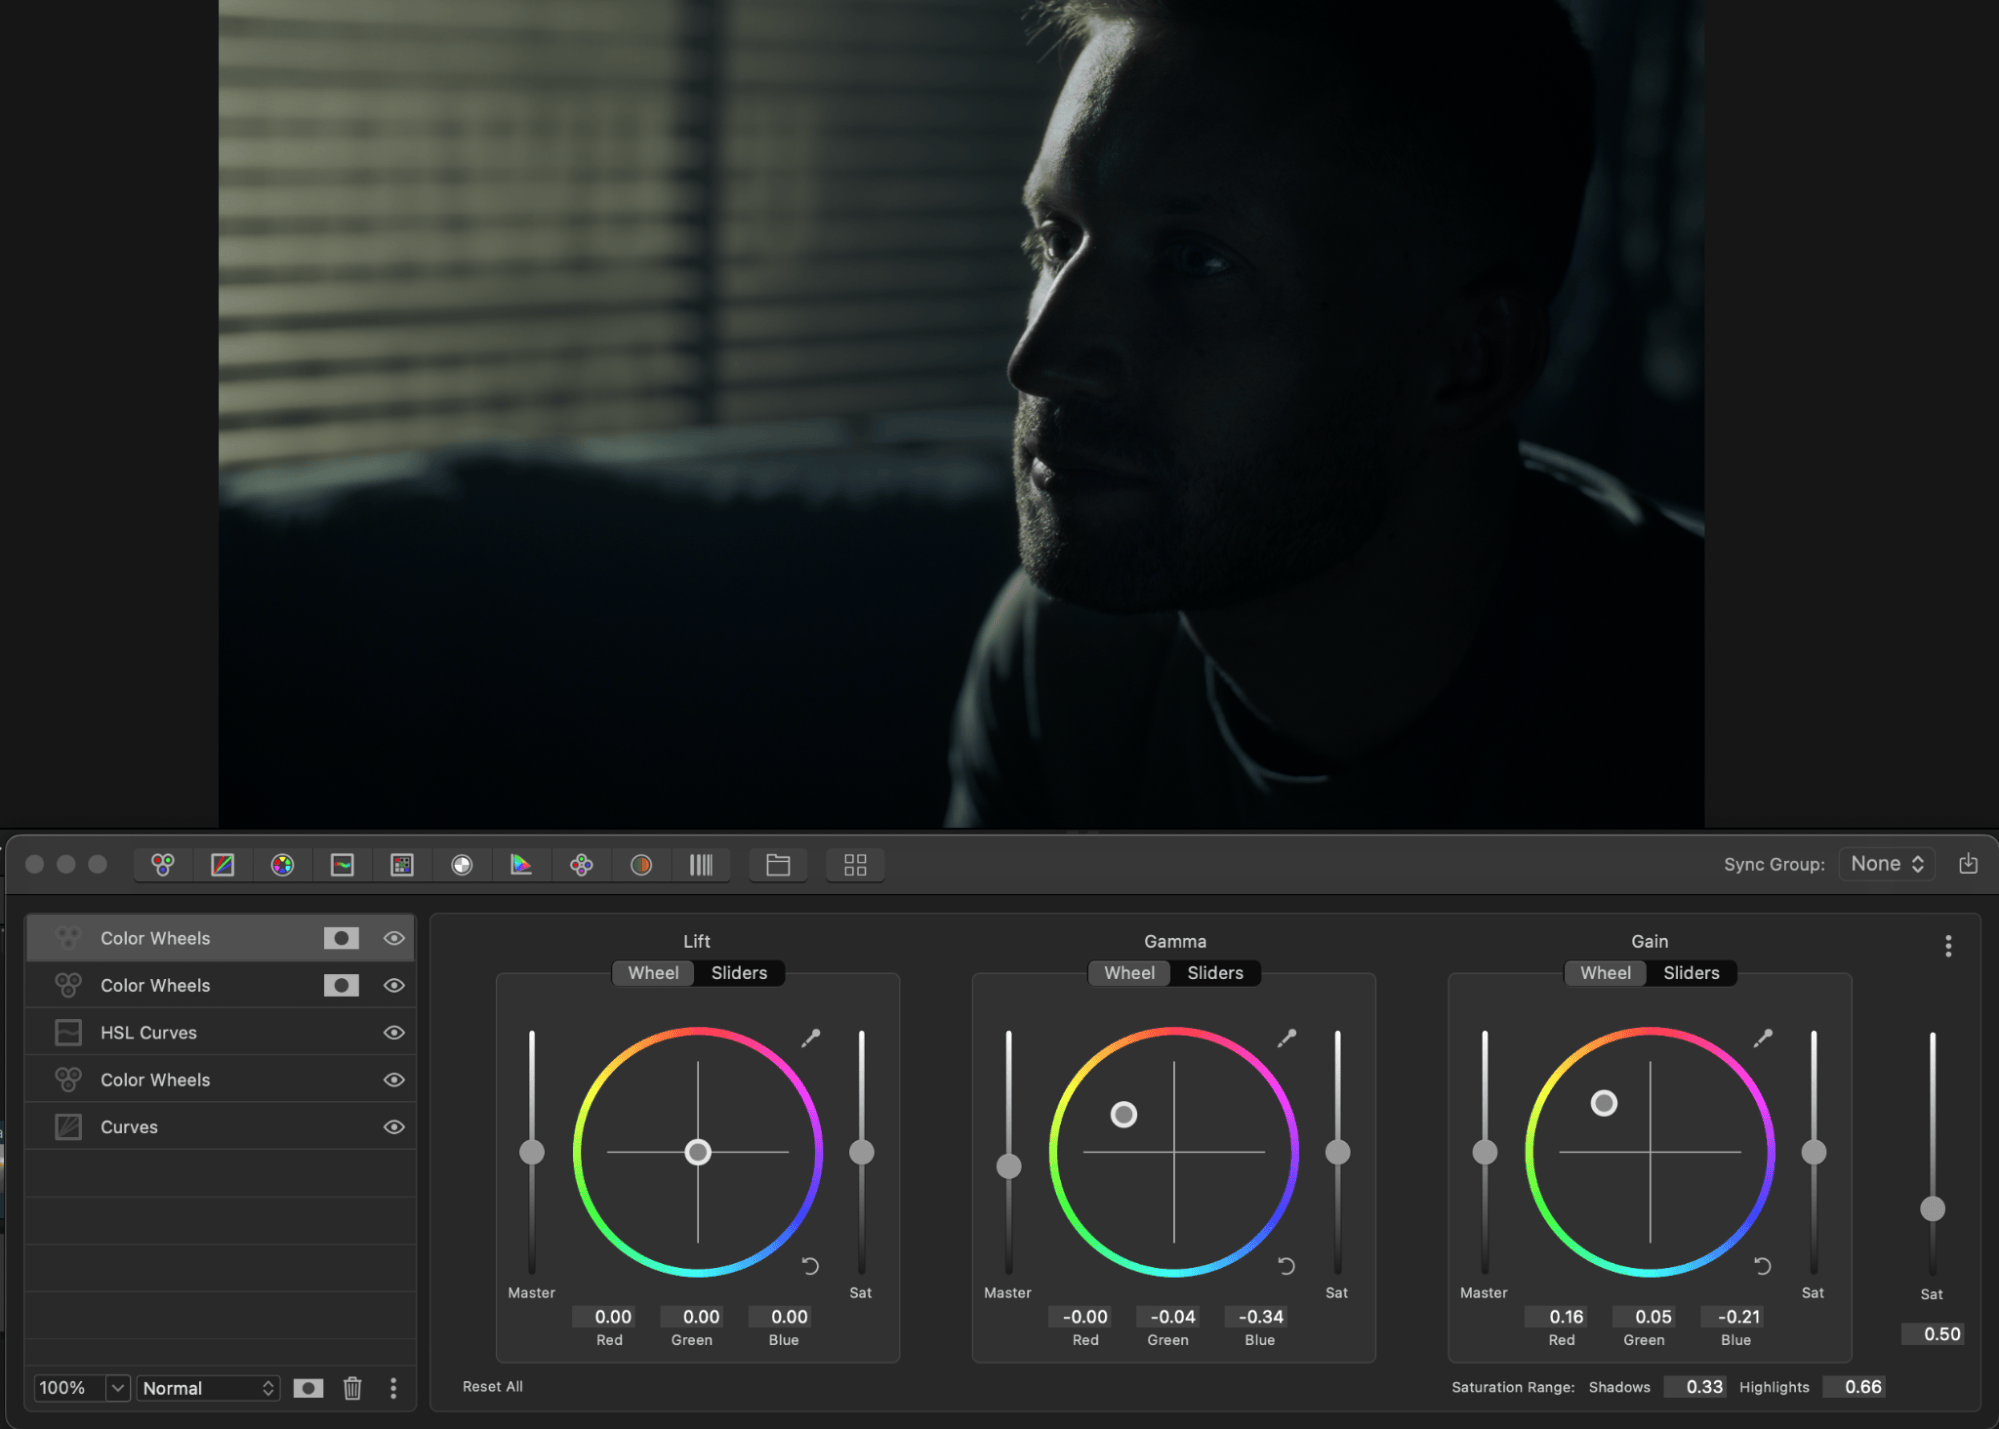
Recap & Final Result
Let’s take one last look at the transformation of our shot:
- Exposure reduced
- Cool blueish tones added
- Saturation adjusted for realism
- Light reshaped with creative masks
You can repeat these steps in your next project to achieve a natural and cinematic look. Also, don’t forget to experiment with masks to replicate the appearance of a real night, moonlight, or late evening, making the viewer believe it’s authentic.
This is how it’s done in Hollywood — and now, you can do it too. Try the free 7 day trial of Color Finale 2 Pro (link top right) to follow along and see how it can improve your color grade.