Contents
- Introduction
- What is a blend mode?
- Soft Light
- Subtract
- Multiply
- Conclusion
- Blend modes parts 1 & 2 (video)
- Reference
Introduction
If you're colour grading a video project, you might not know that there is an additional tool at your disposal that can offer quick and interesting colour grading ideas. And that's blend modes — just like the ones you might be familiar with from Photoshop, where they are used for image compositing. But blend modes are also a great help in the context of colour grading.
Final Cut Pro natively includes blend modes for image compositing. With a bit of effort, they could be used during colour grading. The problem is that you would need to add a colour generator to the timeline, duplicate clips, and keep them together at all times. This is messy, takes time, and can discourage you from trying to experiment with blend modes for colour grading.
 The native way of using blend modes: having to first duplicate a clip on the timeline
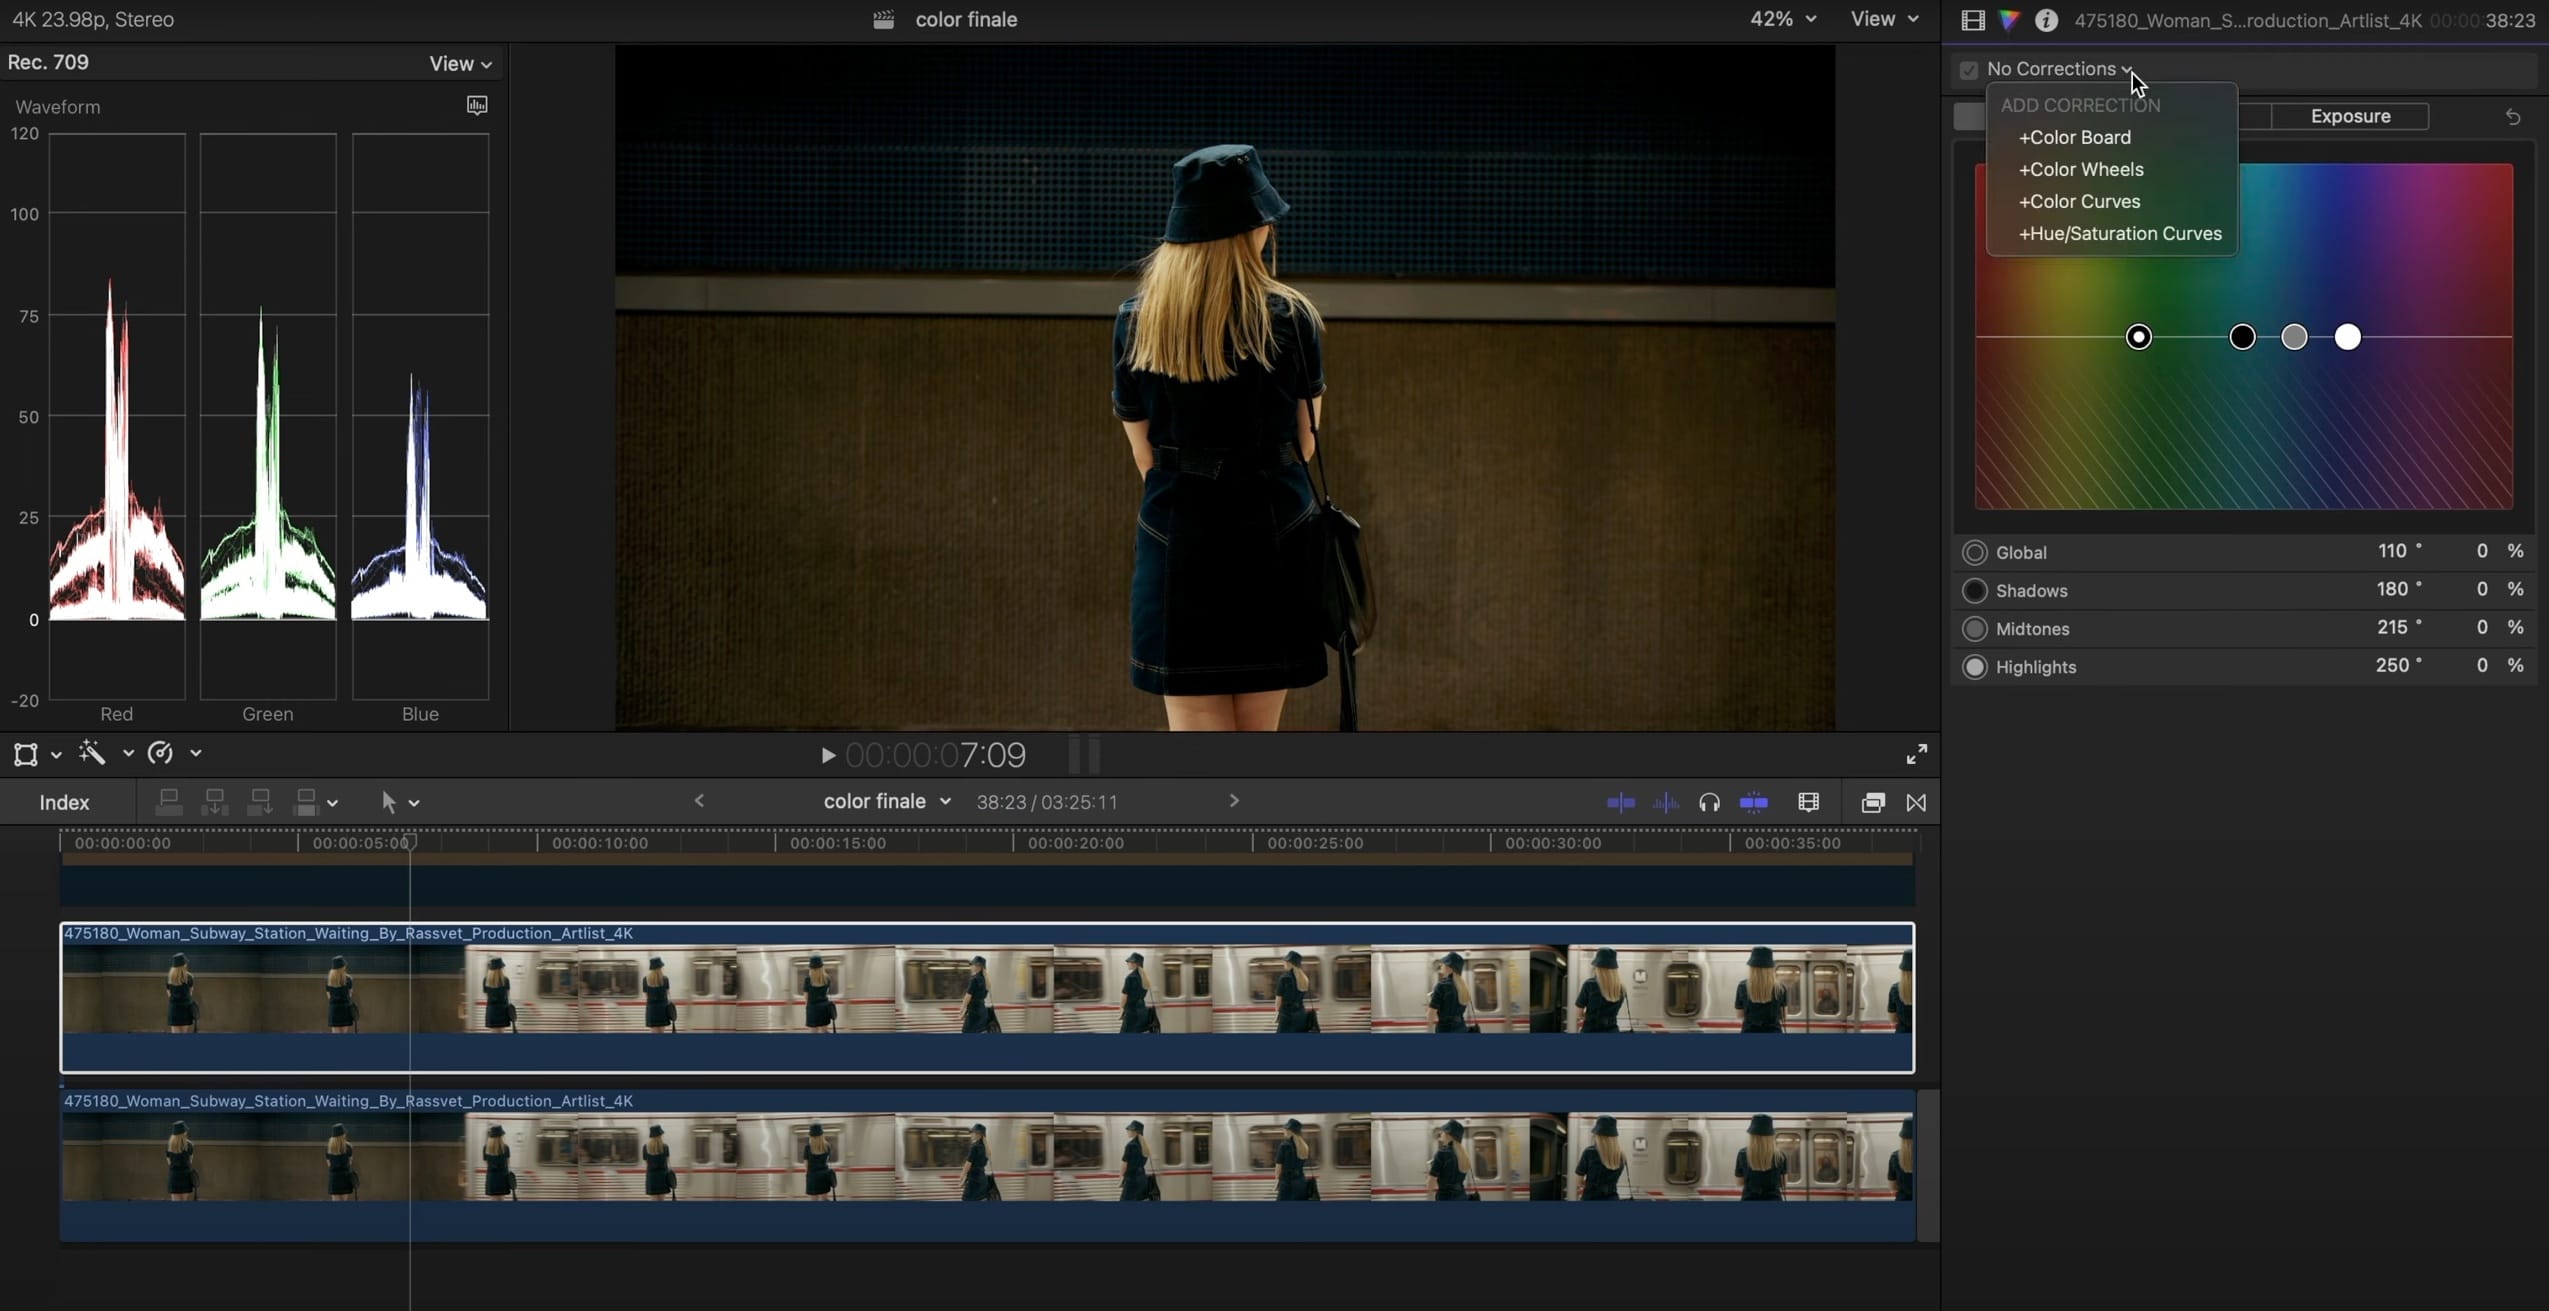
Since Color Finale 2 uses a layer-based approach for applying colour edits to a clip, just like in other layer-based editors there is a classic selection of blend modes to choose from alongside layer opacity and masks.
 Familiar and intuitive layer blending in Color Finale 2
What is a blend mode?
Blend modes, also called transfer modes, are recipes that tell the layer editor how consecutive layers are combined with previous layers.
Suppose you have a source — your original uncorrected image — every colour correction operation we apply creates a new image layer that goes on top of it.
The original image is still there, but its pixels are replaced by the pixels modified by the colour grading operation, for example using the Telecine Color Wheels. If no blend mode is applied to this layer and opacity stays at 100%, we simply see the result of this correction.
But if we decrease its opacity or start going through blend modes, the original image might become visible again. Its pixels are combined with the current layer in various interesting ways: added, multiplied, transformed based on the values of incoming pixels, and many others. Each blend mode has a purpose in solving creative problems.
Soft Light
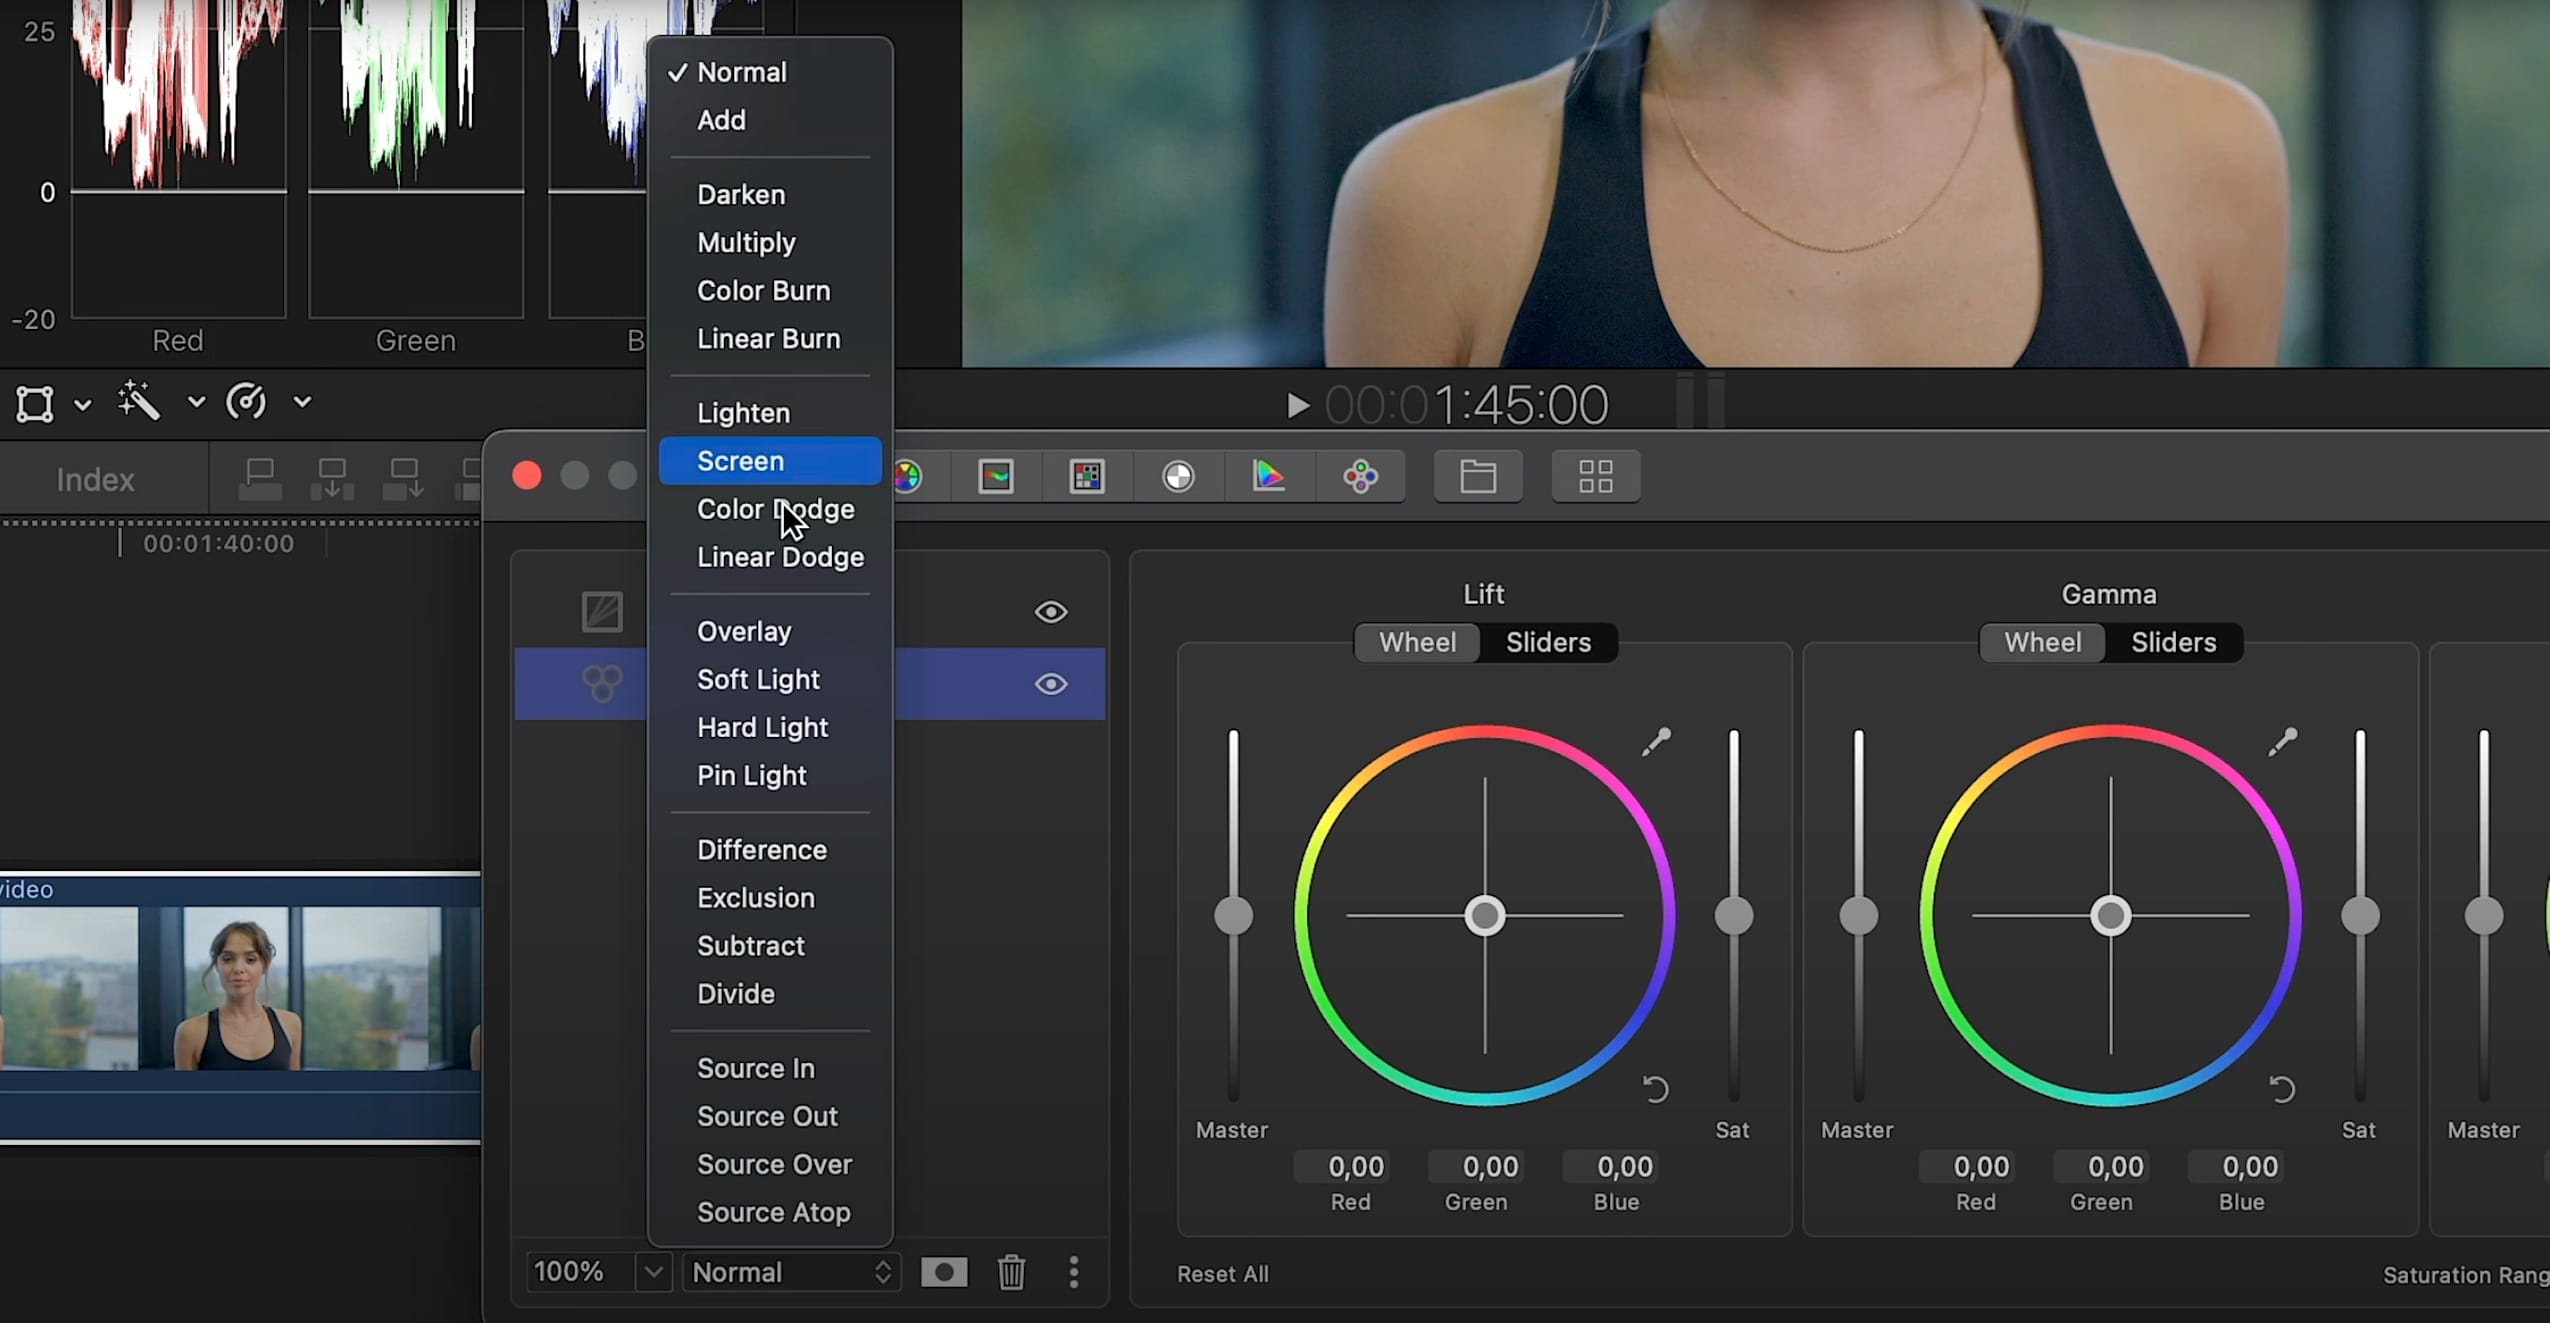
One great blend mode to use for colour grading is Soft Light. Soft Light instantly gives a boost of contrast by darkening anything if the colour of the top layer is below mid-grey, vice versa if it’s above mid-grey, while gently adding in any colour picked from the Color Wheels.
Example of Soft Light
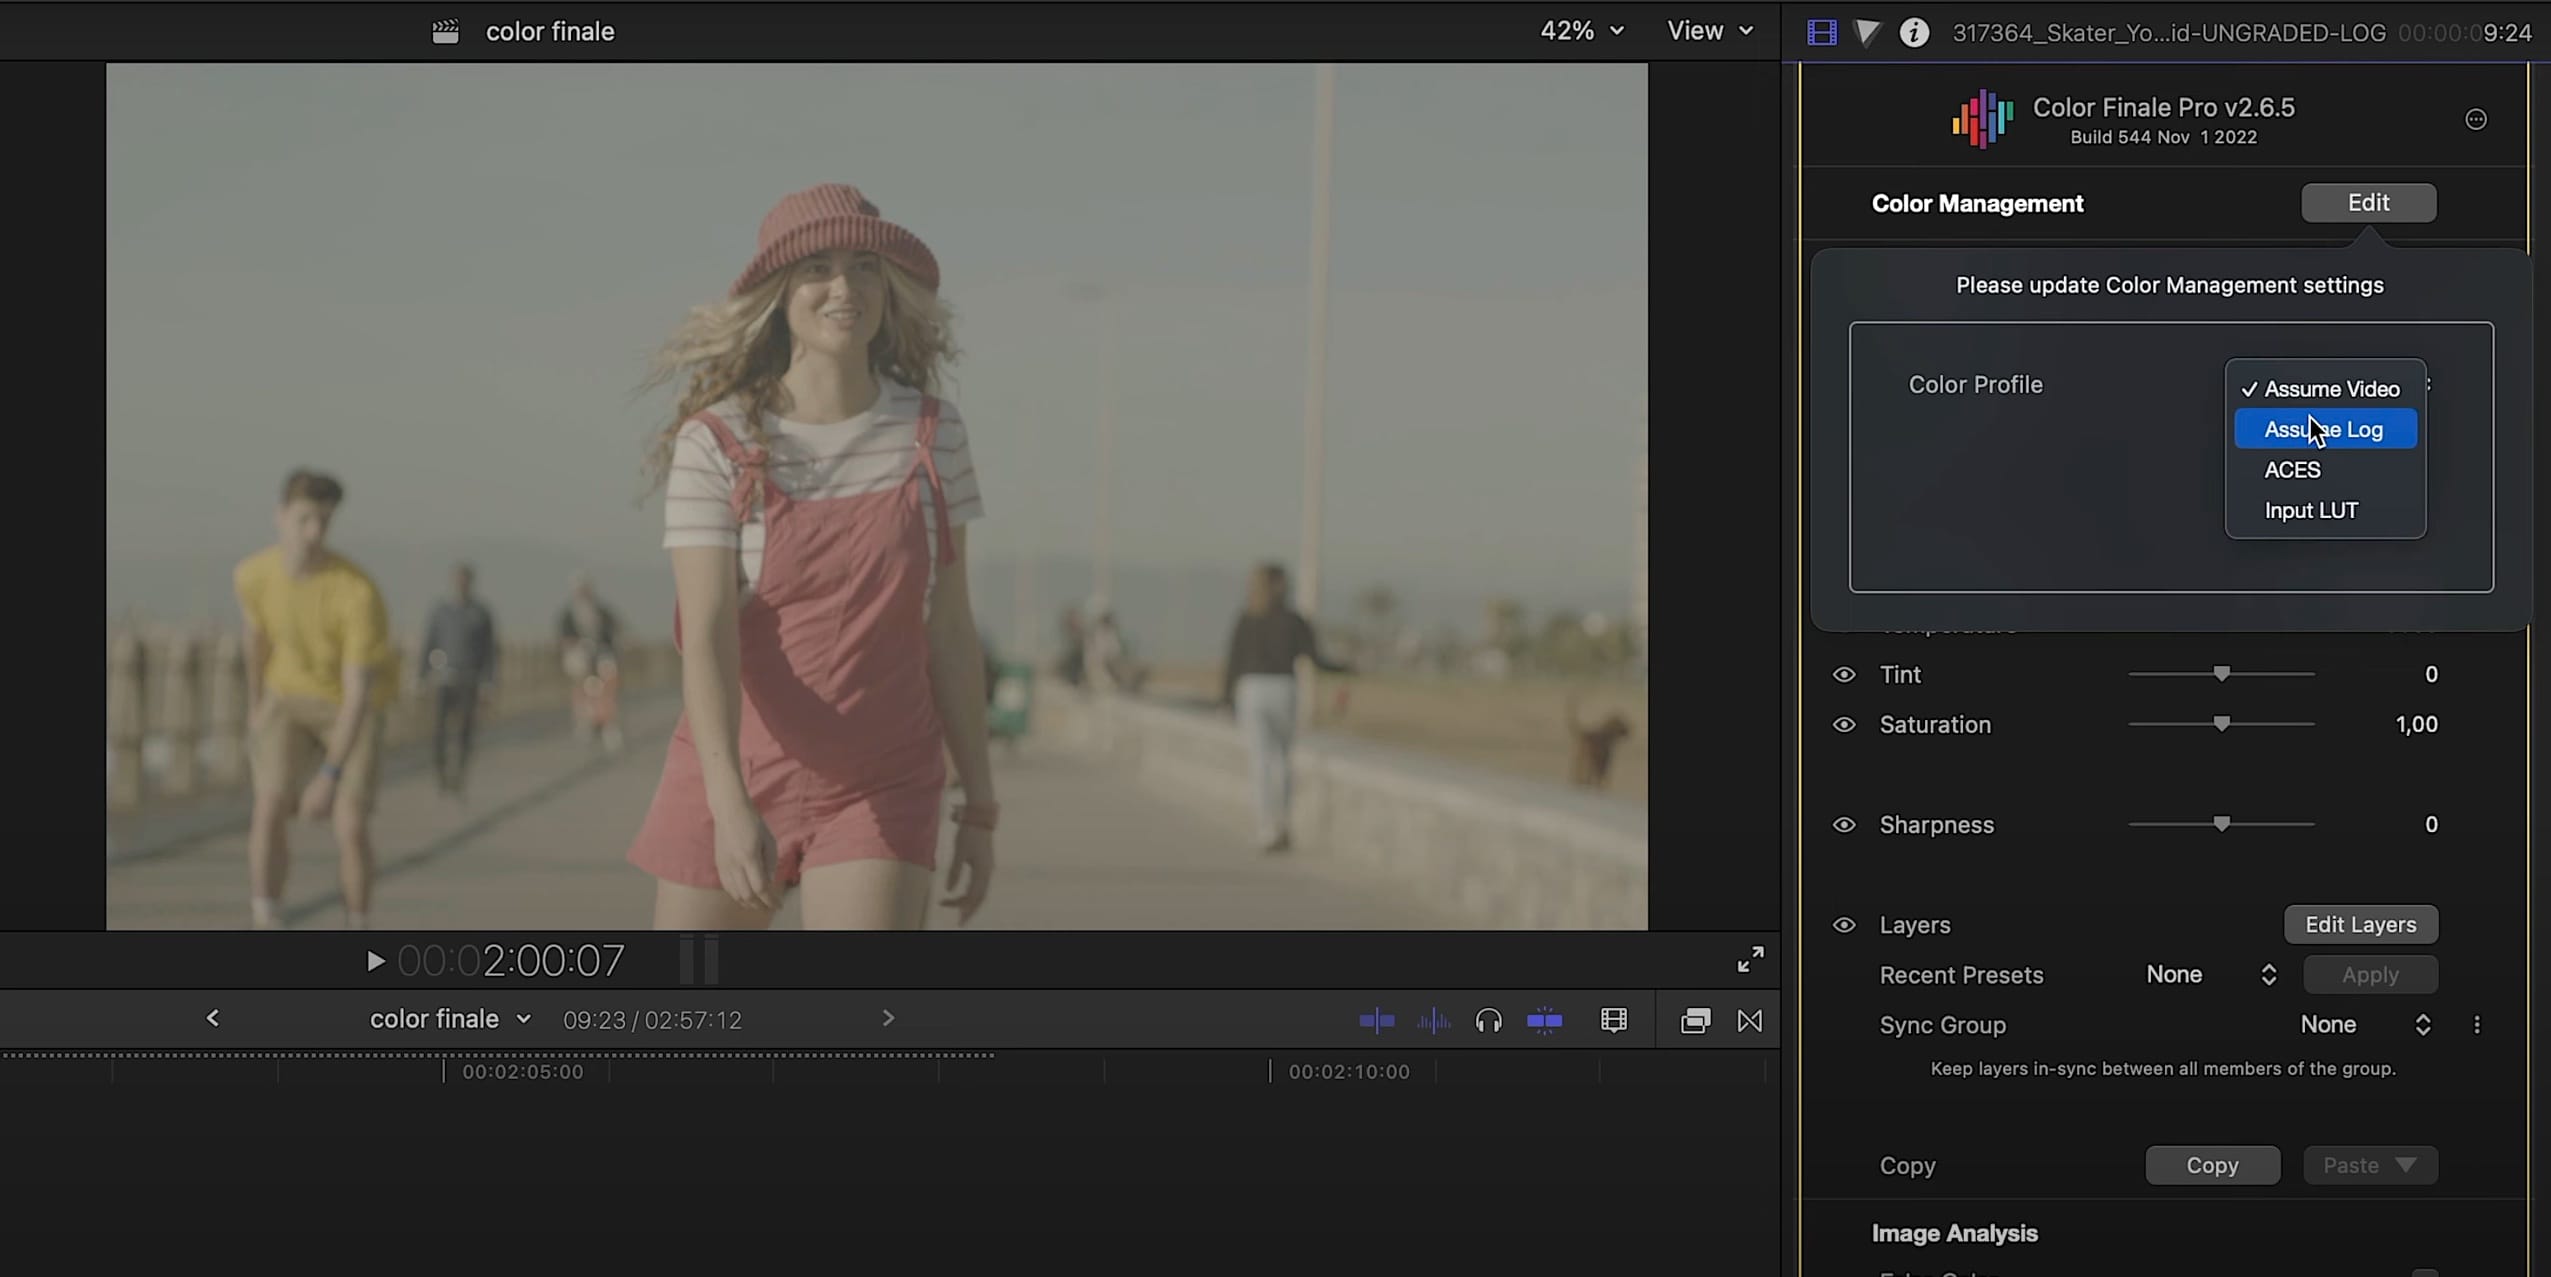
The above clip is in log so we’ll select Assume Log in Color Management first. Apply Color Wheels in the Layers Panel, and select Soft Light from the blend modes drop-down list.
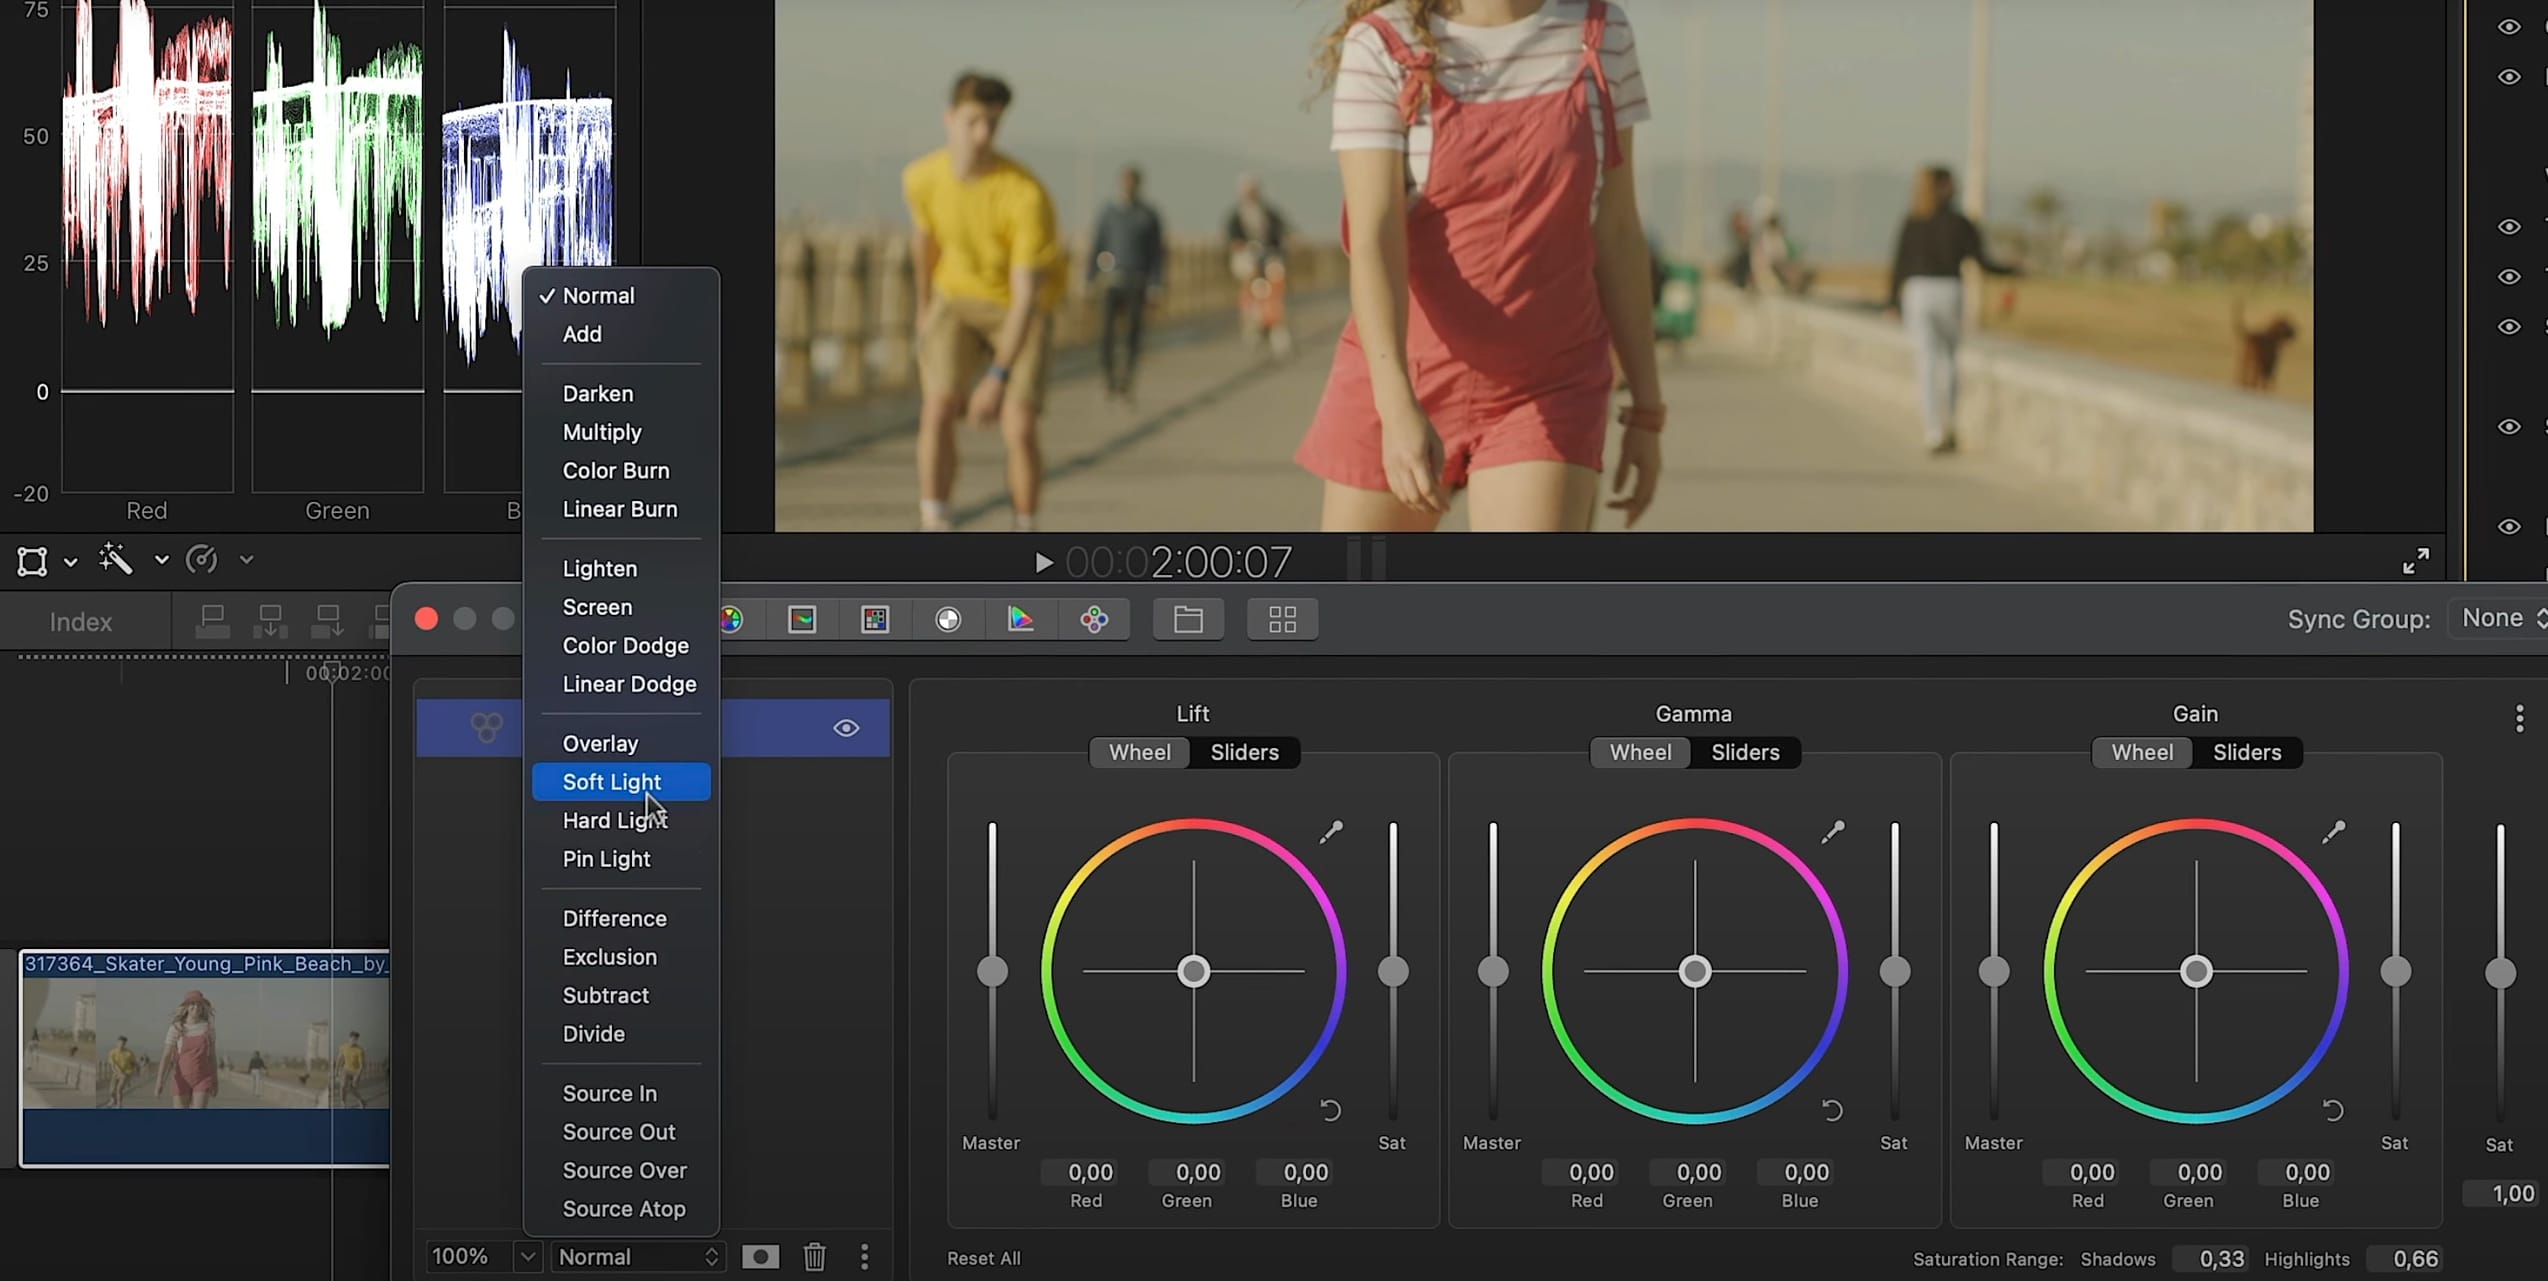
Just by selecting a blend mode, more contrast has instantly been added. This is because Color Finale 2 temporarily creates copies of the image when a new layer is added, and they get flattened into the existing image before being output. (But no matter how many layers are added, the final result gets calculated in one quick pass, which means sustained fast performance as more effects are added.)
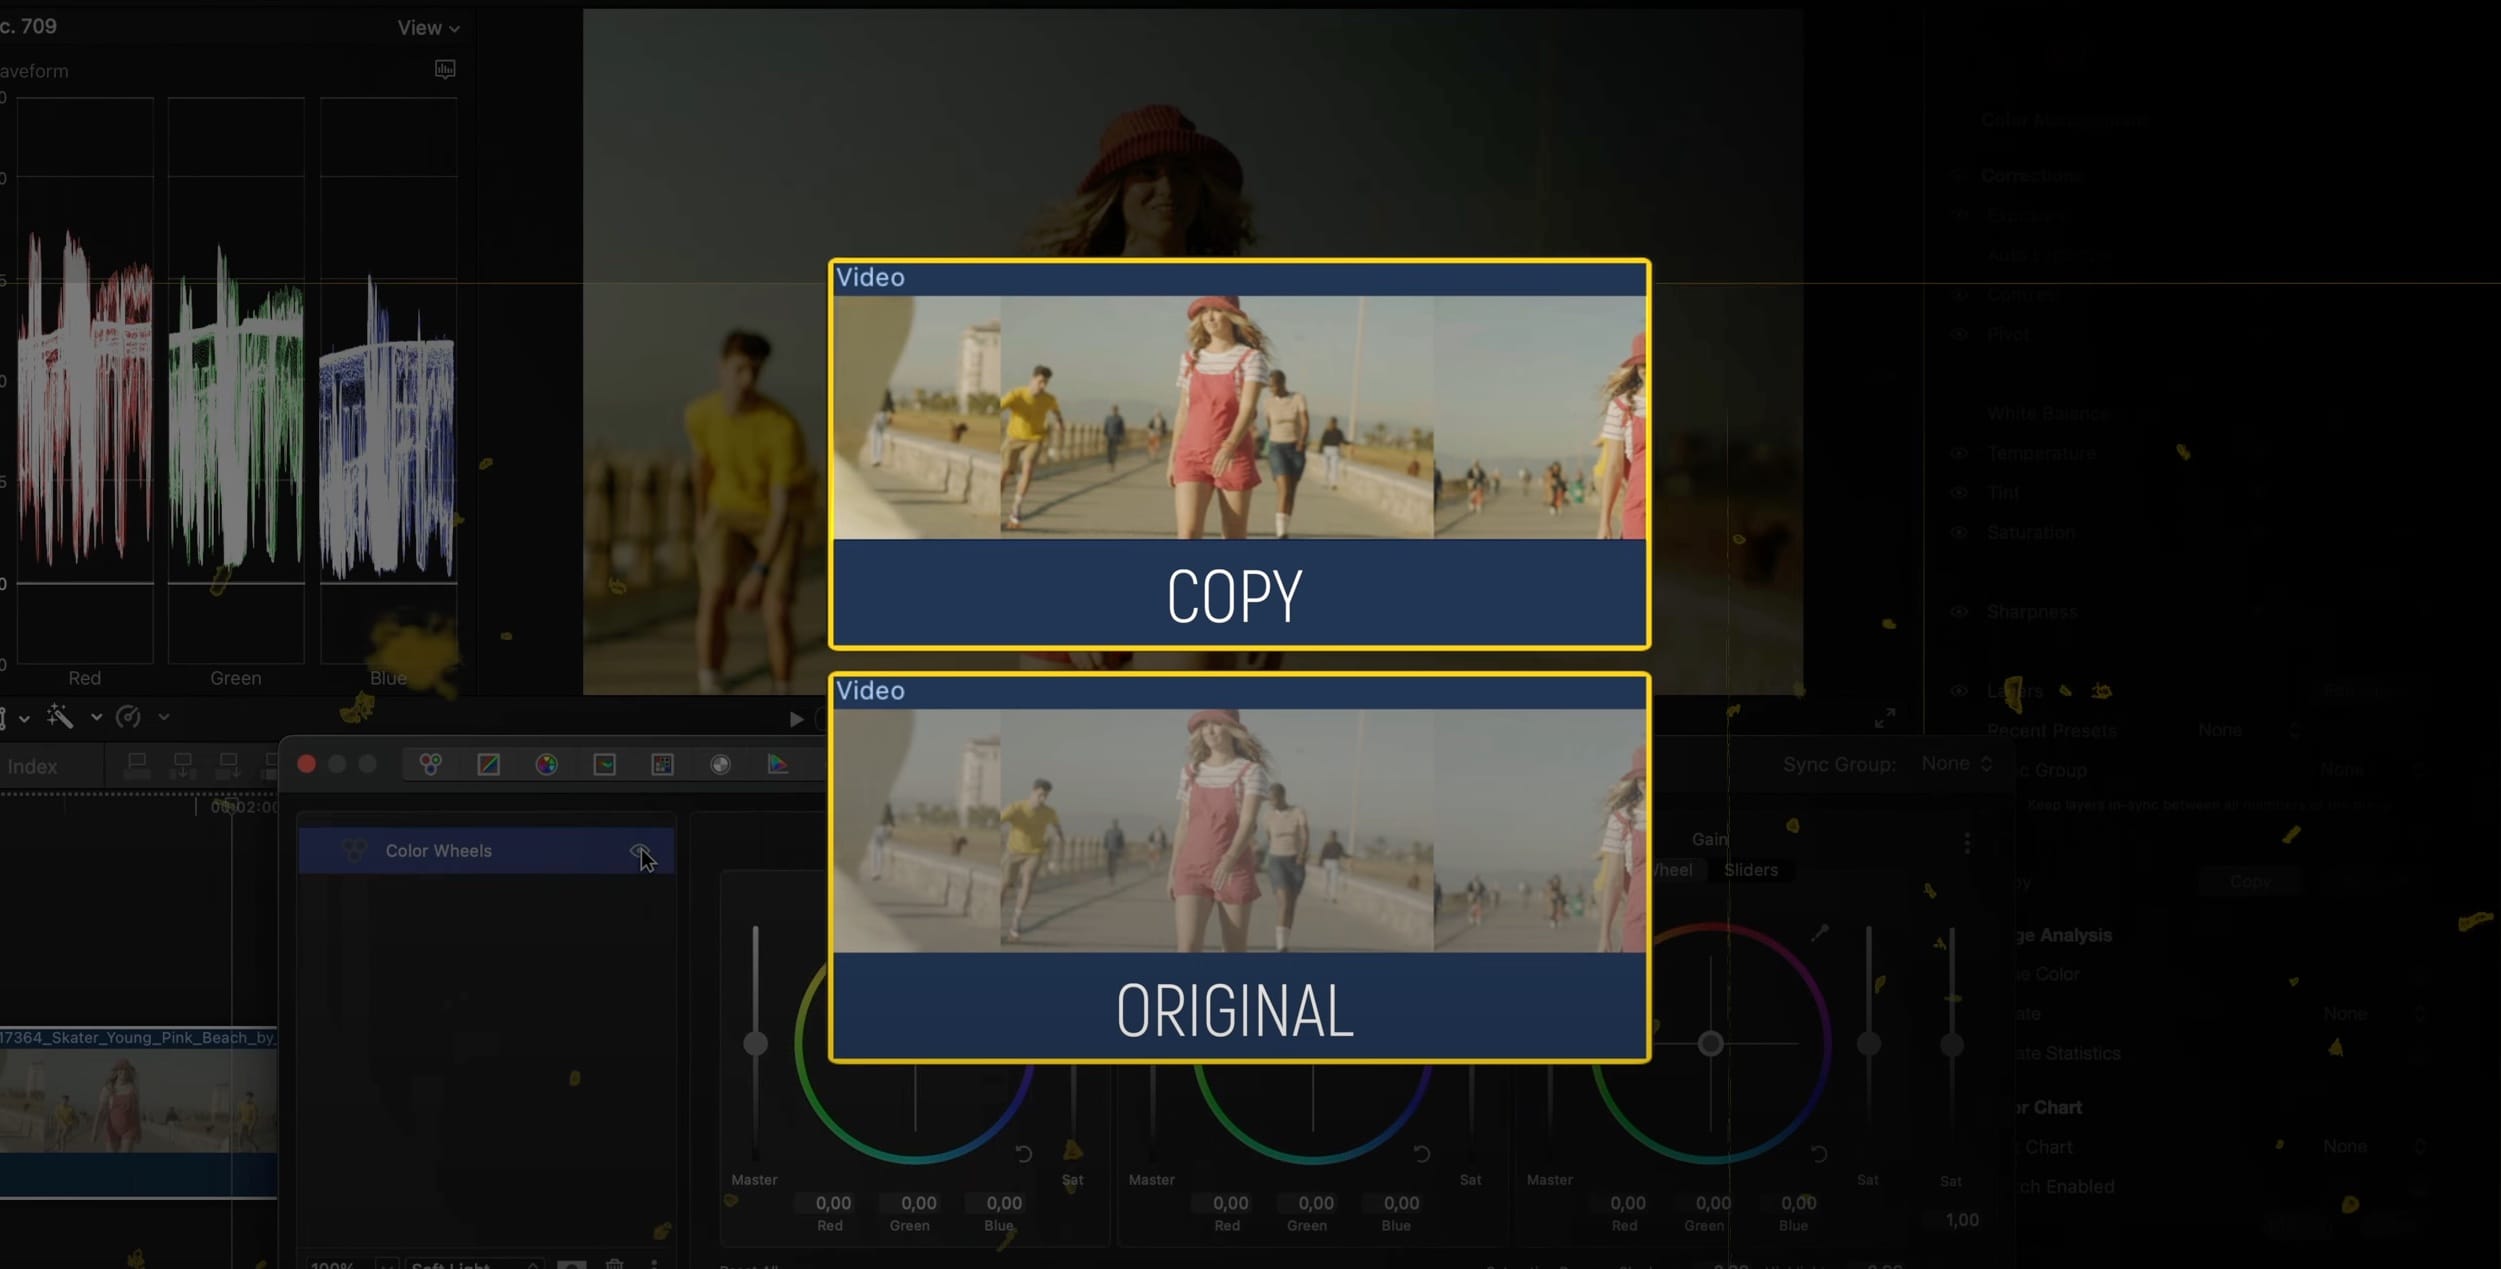 Color Finale 2 creates temporary copies of the clip that are then flattened
Now, by using the Color Wheels we can paint the shadow regions and highlights in one go. Check on the waveform that no colours are going out of safe range, and we are good to go.
Subtract
It's worth noting that many videographers underestimate the capabilities of blend modes and often don't think to include them in their workflow in combination with familiar tools, even though they can speed things up quite a bit.
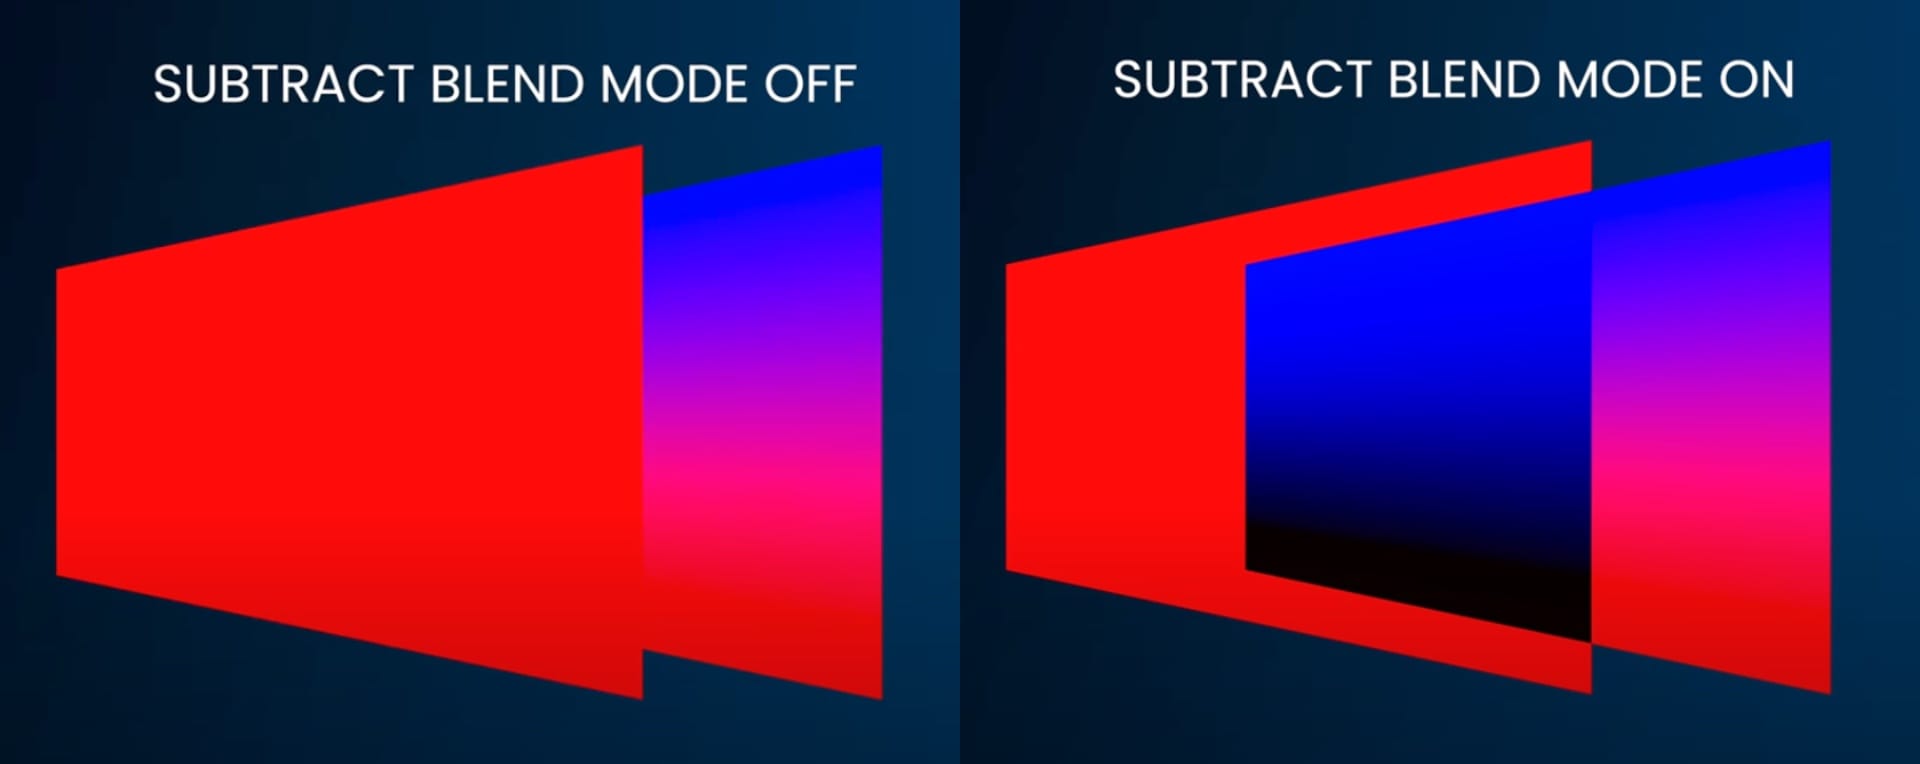
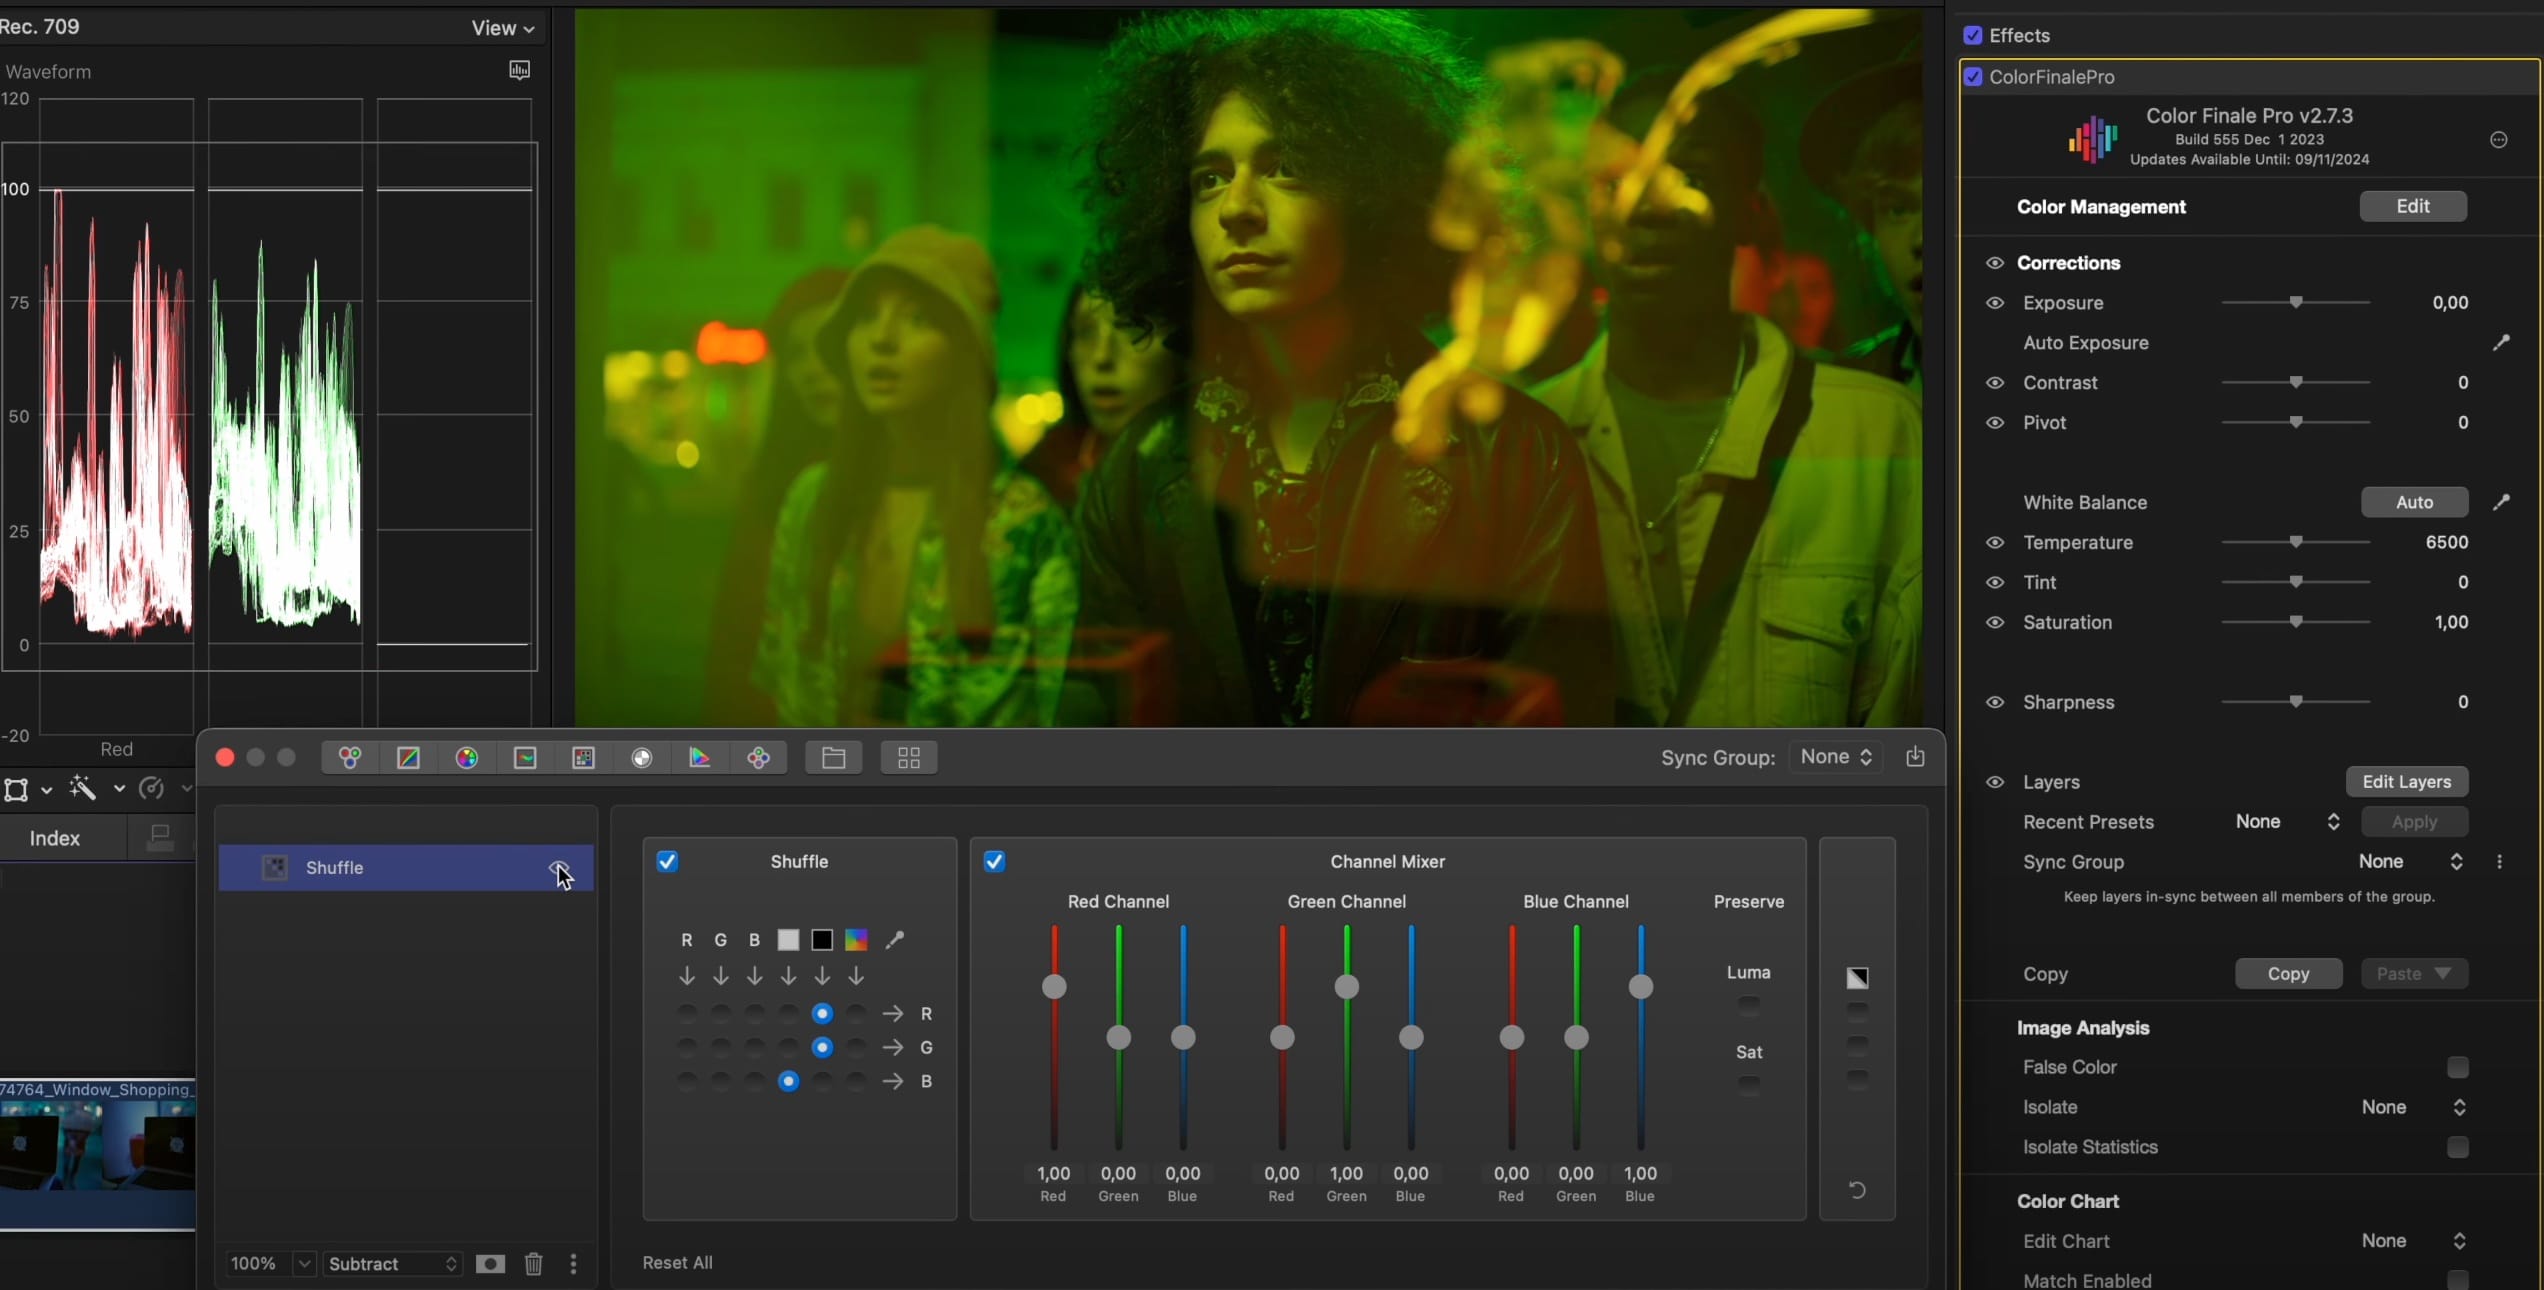
Subtract quite simply takes away the colours of the blending layer from the base colours, giving easy control over the colours to be subtracted. Add a shuffle layer to create a solid colour. For example, let's subtract blue from our image.
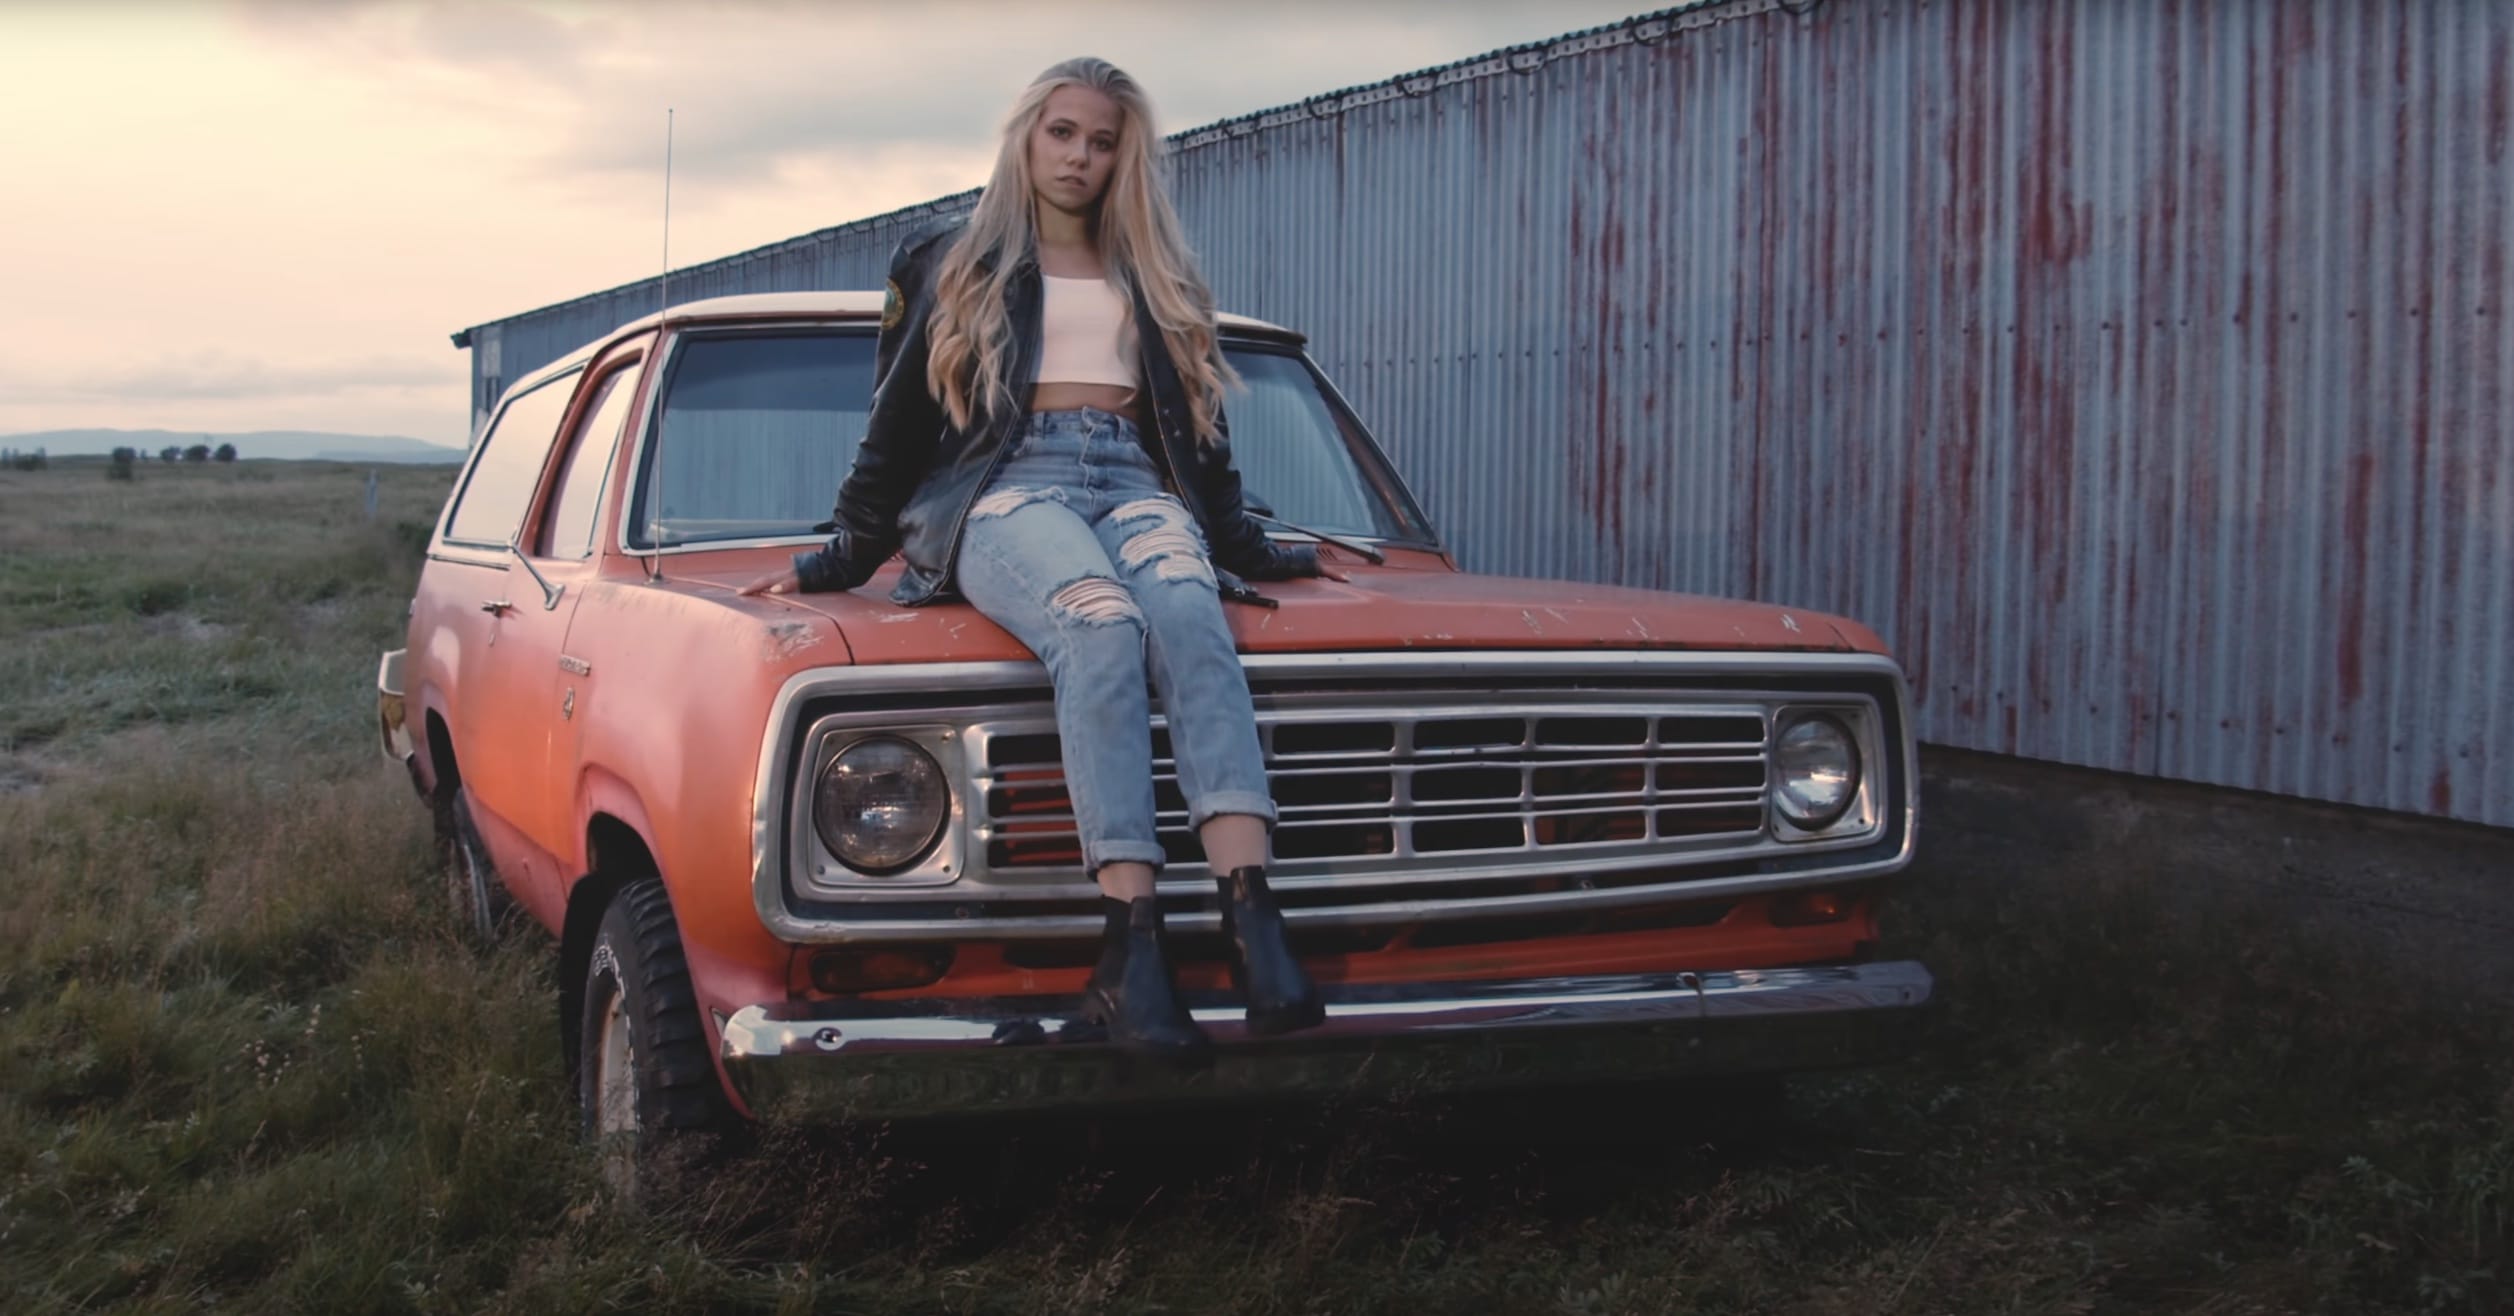
 Original image
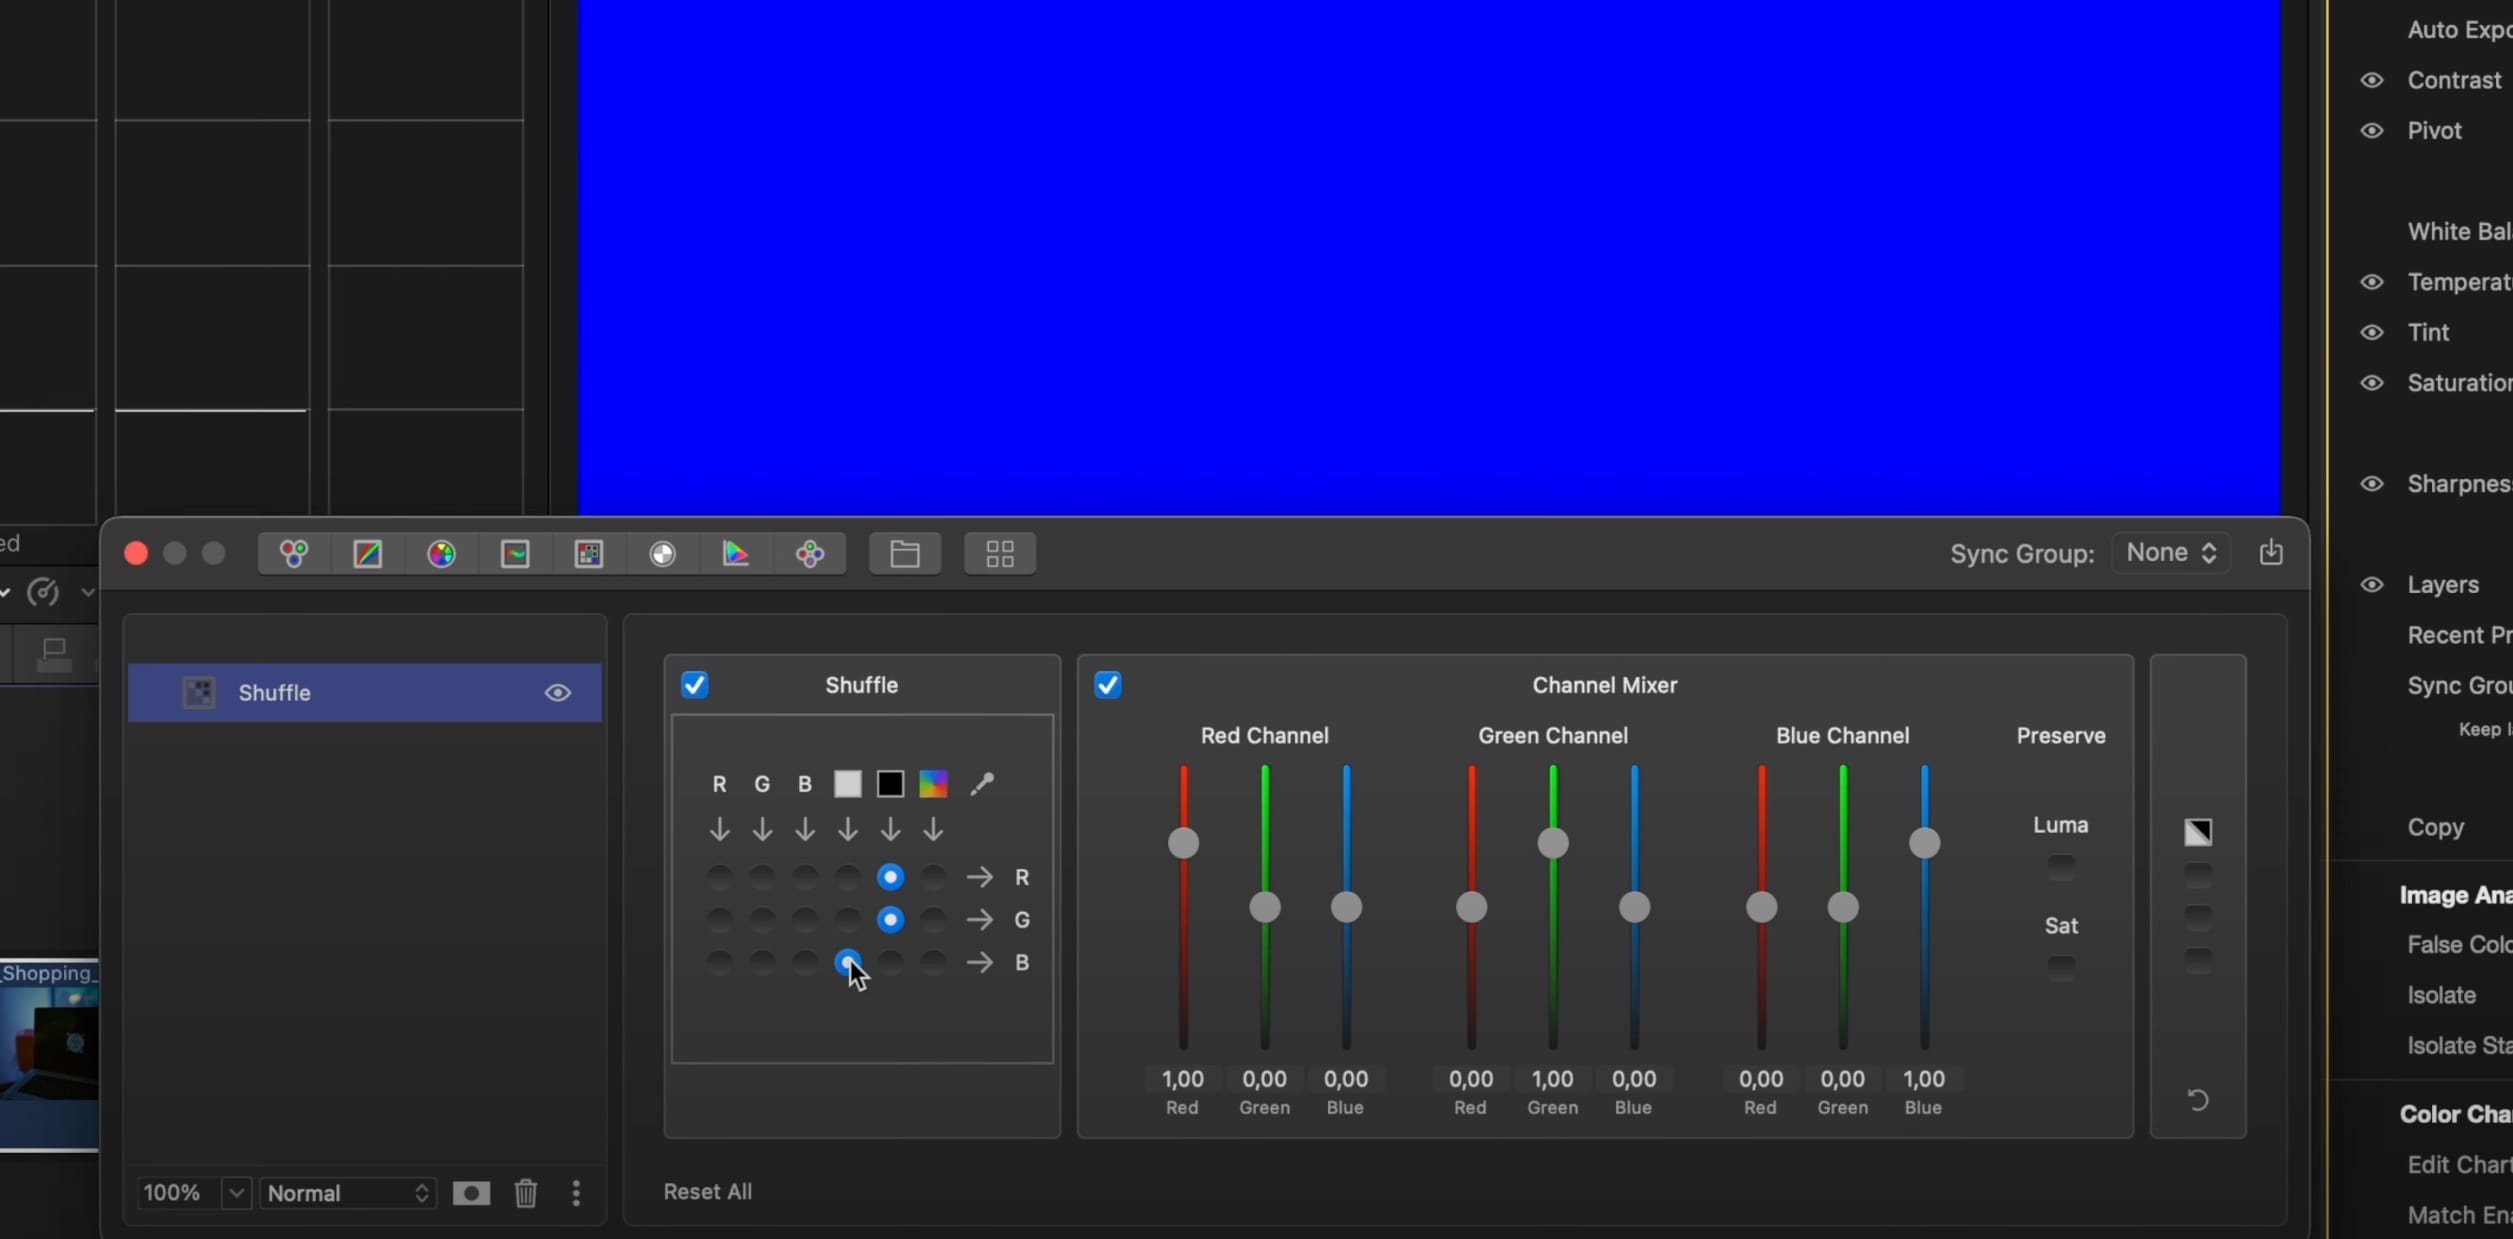 Generate colours using the Shuffle Tool
Select this blend mode, and instantly all of the blue is removed. You can control the intensity of this layer using the opacity slider to adjust the look.
 With the Subtract blend mode applied to the Shuffle layer
Multiply
Now, let's move on. Consider this: how can we quickly darken this image without compromising details in the shadows and maintaining full control?
Enter the Multiply blend mode.
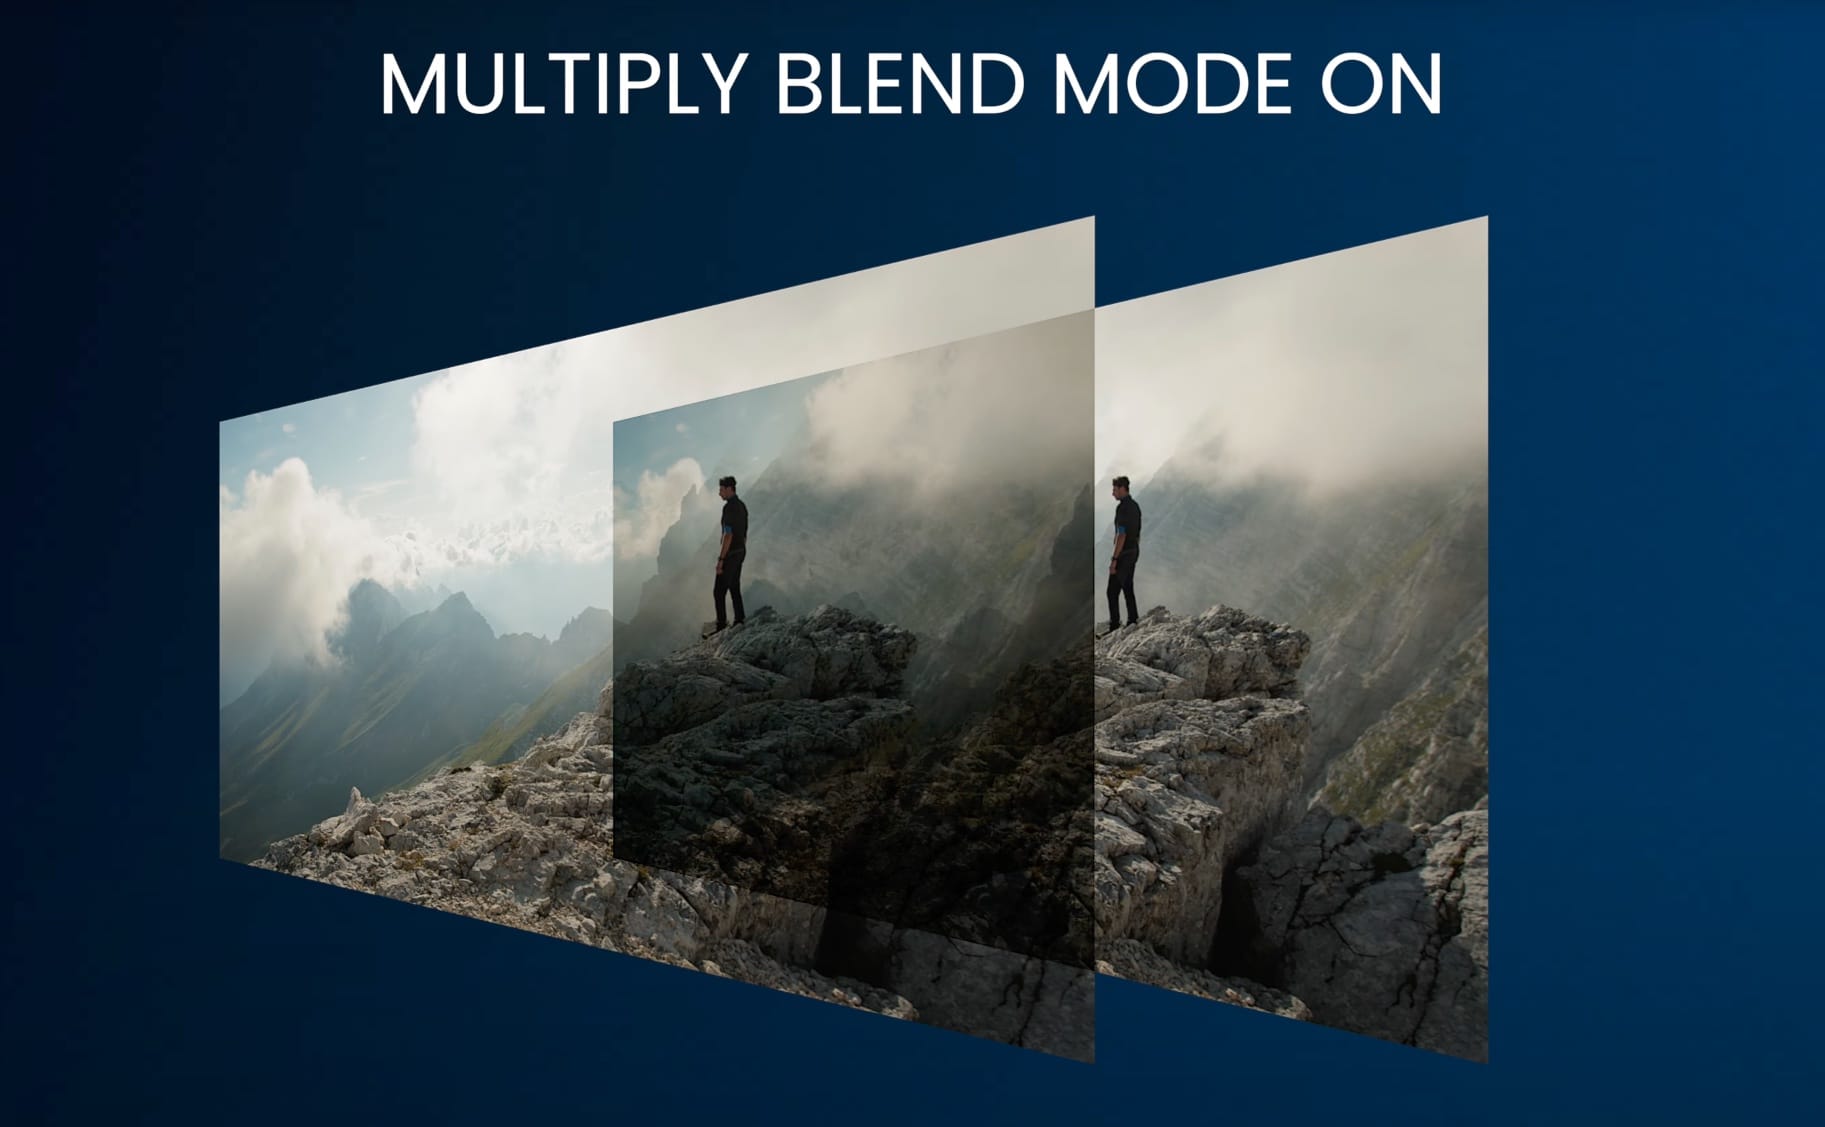
How does it work? It multiplies the colour values of the blending layer with the base layer, resulting in a darker image, especially in the shadow areas.
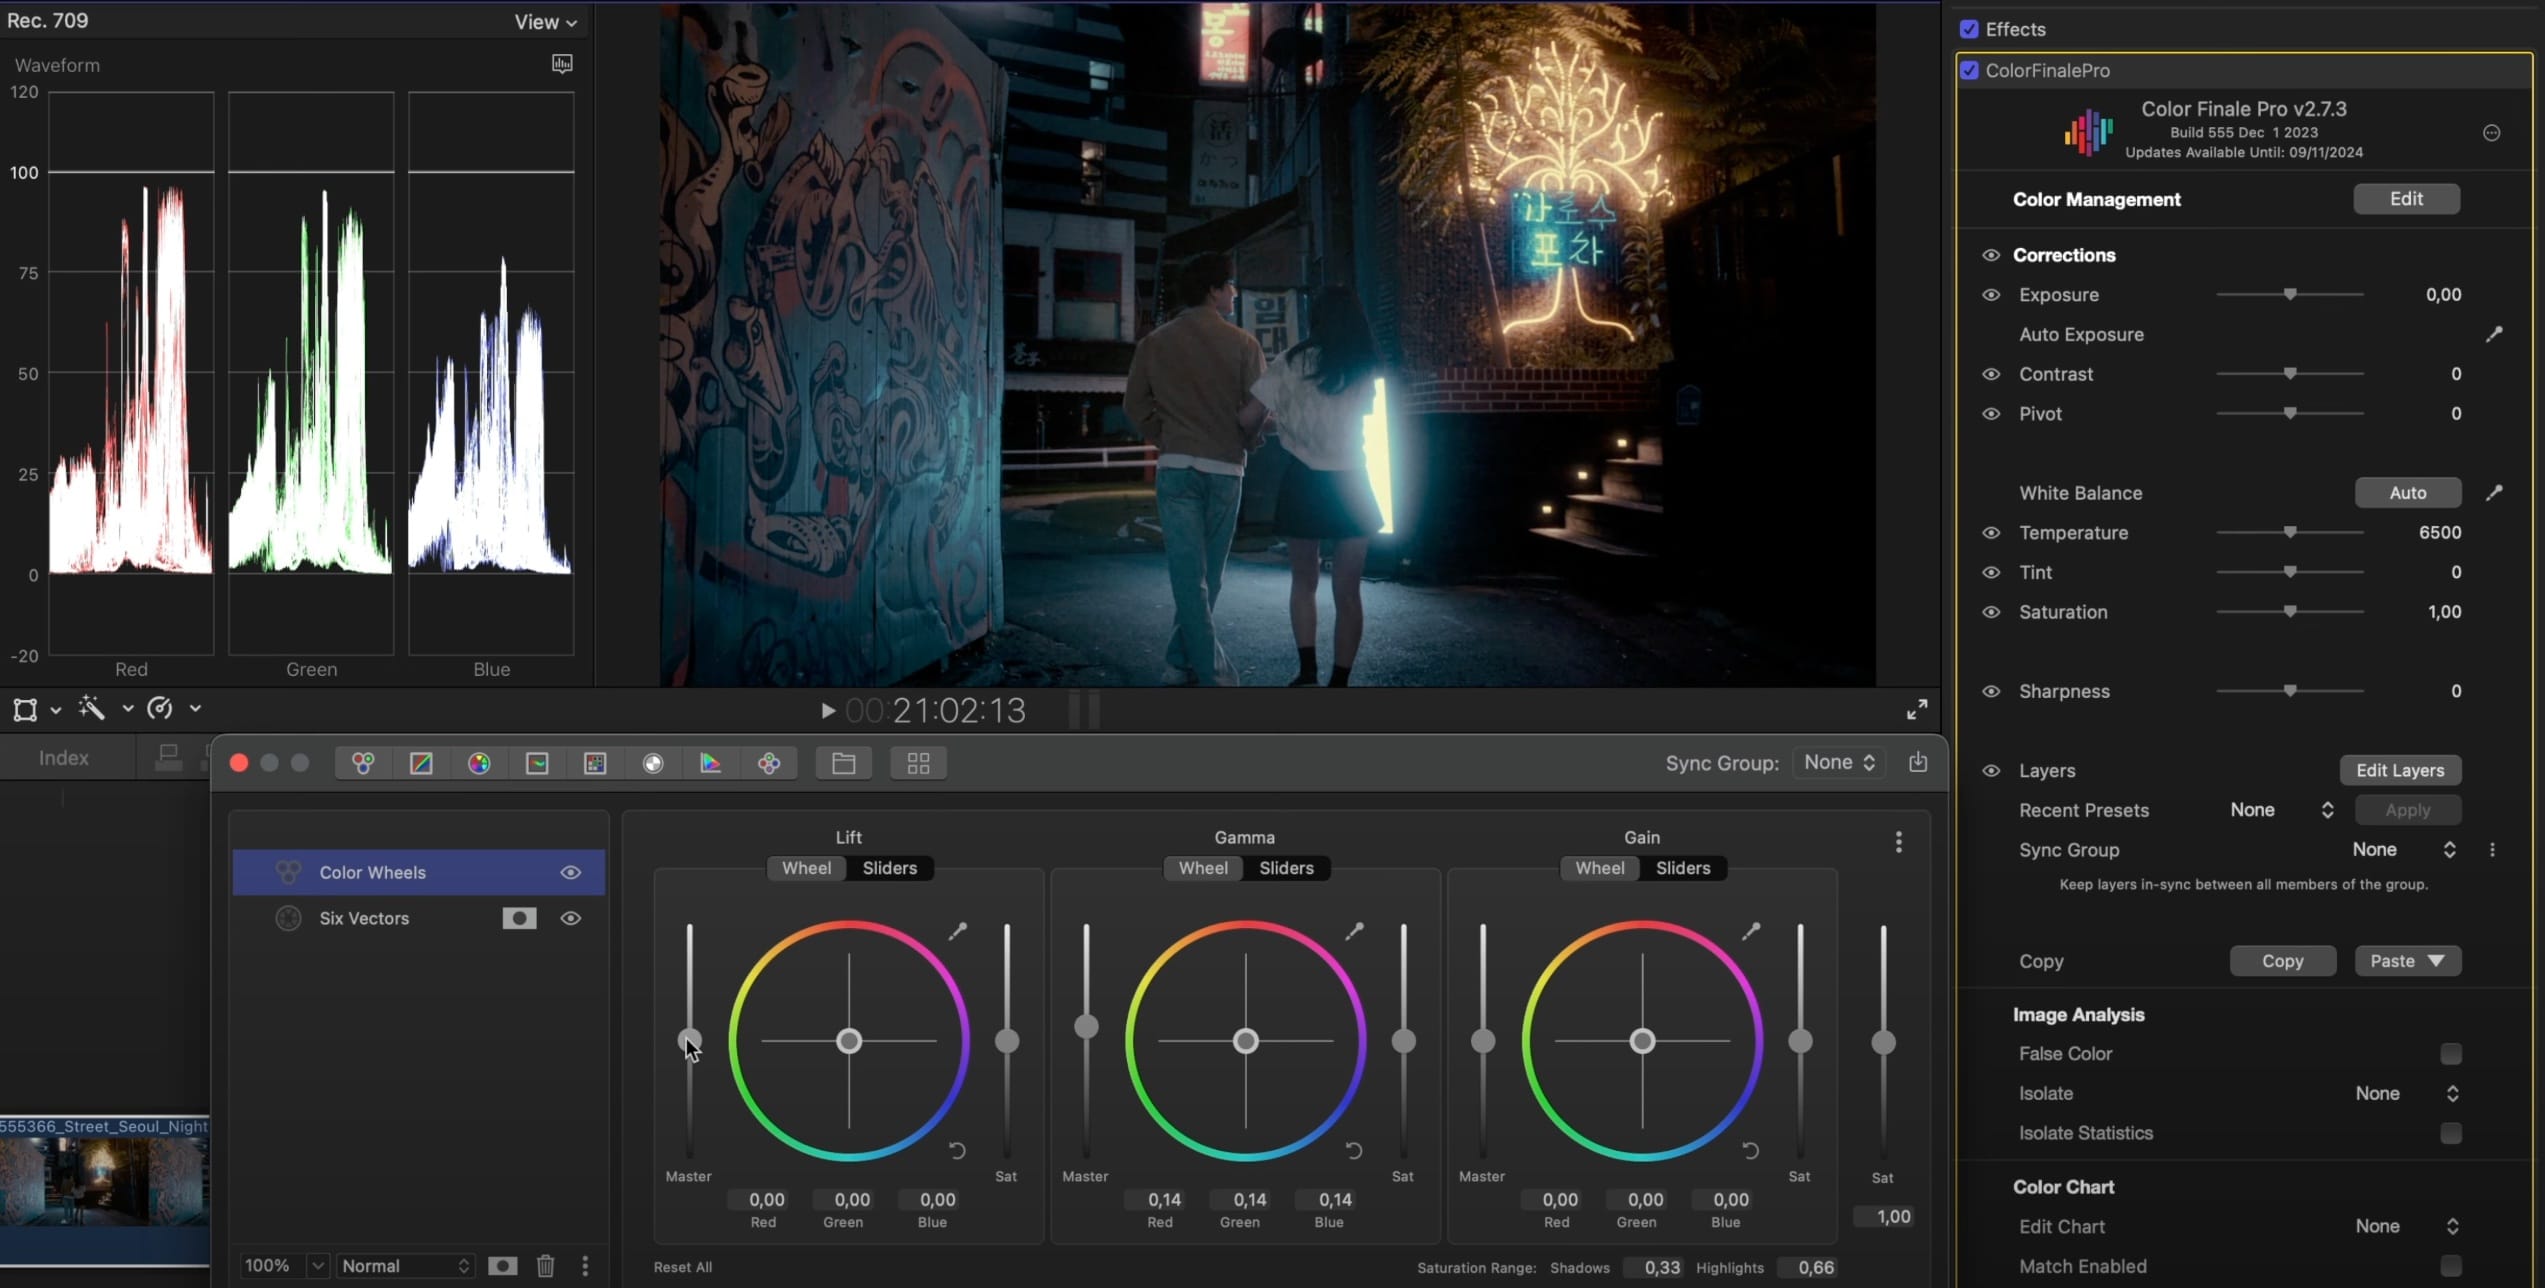
Add a Color Wheels layer, change its blend mode to Multiply, and observe the darkening effect.
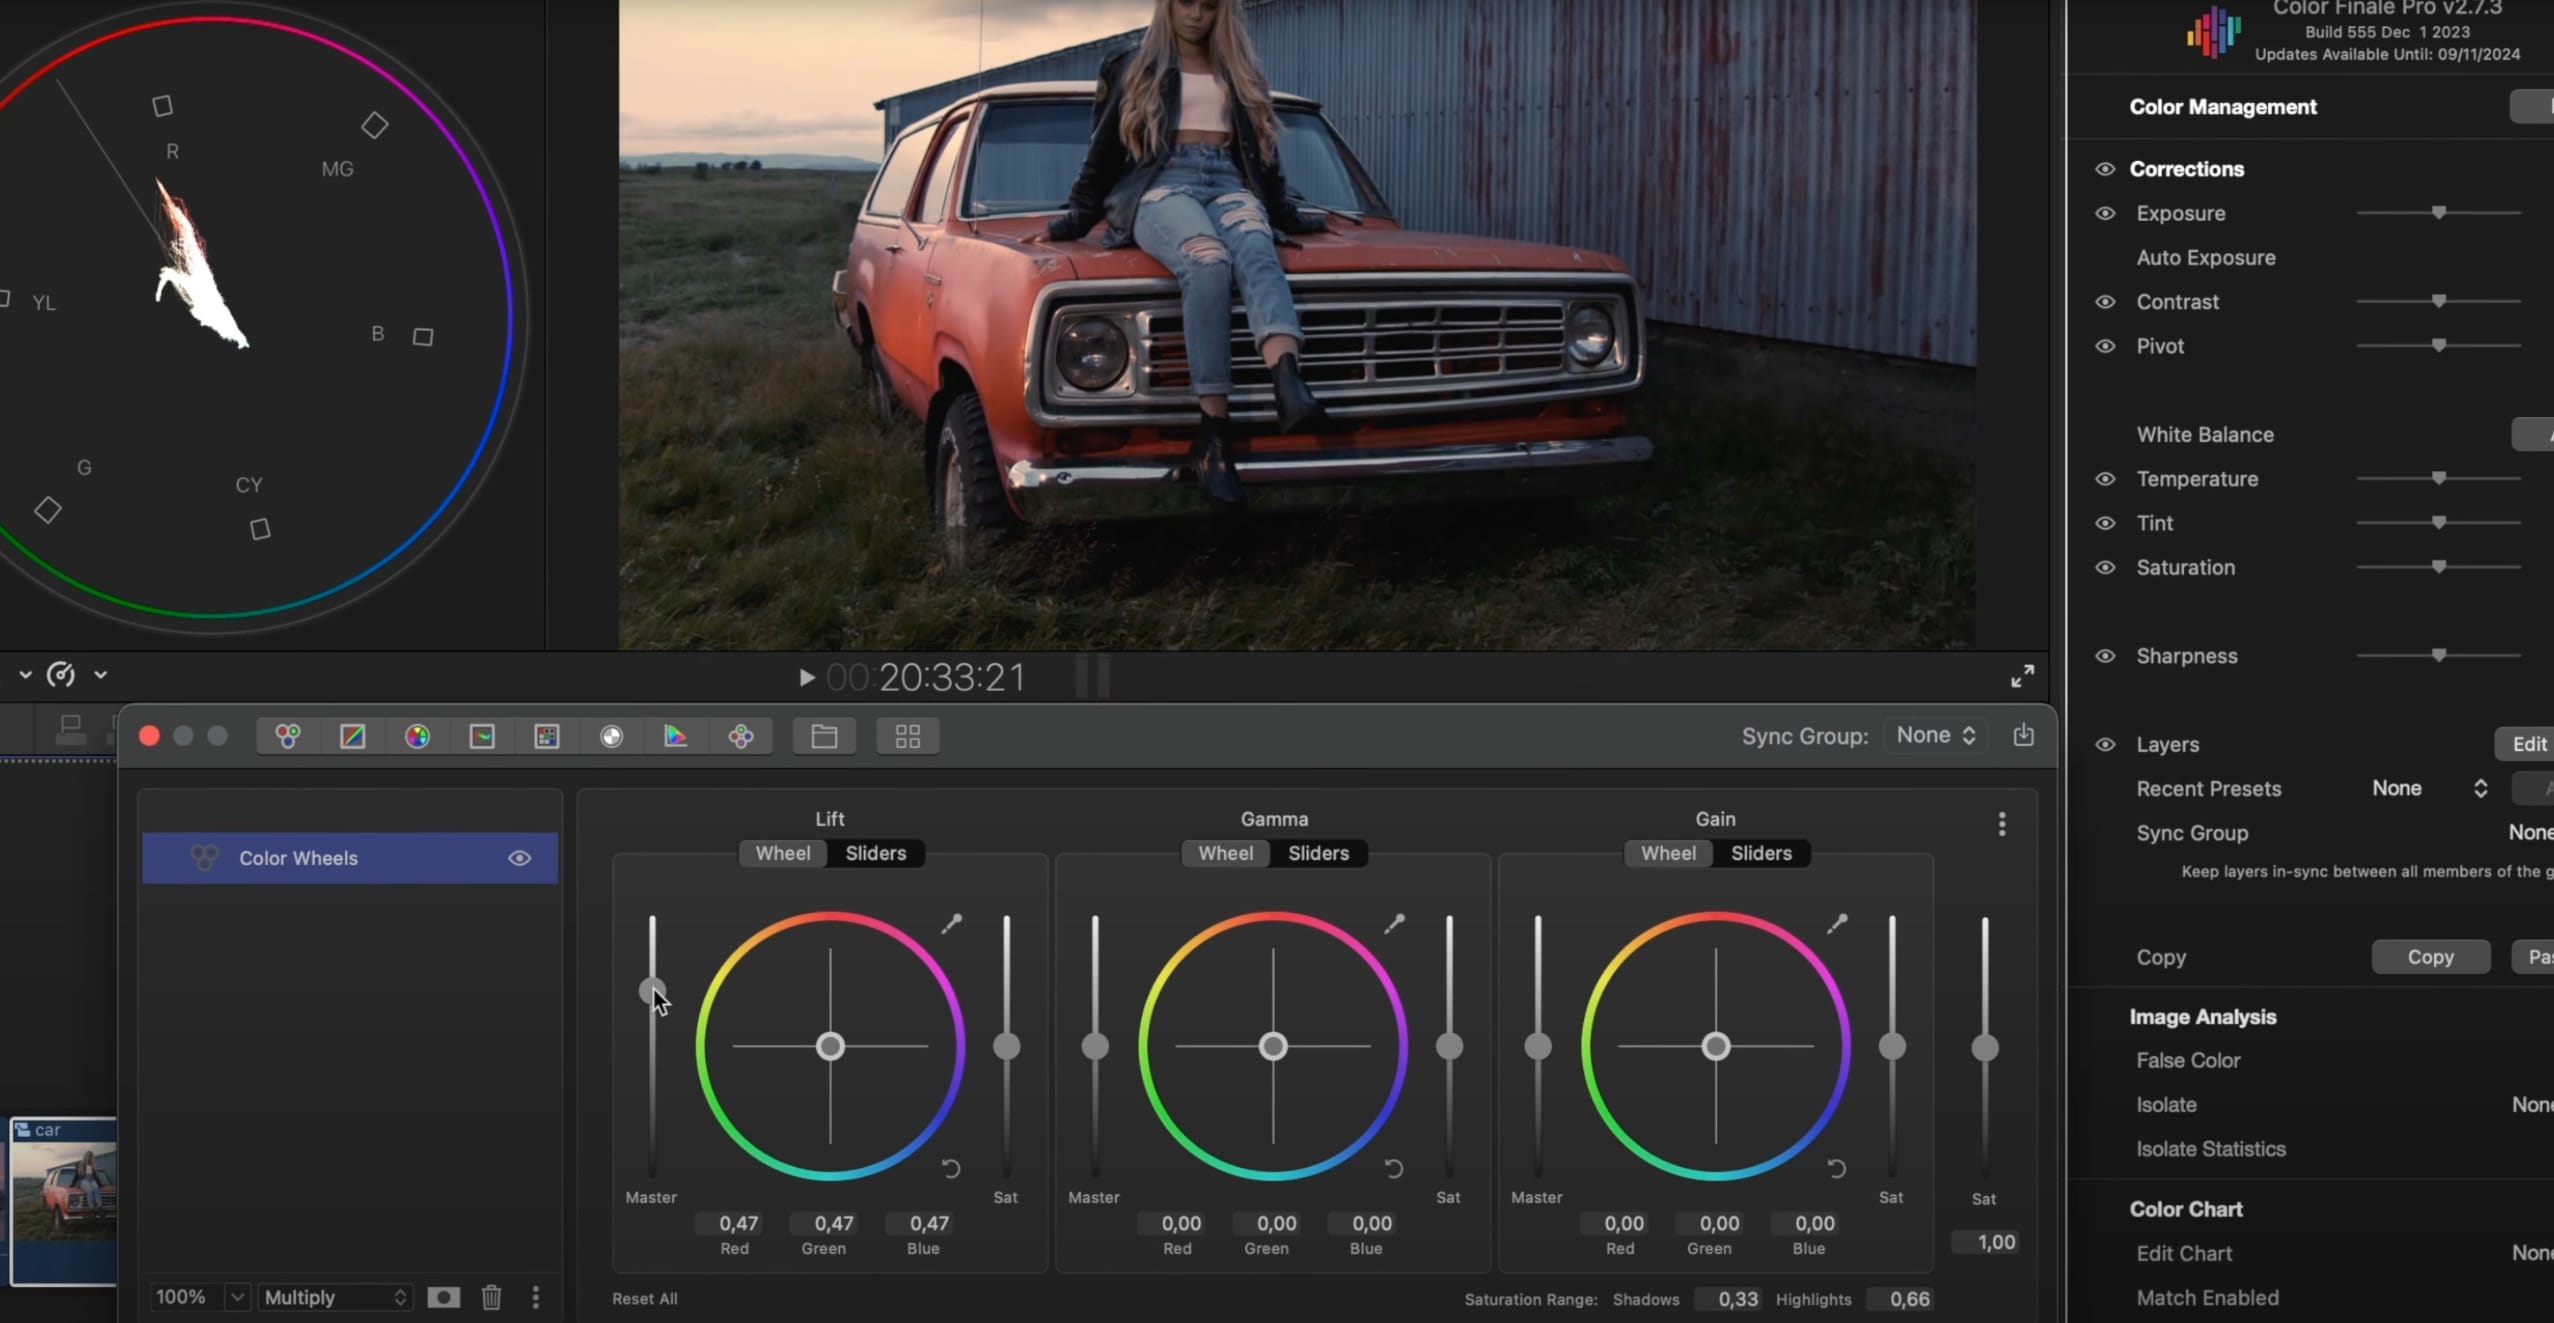
Easily refine shadows to reveal more details. Then, fine-tune the image to your taste.
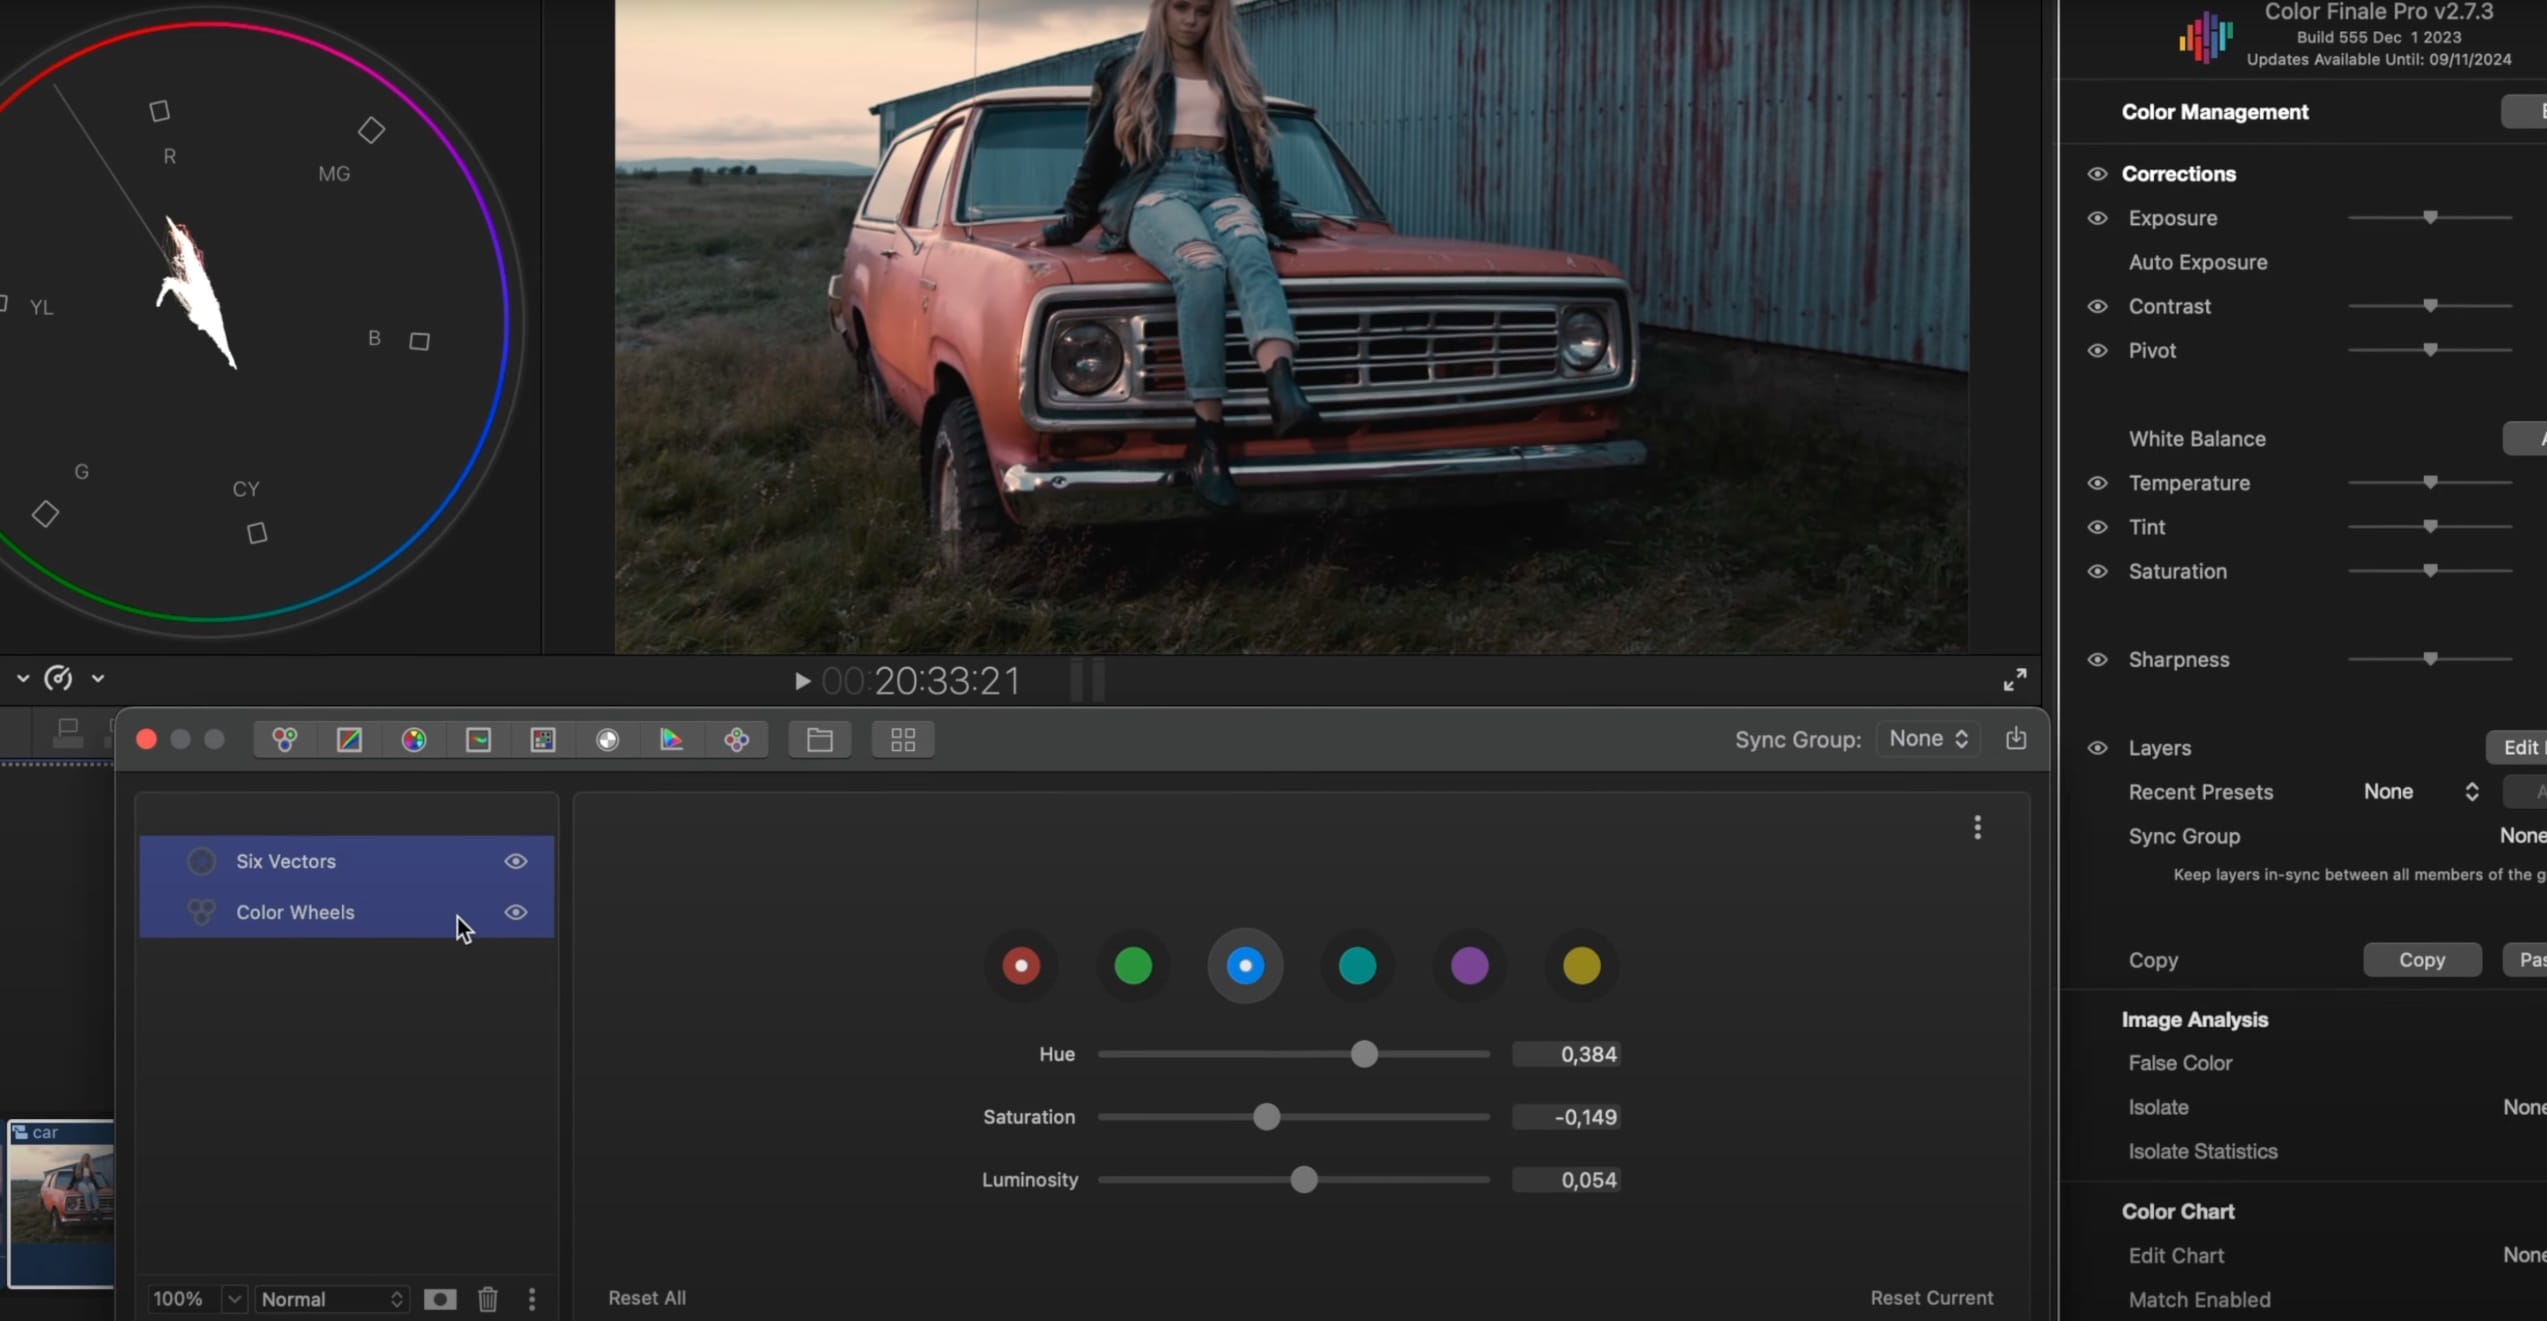
For example, we’re using the six vectors tool to work on the relationship between the blue and red primary colours in the image. Looks good and, most importantly, it's quick.
 Before
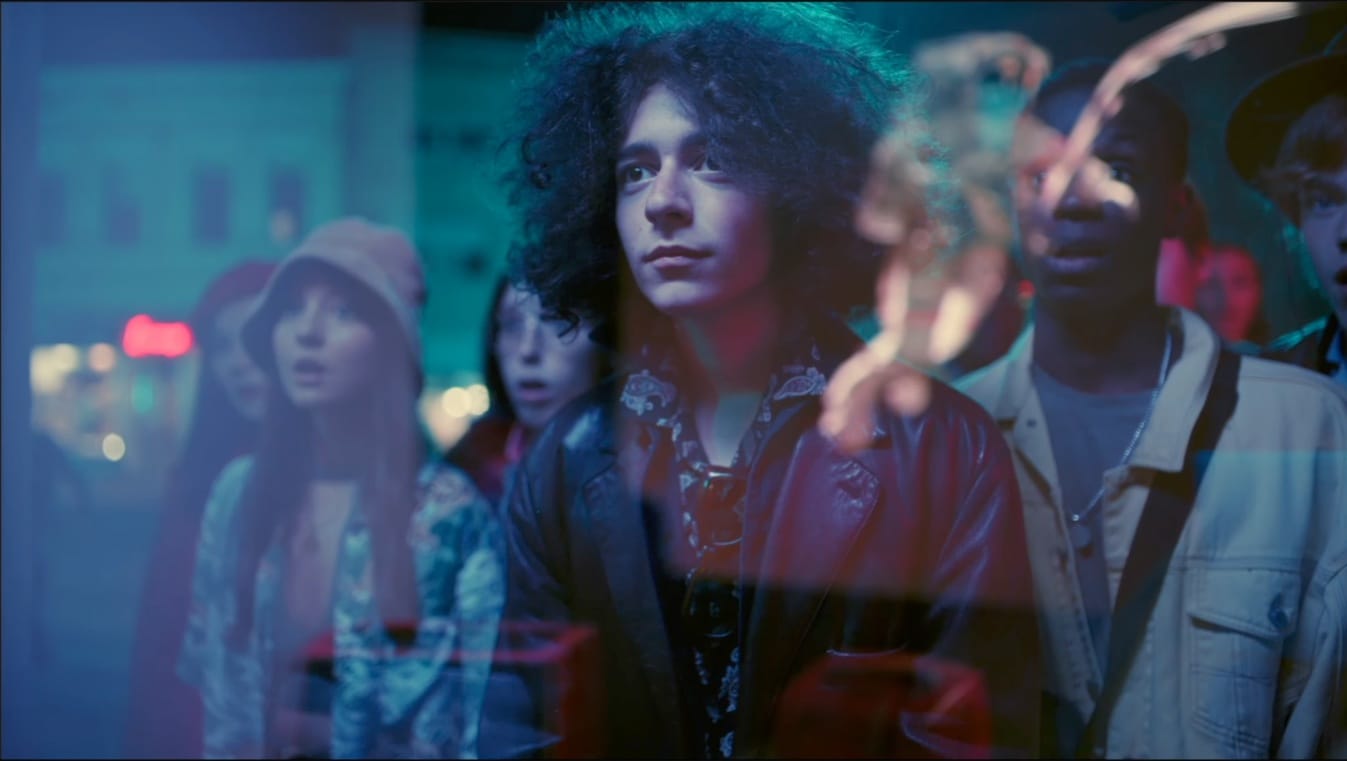
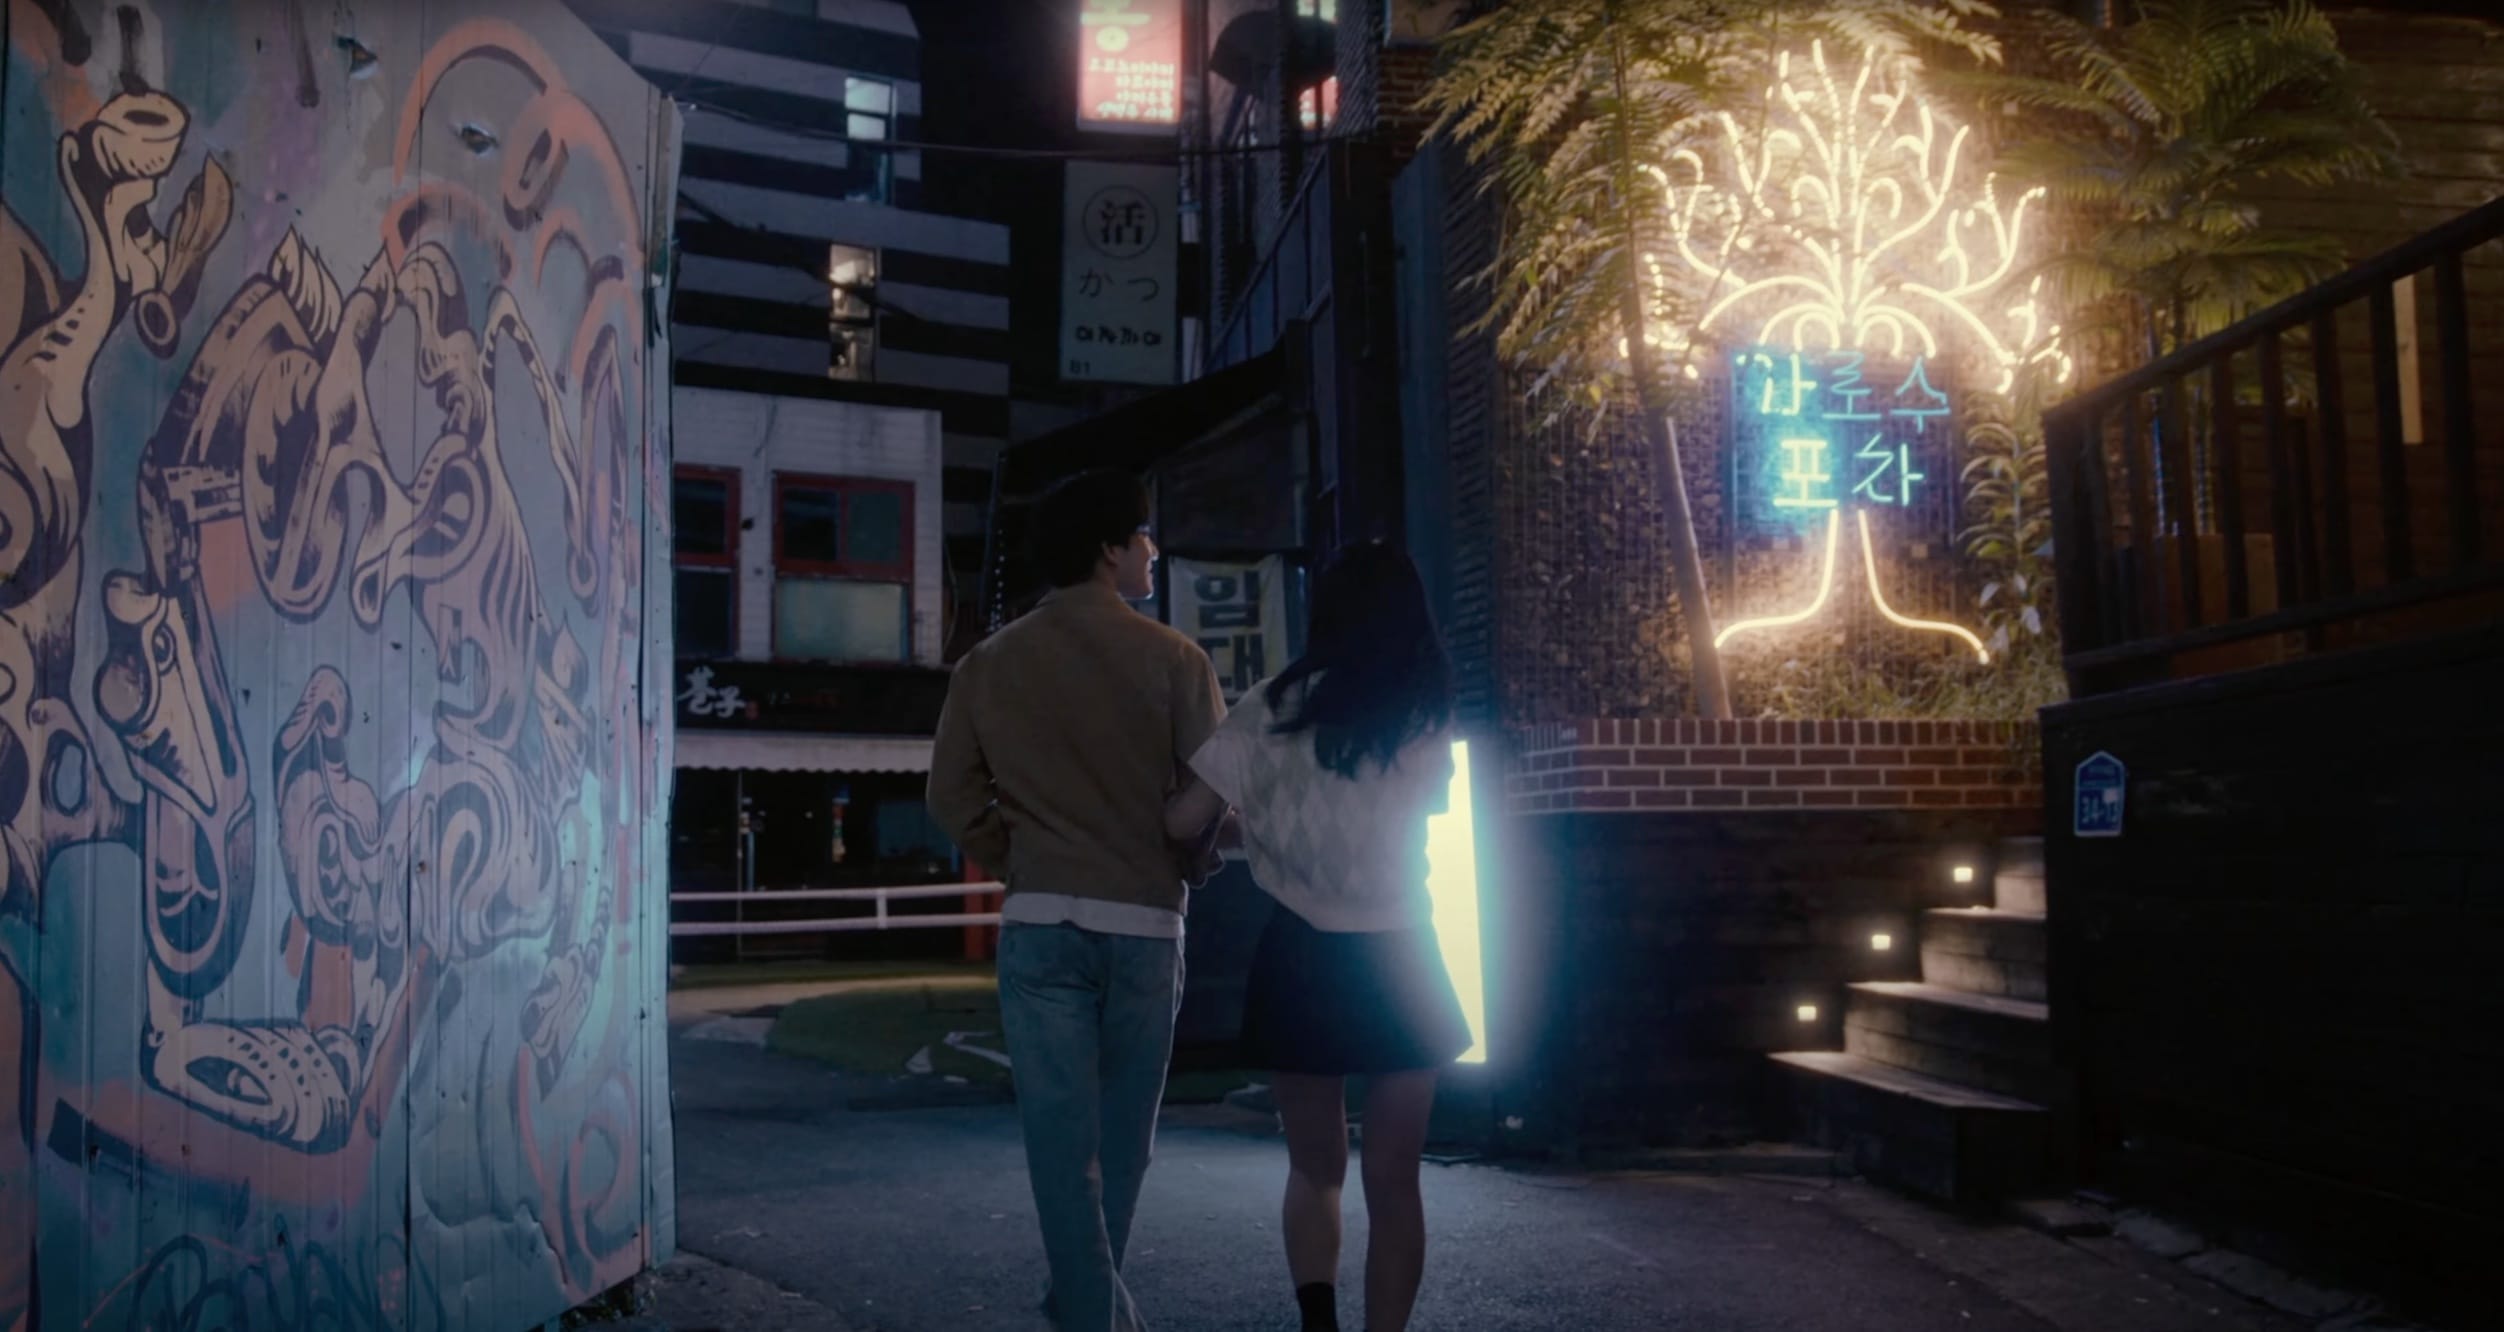
 After
After
Above is another application of the Multiply blend mode: to draw attention to particular areas in the frame. In this case, we've added the six vectors tool and went for a teal and orange style. Changing this layer's blend mode to Multiply instantly achieves a dark look. We also drew focus to the couple in the middle using a shape mask, and tracked the mask since it was necessary. Also, notice how neon lights become striking and punchy in Multiply blend mode, enhancing the overall moody look. Lift the shadows and mid-tones a bit to finish the look.
Conclusion
As a videographer, you might be missing out on the power of blend modes in your colour grading workflow. Do you use blend modes in your colour grading workflow? Which blend mode should we explore next? Let us know your comments on our YouTube channel and consider subscribing to not miss any future video tutorials!
Blend modes parts 1 & 2 (video)
Reference
Color Finale Easy Reference Guide — Blend Modes